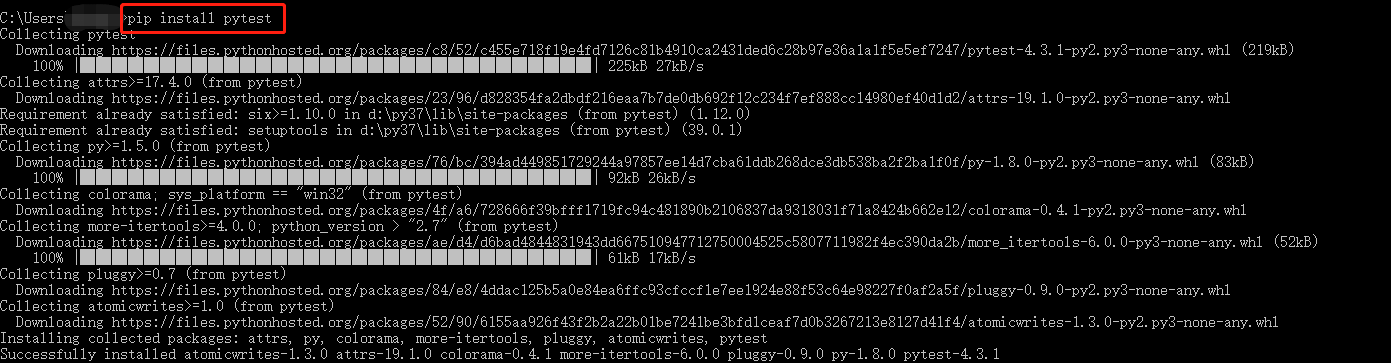
1.安装pytest
2.执行一个用例
进入测试用例目录下,运行以test开头的一个用例。
执行成功。

备注:
1、其实测试函数或方法只要以test开头就可以被运行的
2、测试文件的名字,其实可以是任意的文件名,不过以非test_开头的命名时,运行时,必须以指定测试文件名的方式才可以搜索到并执行它,使用pytest,pytest 文件目录,
这样的命令,执行测试文件时,是找不到非test_开头的测试文件的。
3.如何执行pytest测试样例
pytest # run all tests below current dir
# 在当前测试文件的目录下,寻找以test开头的文件(即测试文件),找到测试文件之后,进入到测试文件中寻找test_开头的测试函数并执行
pytest test_mod.py # run tests in module #执行某一个指定的测试文件
pytest somepath # run all tests below somepath #运行某一个目录下的所有测试用例
pytest -k stringexpr # only run tests with names that match the
# the "string expression", e.g. "MyClass and not method"
# will select TestMyClass.test_something
# but not TestMyClass.test_method_simple
pytest xxx.py::test_func # 执行某一测试文件中的某一指定函数
4.测试报告
pytest可以方便的生成测试报告,即可以生成HTML的测试报告,也可以生成XML格式的测试报告用来与持续集成工具集成
生成HTML格式报告:
pytest --resultlog=path #默认生成的是html格式
生成XML格式的报告:
pytest --junit-xml=path #不同版本的pytest该命令可能不一样
5.如何获取帮助信息
pytest --version # shows where pytest was imported from
pytest -h | --help # show help on command line and config file options
6.最佳实践
其实对于测试而言,特别是在持续集成环境中,我们的所有测试最好是在虚拟环境中。这样不同的虚拟环境中的测试不会相互干扰的。由于我们的实际工作中,在同一个Jekins中,
运行了好多种不同项目册的测试,因此,各个测试项目运行在各自的虚拟环境中。
将pytest安装在虚拟环境中
1、将当前目录创建为虚拟环境
1)virtualenv . # create a virtualenv directory in the current directory
2)source bin/activate # on unix
2、在虚拟环境中安装pytest:
pip install pytest