一、下载LoadRunner LoadGenerator 和 compat-libstdc++-33-3.2.3-61
下载的软件放在 网盘里
一、下载LoadRunner LoadGenerator 和 compat-libstdc++-33-3.2.3-61
二、安装compat-libstdc++-33-3.2.3-61,根据自己linux位数选择安装文件
[root@xiaoxitest opt]# rpm -ivh compat-libstdc++-33-3.2.3-61.i386.rpm

三、安装LoadRunner Generator
[root@xiaoxitest opt]# unzip LoadRunner_Generator_for_Linux.zip #解压缩
[root@xiaoxitest opt]# chmod -R 777 Linux/ #给Linux文件夹赋权
[root@xiaoxitest Linux]# ./installer.sh #安装
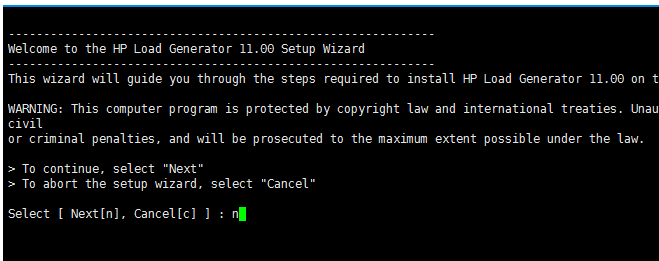
输入n继续安装

输入a同意用户协议

输入i开始安装

输入f完成安装
4.配置环境:
(1)查看自己的环境下是哪一种shell ( echo $0),我的环境下查看的为:/bin/bash
【1】添加用户:useradd -g 0 -s /bin/bash hp_load
【2】在root用户下,/root/.bashrc中添加环境变量:
(这些环境变量来自于/opt/HP/HP_LoadGenerator/ env.csh)
export PRODUCT_DIR=/opt/HP/HP_LoadGenerator
export M_LROOT=$PRODUCT_DIR
export LD_LIBRARY_PATH=${M_LROOT}/bin
export PATH=${M_LROOT}/bin:$PATH
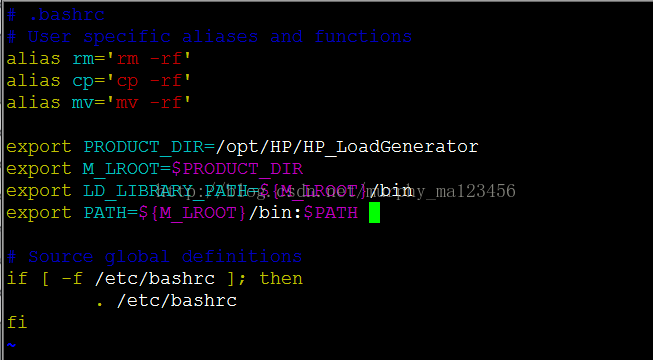
执行:source /root/.bashrc
(2)验证loadrunner是否安装成功
[1]切换到hp_load用户:su hp_load
[2]cd /opt/HP/HP_LoadGenerator/bin/
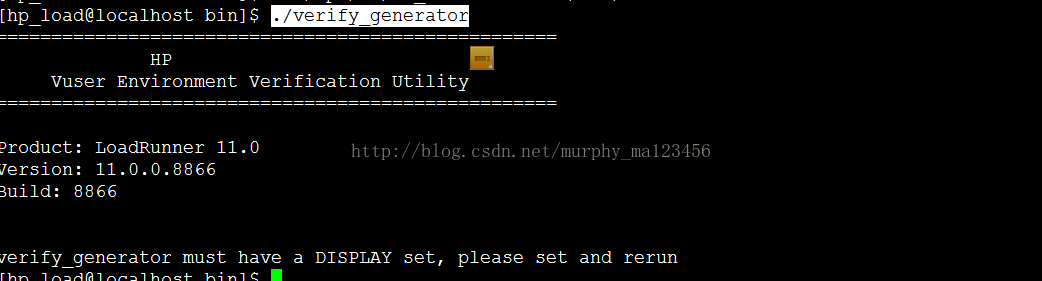
./verify_generator
若出现以下图1,表示刚刚在/root/.bashrc下的环境变量设置成功
若出现以下图2,表示刚刚的环境变量设置失败,需重设图2:
图2

出现图一:表示还需要设置一下DISPLAY环境变量
设置方法:在终端:export DISPLAY=10.40.48.223:0.0(ps:192.168.8.188为controller 服务器)
如果在用户hp_load中无法export换成root用户重新export再切换到hp_load用户,执行确认是否安装成功的命令
(cd /opt/HP/HP_LoadGenerator/bin/;./verify_generator),出现下图表示刚刚的export成功
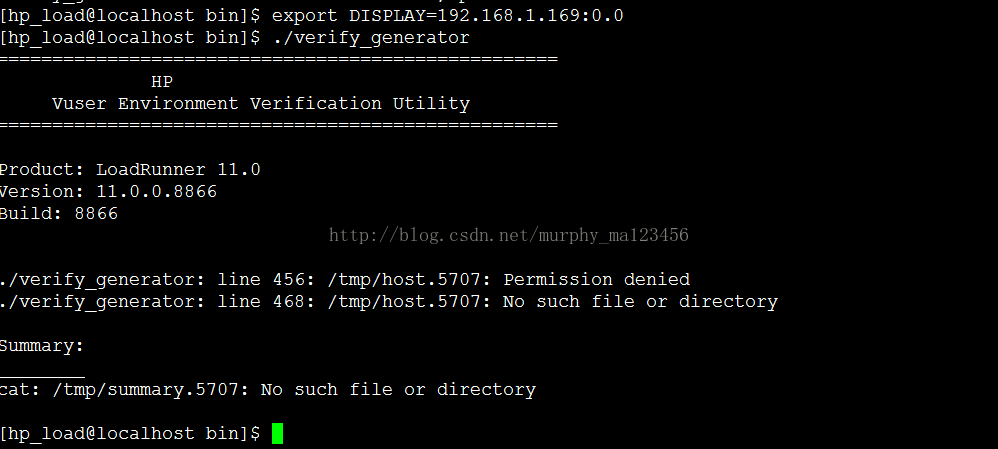
此时验证是否成功已经不报:verify_generator must have a DISPLAY set, please set and rerun;而是报/tmp的权限问题。现在把/tmp目录改成777的权限即可:命令为:chmod 777 /tmp(ps :此操作需要在root用户下执行);再进行上一步的操作,出现下图所示:
[hp_load@localhost bin]$ ./verify_generator
===================================================
HP
Vuser Environment Verification Utility
===================================================
Product: LoadRunner 11.0
Version: 11.0.0.8866
Build: 8866
localhost.Infoworks:
verify_generator...OK
verify_generator...OK
verify_generator...OK
Don't forget to make sure that the name of the controller machine
is also in .rhosts
Verify $M_LROOT ...Failed
_____It was not possible to set the $M_LROOT from
_____the shell dot files. One of several things might be happening:
_____1) $M_LROOT is not set at all in the shell dot files.
_____2) There is some error in the shell dot files which stops their execution
_____ before it sets $M_LROOT.
_____3) There is conditional code in the shell dot files (most likely related to
_____ interactive and non interactive shells) and $M_LROOT is set
_____ only in one of the sections.
_____Aborting virtual user tests on host localhost.Infoworks
verify_generator...OK
_______________________________________________
Summary:
________
Vuser Host localhost.Infoworks: Failed
验证ok,(ps:Vuser Host localhost.Infoworks: Failed此错误目前没有影响loadrunner代理的正常启动,暂不用考虑)
5.启动linux下的loadrunner负载
cd /opt/HP/HP_LoadGenerator/bin
[hp_load@localhost bin]$ ./m_daemon_setup start
m_agent_daemon ( 8273 ),
表示已经启动成功
这些问题是我在安装过程中遇到的常规问题,如果还有其他的问题可以参考下面几个网址:
http://wenku.baidu.com/view/bf4d761cff00bed5b9f31d99.html
http://wenku.baidu.com/view/db72a74ce45c3b3567ec8b26.html
linux下loadrunner 的ip地址欺骗:
步骤一:添加虚拟网卡,用于配置可以欺骗的ip地址(注:用于ip地址欺骗的地址必须保证无人正在使用,一般公司里需要向it部门申请空闲ip地址段,以免照成网络使用混乱)
一般写脚本用于添加虚拟网卡:
直接配置虚拟网卡: eg: ifconfig em1:2 192.168.82.111 netmask 255.255.252.0
add_network.sh
#!/bin/bash
ifconfig em1:1 192.168.82.110 netmask 255.255.252.0
ifconfig em1:2 192.168.82.111 netmask 255.255.252.0
ifconfig em1:3 192.168.82.112 netmask 255.255.252.0
-----ip地址192.168.82.110~192.168.82.112均为空闲ip并且能够连接需要测试的服务器ip
网卡配置完之后如下图所示:
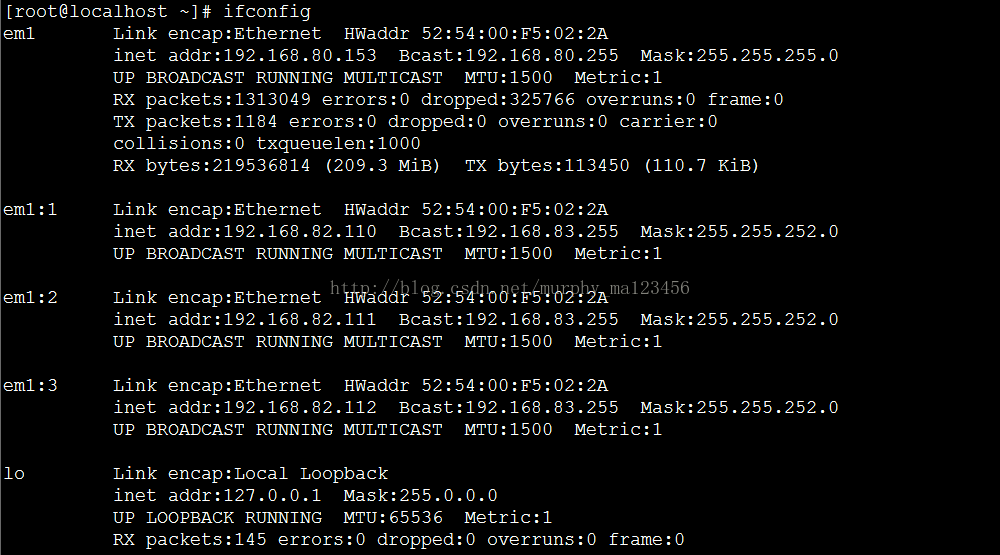
使用ip欺骗时需注意:
1.要使用it部门给的可用ip列表,防止云平台的ip使用混乱
2.使用完成之后最好释放ip资源(如果用xp就直接释放;如果用linux就service network restart就会还原)