IPython notebook(Jupyter notebook) 设置密码

摘要:
本文提供了两种密码设置方法。一种是直接密码设置(相对方便),另一种是哈希密码设置_ notebook.conf

本文共给出两种密码设置方法,一种为直接设置密码法(较为便捷),另一种为hash密码设置法


===================================

第一种:

直接设置密码

注意:

ipython notebook 设置密码后就不能使用 token 进入客户端网页了

1.  对应环境下  执行命令:

jupyter notebook password

IPython notebook(Jupyter notebook) 设置密码第1张

密码被写入   .jupyter/jupyter_notebook_config.json  中:

IPython notebook(Jupyter notebook) 设置密码第2张

2.  重新启动  jupyter notebook

IPython notebook(Jupyter notebook) 设置密码第3张

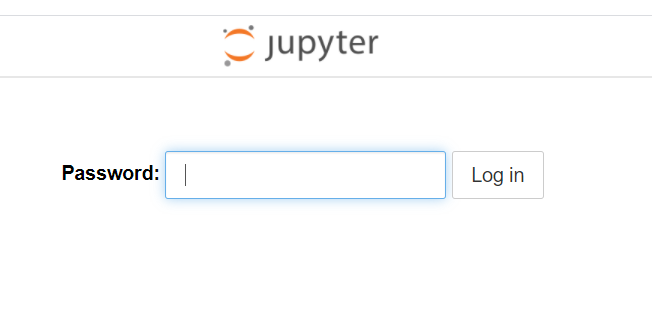
3.   使用密码进入 jupyter notebook网页客户端:

IPython notebook(Jupyter notebook) 设置密码第4张

=======================================

第二种方法:

设置hash密码:

注意:

ipython notebook 设置hash密码后就不能使用 token 进入客户端网页了

本文是在Ubuntu18.04环境下操作的。

1.  生成配置文件   jupyter_notebook_config.py

 jupyter notebook --generate-config

IPython notebook(Jupyter notebook) 设置密码第5张

2.    修改配置文件   jupyter_notebook_config.py

配置文件在   home下的  .jupyter文件夹下面

vim ~/.jupyter/jupyter_notebook_config.py 

IPython notebook(Jupyter notebook) 设置密码第6张

如何修改呢:

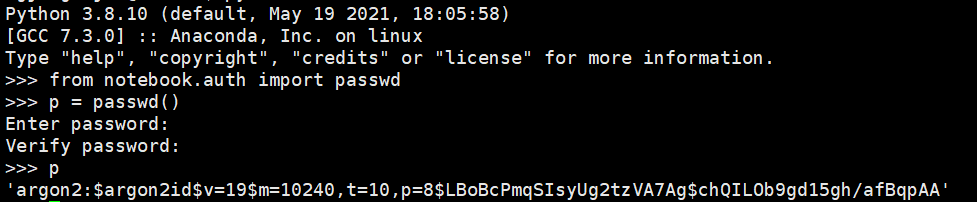
2.1   在对应的python环境下执行下面操作:

from notebook.auth import passwd
p = passwd()
print(p)

获得设置的hash密码(上面设置的是明文密码,获得的p为hash密码,下面用获得的hash密码p 进行设置)


IPython notebook(Jupyter notebook) 设置密码第7张

2.2   在 ~/.jupyter/jupyter_notebook_config.py  中找到   c.NotebookApp.password 字段将其修改为上一步获得的hash密码:

IPython notebook(Jupyter notebook) 设置密码第8张


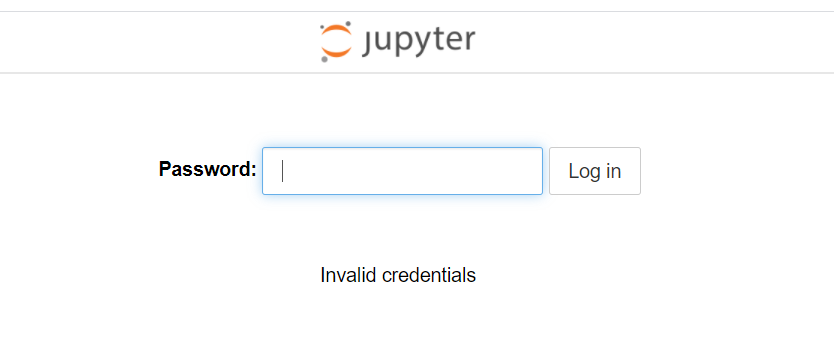
 2.3   重启   jupyter notebook

IPython notebook(Jupyter notebook) 设置密码第9张

参考:

https://blog.csdn.net/smile_Shujie/article/details/88357371

===============================================================

免责声明:文章转载自《IPython notebook(Jupyter notebook) 设置密码》仅用于学习参考。如对内容有疑问,请及时联系本站处理。

上篇MFC中使用Tab Control从CTabCtrl控件类继承自己的类(CTabSheet)来处理。IDEA设置代理下篇

宿迁高防,2C2G15M,22元/月;香港BGP,2C5G5M,25元/月 雨云优惠码:MjYwNzM=

相关文章

linux安装IPython四种方法

IPython是Python的交互式Shell,提供了代码自动补完,自动缩进,高亮显示,执行Shell命令等非常有用的特性。特别是它的代码补完功能,例如:在输入zlib.之后按下Tab键,IPython会列出zlib模块下所有的属性、方法和类。完全可以取代自带的bash 下面介绍下linux安装IPython四种方法: 第一种:ipython源码安装ipy...

使用conda创建虚拟环境,并将虚拟环境加载到jupyter notebook中【已解决】

前言,最近在学习tensorflow,配置环境conda环境,繁杂,而且网上教程很乱很杂,有不少错误,故有了这篇文章。 1,在conda下创建虚拟环境 在本文中为虚拟环境名称为web_env,指定python版本为3.6 conda create -n web_env python=3.6 等待安装完成后,输出类型下面的提示: done # # To a...

今天我的jupyter notebook打不开了,报错原因'No module named 'zmq.eventloop'

今天我的jupyter notebook打不开了,就是那种一打开出现黑色界面就退出的那种,惊恐爬上了我的面颊。 找了一个小时,试了好几种办法(包括别人说的什么把属性里面后面的%%的去掉)终究无果 打开anaconda prompt,输入jupyter notebook 立即报错 Traceback (most recent call last):File...

jupyter notebook 修改默认文件夹

这两天在学习使用jupyter notebook,一开始打开的文件夹在个人文档下面,然而我自己编程的程序都放在C盘另一个文件夹下,于是开始找如何修改jupyter的默认文件夹。 首先,打开cmd输入jupyter notebook --generate-config 系统会反馈默认文件夹路径。 在.jupyter文件夹下,有一个文件名为jupyter_n...

用Anaconda3安装TensorFlow教程

1. 安装好Anaconda3版本 (1) 注:可以发现最新版本是Anaconda5了(没关系,下载就是了) (2) 注意安装anaconda时一定要把环境变量加入windows环境中。要没有勾选,安装完后还有手动加入。而且注意3.4版本是默认不加入anaconda的文件路径到环境变量的。 (3) 安装好了后,运行开始菜单—>Anaconda...

在Linux服务器上运行Jupyter notebook server教程

在Linux服务器上运行Jupyter notebook server教程 很多deep learning教程都推荐在jupyter notebook运行python代码,方便及时交互。但只在本地运行没有GPU环境,虽然google colab是个好办法,但发现保存模型后在云端找不到模型文件,且需要合理上网才能访问。于是想给实验室的服务器配置jupyter...