摘要:
数据集处理 数据集处理1.Labelme用于数据注释,如下所示:数据图片和注释json文件放在同一目录中。2.图像注释后的数据转换(1)训练数据集生成标签图pythonlabelme2voc。pyF:lamorddeeplabv3image--labellabels.txt。其中包括标签。txt是要分割的对象的类别。本项目包括:__无知__背景_黑人
一、数据标注
使用labelme,如下:
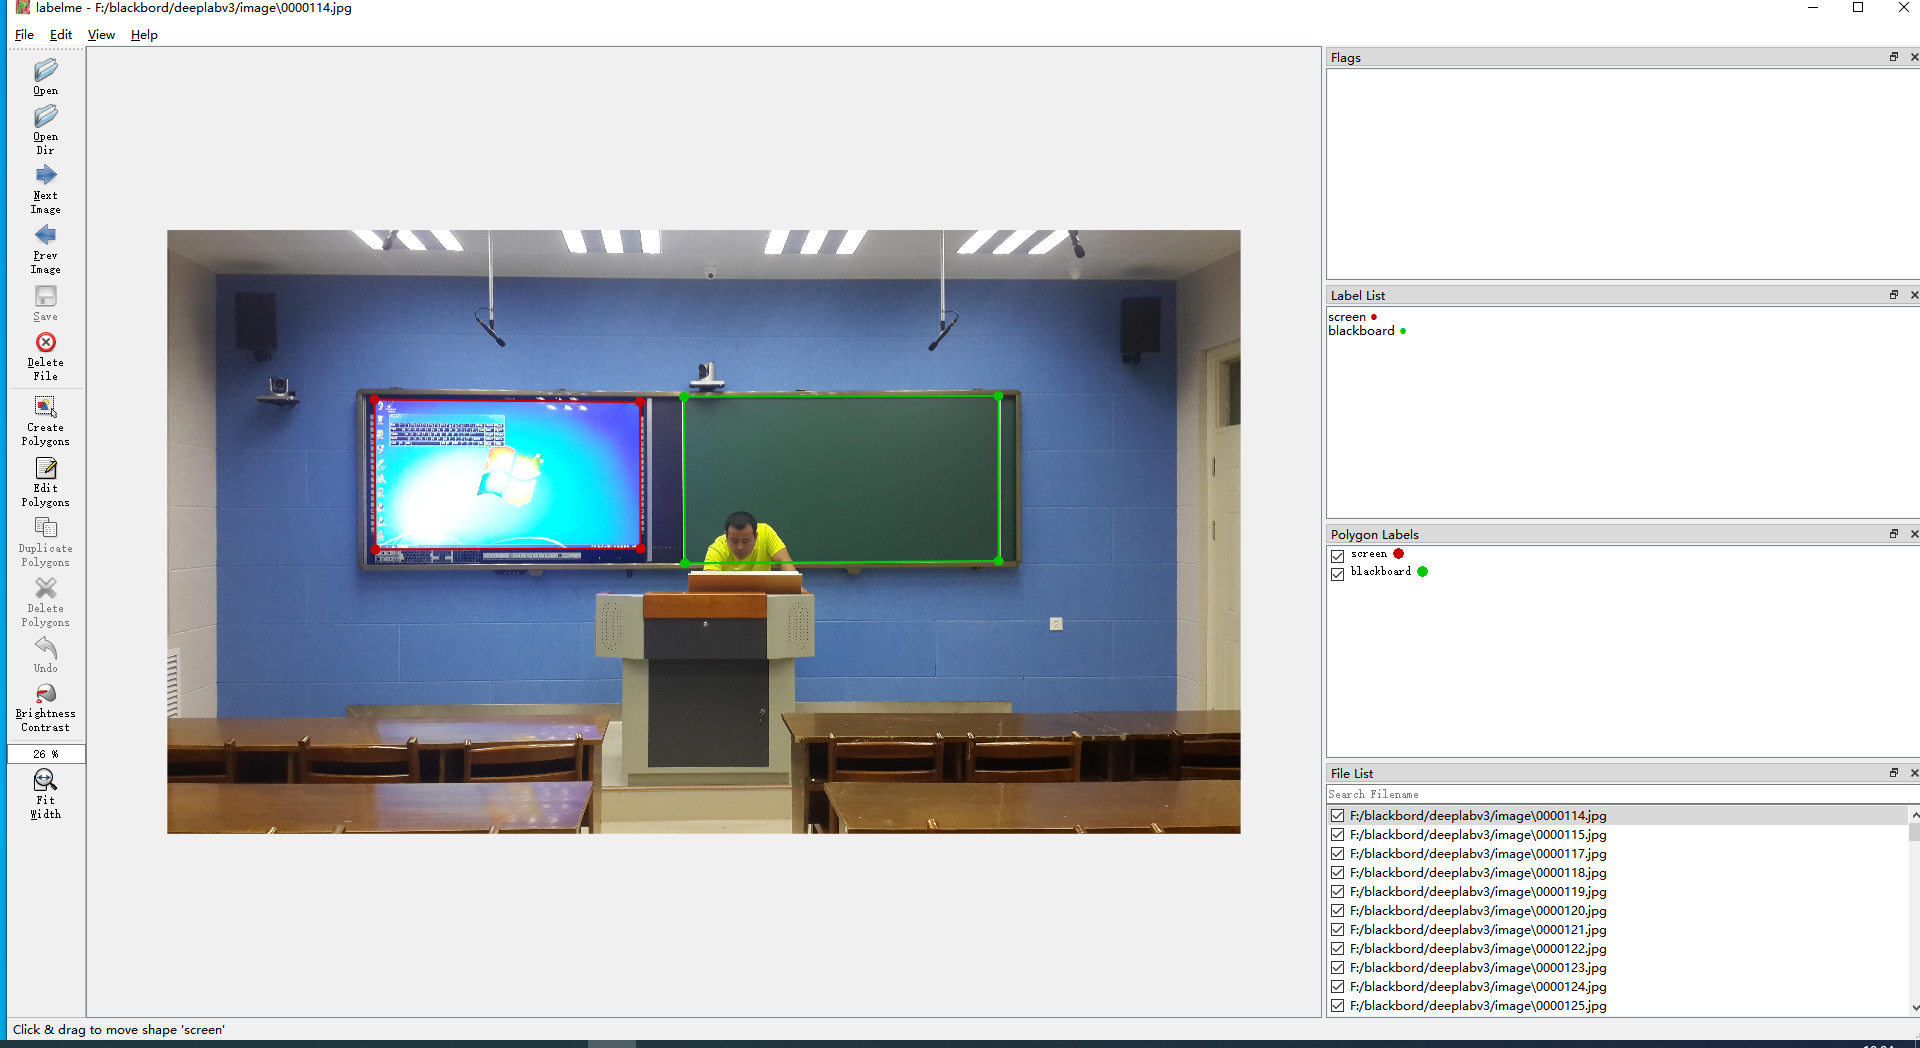
数据图片和标注json文件放到同一个目录下
二、图像标注后的数据转换
(1)训练数据集生成标签图
python labelme2voc.py F:lackborddeeplabv3image --labels labels.txt
其中,labels.txt中是需要分割的物体的类别。本项目包括:
__ignore__
_background_
blackboard
screen
(2)代码如下
#!/usr/bin/env python

from __future__ import print_function

import argparse
import glob
import json
import os
import os.path as osp
import sys

import numpy as np
import PIL.Image

import labelme


def main():
    parser = argparse.ArgumentParser(
        formatter_class=argparse.ArgumentDefaultsHelpFormatter
    )
    parser.add_argument('--input_dir', default= r"F:lackborddeeplabv3image",help='input annotated directory')
    parser.add_argument('--output_dir', default= r"F:lackborddeeplabv3masks",help='output dataset directory')
    parser.add_argument('--labels', default = r"F:lackborddeeplabv3class_label.txt",help='labels file', )
    args = parser.parse_args()

    if osp.exists(args.output_dir):
        print('Output directory already exists:', args.output_dir)
        sys.exit(1)
    os.makedirs(args.output_dir)
    os.makedirs(osp.join(args.output_dir, 'JPEGImages'))
    os.makedirs(osp.join(args.output_dir, 'SegmentationClass'))
    os.makedirs(osp.join(args.output_dir, 'SegmentationClassPNG'))
    os.makedirs(osp.join(args.output_dir, 'SegmentationClassVisualization'))
    print('Creating dataset:', args.output_dir)

    class_names = []
    class_name_to_id = {}
    for i, line in enumerate(open(args.labels).readlines()):
        class_id = i - 1  # starts with -1
        class_name = line.strip()
        class_name_to_id[class_name] = class_id
        if class_id == -1:
            assert class_name == '__ignore__'
            continue
        elif class_id == 0:
            assert class_name == '_background_'
        class_names.append(class_name)
    class_names = tuple(class_names)
    print('class_names:', class_names)
    out_class_names_file = osp.join(args.output_dir, 'class_names.txt')
    with open(out_class_names_file, 'w') as f:
        f.writelines('
'.join(class_names))
    print('Saved class_names:', out_class_names_file)

    colormap = labelme.utils.label_colormap(255)

    for label_file in glob.glob(osp.join(args.input_dir, '*.json')):
        print('Generating dataset from:', label_file)
        with open(label_file,"r",encoding="utf-8") as f:
            base = osp.splitext(osp.basename(label_file))[0]
            out_img_file = osp.join(
                args.output_dir, 'JPEGImages', base + '.jpg')
            out_lbl_file = osp.join(
                args.output_dir, 'SegmentationClass', base + '.npy')
            out_png_file = osp.join(
                args.output_dir, 'SegmentationClassPNG', base + '.png')
            out_viz_file = osp.join(
                args.output_dir,
                'SegmentationClassVisualization',
                base + '.jpg',
            )

            data = json.load(f)

            label_file = label_file.rstrip(".json")
            print(label_file)
            # img_file = osp.join(osp.dirname(label_file), data['imagePath'])
            img_file =label_file +".jpg"
            print(img_file)
            img = np.asarray(PIL.Image.open(img_file))
            PIL.Image.fromarray(img).save(out_img_file)

            lbl = labelme.utils.shapes_to_label(
                img_shape=img.shape,
                shapes=data['shapes'],
                label_name_to_value=class_name_to_id,
            )
            labelme.utils.lblsave(out_png_file, lbl)

            np.save(out_lbl_file, lbl)

            viz = labelme.utils.draw_label(
                lbl, img, class_names, colormap=colormap)
            PIL.Image.fromarray(viz).save(out_viz_file)


if __name__ == '__main__':
    main()
执行后生成: 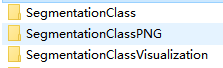
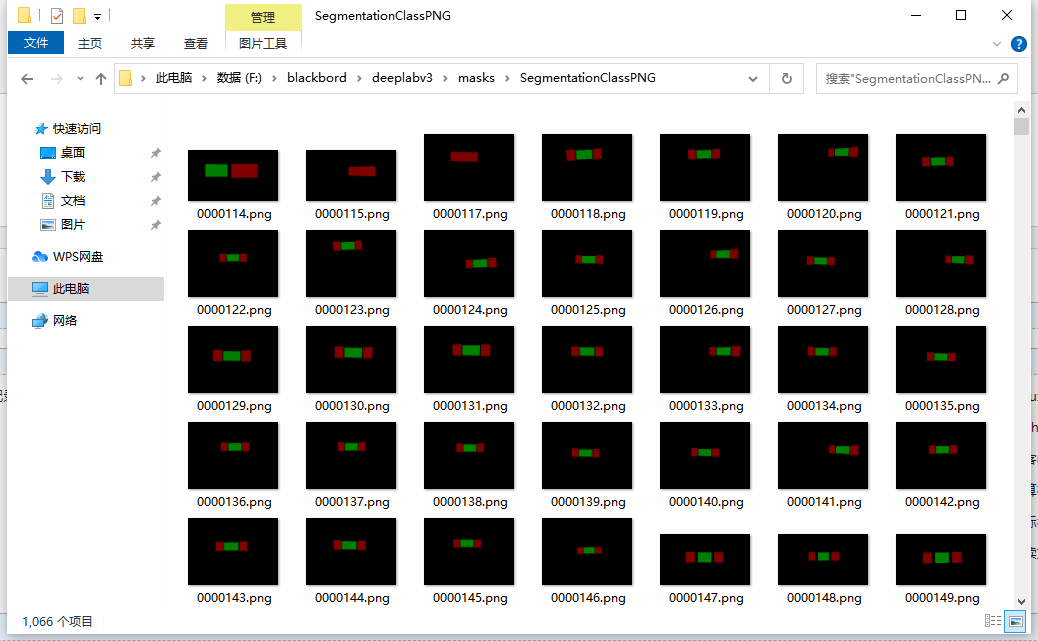
(3) mask灰度值的转换:
去除mask的colormap ,则可以使用自带的 remove_gt_colormap.py 脚本进行转换
python datasets/remove_gt_colormap.py --original_gt_folder /lwh/models/research/deeplab/datasets/blackboard/png --output_dir /lwh/models/research/deeplab/datasets/blackboard/mask
(4)制作指引文件,为生成tfrecord数据格式做准备
import os,shutil
from PIL import Image


train_path = r'F:lackborddeeplabv3masks	rain'
filelist_train = sorted(os.listdir(train_path))
val_path = r'F:lackborddeeplabv3masksval'
filelist_val = sorted(os.listdir(val_path))
index_path = r'F:lackborddeeplabv3masksindex'

VOC_file_dir = index_path


VOC_train_file = open(os.path.join(VOC_file_dir, "train.txt"), 'w')
VOC_test_file = open(os.path.join(VOC_file_dir, "val.txt"), 'w')
VOC_train_file.close()
VOC_test_file.close()

VOC_train_file = open(os.path.join(VOC_file_dir, "train.txt"), 'a')
VOC_test_file = open(os.path.join(VOC_file_dir, "val.txt"), 'a')

for eachfile in filelist_train:
    (temp_name,temp_extention) = os.path.splitext(eachfile)
    img_name = temp_name
    VOC_train_file.write(img_name + '
')

for eachfile in filelist_val:
    (temp_name, temp_extention) = os.path.splitext(eachfile)
    img_name = temp_name
    VOC_test_file.write(img_name + '
')

VOC_train_file.close()
VOC_test_file.close()
(4)制作tfrecord文件
需要四个文件路径

image存放原始的训练图片,index存放指引文件,mask存放去除水雾的label图片,tfrecord为保存训练数据,运行下面脚本命令,生成训练数据
python build_voc2012_data.py --image_folder="/lwh/models/research/deeplab/datasets/CamVid/image"
--semantic_segmentation_folder="/lwh/models/research/deeplab/datasets/CamVid/mask"
--list_folder="/lwh/models/research/deeplab/datasets/CamVid/index" --image_format="png" --label_format="png"
--output_dir="/lwh/models/research/deeplab/datasets/CamVid/tfrecord"
image_folder :数据集中原输入数据的文件目录地址
semantic_segmentation_folder:数据集中标签的文件目录地址
list_folder : 将数据集分类成训练集、验证集等的指示目录文件目录
image_format : 输入图片数据的格式
output_dir:制作的TFRecord存放的目录地址(自己创建)