1.白条产生的原因:
iOS 7 viewcontroller新增属性automaticallyAdjustsScrollViewInsets,即是否根据按所在界面的navigationbar与tabbar的高度,自动调整scrollview的 inset
self.automaticallyAdjustsScrollViewInsets = NO;
2.在iOS11系统以下 举个例子吧,对于有导航栏的页面添加一个tableview
- (void)setupTableView
{
    _tableView = [[UITableView alloc] initWithFrame:CGRectMake(0, 0, UIScreenWidth, UIScreenHeight) style:(UITableViewStylePlain)];
    [self.view addSubview:_tableView];
    _tableView.delegate = self;
    _tableView.dataSource = self;
}
会自动留一个64高度的白条,用于导航栏
- (void)setupTableView
{
    self.automaticallyAdjustsScrollViewInsets = NO;
    _tableView = [[UITableView alloc] initWithFrame:CGRectMake(0, 64, UIScreenWidth, UIScreenHeight-64) style:(UITableViewStylePlain)];
    [self.view addSubview:_tableView];
    _tableView.delegate = self;
    _tableView.dataSource = self;
}
效果是一样的,但是推荐后面这种布局,因为要适配iOS11和iPhone X的时候会好处理一点
3.iOS11 tableview的顶部设置
iOS11下是没有 automaticallyAdjustsScrollViewInsets 属性的,有一个替换属性 contentInsetAdjustmentBehavior
- (void)setupTableView
{
    _tableView = [[UITableView alloc] initWithFrame:CGRectMake(0, 64, UIScreenWidth, UIScreenHeight-64) style:(UITableViewStylePlain)];
    [self.view addSubview:_tableView];
    _tableView.delegate = self;
    _tableView.dataSource = self;
}4.iPhone X下的情况又有变化,顶部导航的高度不是64了,而是88,代码如下
#define UIScreenWidth               ([UIScreen mainScreen].bounds.size.width)
#define UIScreenHeight              ([UIScreen mainScreen].bounds.size.height)

#define IphoneX ([UIScreen instancesRespondToSelector:@selector(currentMode)] ? CGSizeEqualToSize(CGSizeMake(1125, 2436), [[UIScreen mainScreen] currentMode].size) : NO)

- (void)setupTableView
{
    CGFloat top = 64;
    if (IphoneX) {
        top += 24;
    }
    _tableView = [[UITableView alloc] initWithFrame:CGRectMake(0, top, UIScreenWidth, UIScreenHeight-top) style:(UITableViewStylePlain)];
    [self.view addSubview:_tableView];
    _tableView.delegate = self;
    _tableView.dataSource = self;
    if (@available(iOS 11.0, *)) {
        self.tableView.contentInsetAdjustmentBehavior = UIScrollViewContentInsetAdjustmentNever;
    } else {
        self.automaticallyAdjustsScrollViewInsets = NO;
    }
}
5.以上都是tableview的类型为 UITableViewStylePlain的情况下,在分组类型 UITableViewStyleGrouped 下又会有一些不同
- (void)setupData
{
    NSString *strName;
    self.dataSource = [[NSMutableArray alloc] init];
    for (int i = 0; i < 10; i++) {
        strName = [NSString stringWithFormat:@"第%d行",i];
        [self.dataSource addObject:strName];
    }
}

- (void)setupTableView
{
    CGFloat top = 64;
    if (IphoneX) {
        top += 24;
    }
    _tableView = [[UITableView alloc] initWithFrame:CGRectMake(0, top, UIScreenWidth, UIScreenHeight-top) style:(UITableViewStyleGrouped)];
    [self.view addSubview:_tableView];
    _tableView.delegate = self;
    _tableView.dataSource = self;
    if (@available(iOS 11.0, *)) {
        self.tableView.contentInsetAdjustmentBehavior = UIScrollViewContentInsetAdjustmentNever;
    } else {
        self.automaticallyAdjustsScrollViewInsets = NO;
    }
}

#pragma mark -- UITableViewDelegate, UITableViewDataSource

- (NSInteger)numberOfSectionsInTableView:(UITableView *)tableView {
    return 3;
}

- (NSInteger)tableView:(UITableView *)tableView numberOfRowsInSection:(NSInteger)section
{
    if (section == 0) {
        return 1;
    } else if(section == 1) {
        return 3;
    } else {
        return 6;
    }
}


- (UITableViewCell *)tableView:(UITableView *)tableView cellForRowAtIndexPath:(NSIndexPath *)indexPath
{
    static NSString *flag=@"cell";
    UITableViewCell *cell=[tableView dequeueReusableCellWithIdentifier:flag];
    if (cell==nil) {
        cell=[[UITableViewCell alloc]initWithStyle:UITableViewCellStyleDefault reuseIdentifier:flag];
    }
    if (indexPath.section == 0) {
        [cell.textLabel setText:self.dataSource[indexPath.row]];
    } else if (indexPath.section == 1) {
        [cell.textLabel setText:self.dataSource[indexPath.row+1]];
    } else {
        [cell.textLabel setText:self.dataSource[indexPath.row+4]];
    }

    return cell;

}
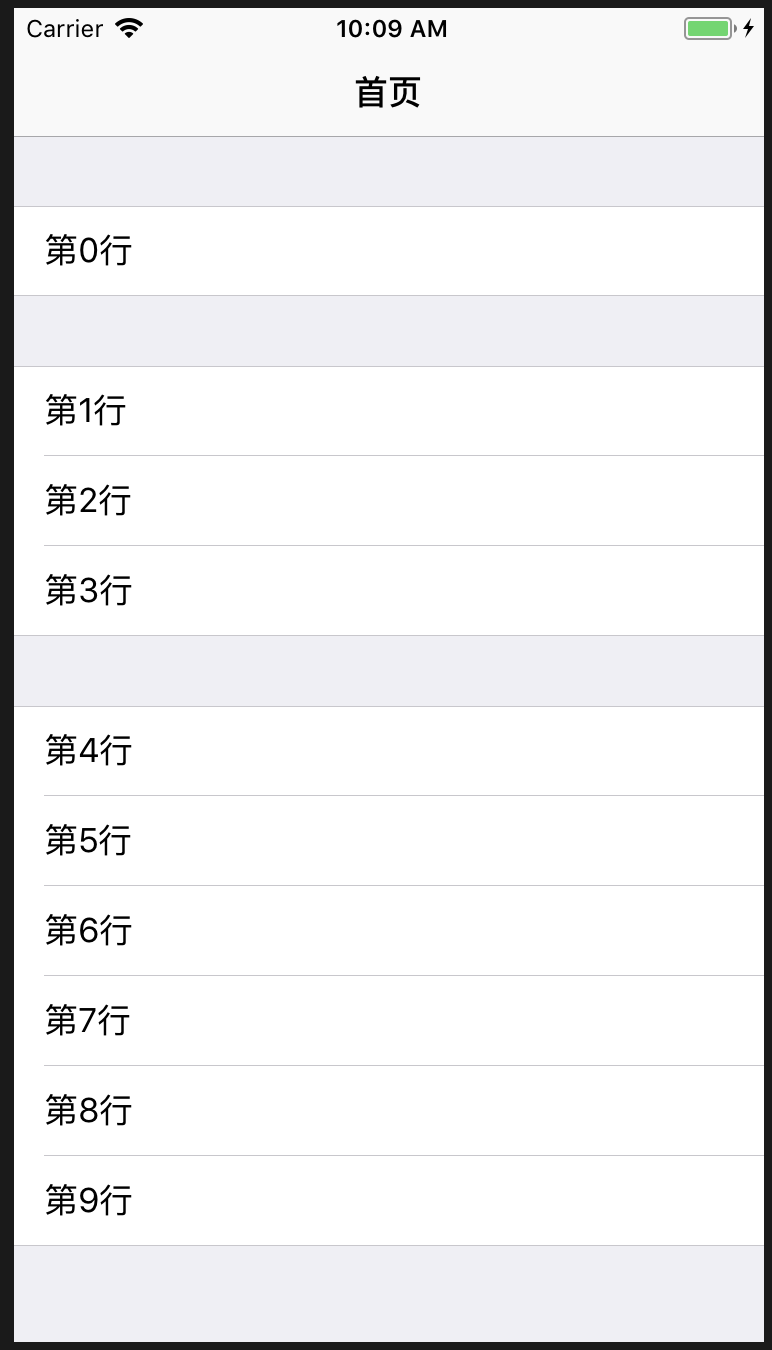
发现第一组上部与导航有一个距离,不合理
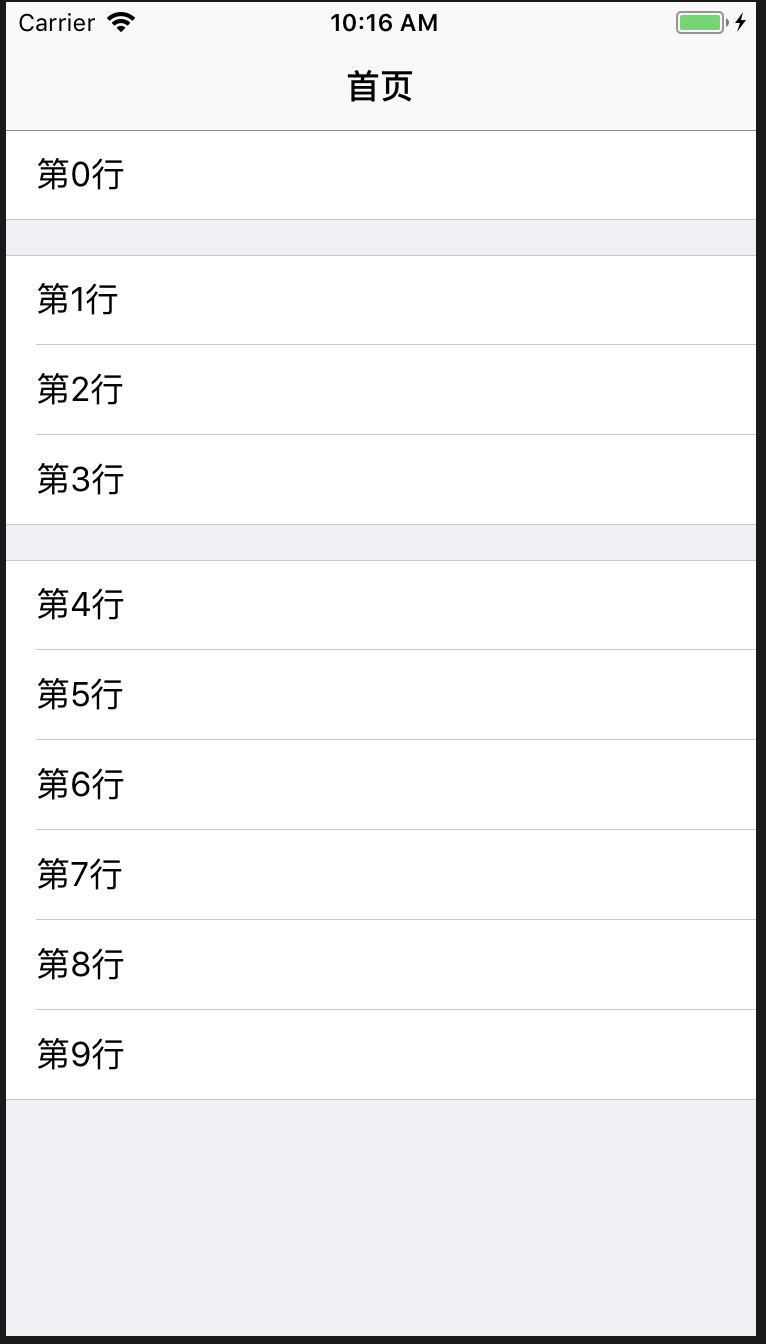
补充:对于UITableView的group类型,如果设置heightForHeaderInSection,那么也必须要设置heightForFooterInSection,否则的话heightForFooterInSection会被系统默认设置为15.0f
注意:其实分组的空隙就是headview的高度,分组的颜色就是tableview的背景色
- (CGFloat)tableView:(UITableView *)tableView heightForHeaderInSection:(NSInteger)section
{
if (section != 0) {
return 20;
} else {
return 0;
}
}
- (UIView *)tableView:(UITableView *)tableView viewForHeaderInSection:(NSInteger)section
{
UIView* myView = [[UIView alloc] init];
myView.backgroundColor = [UIColor greenColor];
return myView;
}
- (CGFloat)tableView:(UITableView *)tableView heightForFooterInSection:(NSInteger)section {
return 0.01;
}
- (UIView *)tableView:(UITableView *)tableView viewForFooterInSection:(NSInteger)section {
UIView* myView = [[UIView alloc] init];
return myView;
}
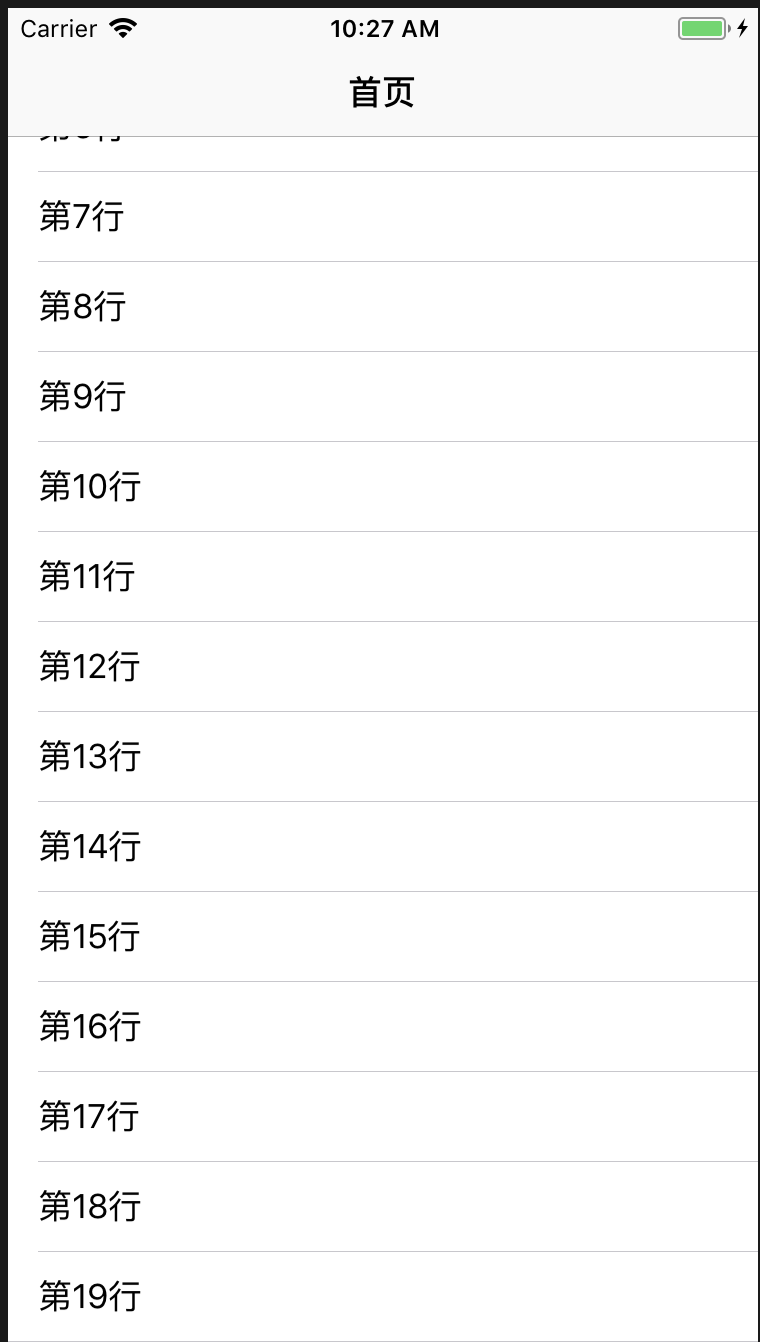
6.其他tableview的一些设置情况
//tableview分界线与tableview左边边界相距13px
[self.tableView setSeparatorInset:UIEdgeInsetsMake(0, 13, 0, 0)];

//tableview最后一条cell可以划动的最大距离tableview底部的距离为90
self.tableView.contentInset = UIEdgeInsetsMake(0, 0, 90, 0);

//tableview没有更多数据的时候不显示多余的空白cell
self.tableView.tableFooterView = [UIView new];

//cell右边显示的一些玩意
//灰色小箭头
cell.accessoryType = UITableViewCellAccessoryDisclosureIndicator;
//蓝色感叹号加灰色小箭头
cell.accessoryType = UITableViewCellAccessoryDetailDisclosureButton;
//蓝色对勾
cell.accessoryType = UITableViewCellAccessoryCheckmark;
//蓝色感叹号
cell.accessoryType = UITableViewCellAccessoryDetailButton;

//解决iOS11tableview刷新数据的时候页面会抖动
self.tableView.estimatedRowHeight = 0;
self.tableView.estimatedSectionFooterHeight = 0;
self.tableView.estimatedSectionHeaderHeight = 0;

//tableview添加xib cell 和 手动创建cell 的两种方式
//xib 布局cell
[self.tableView registerNib:[UINib nibWithNibName:@"FNGroupFileMenuTableViewCell" bundle:nil] forCellReuseIdentifier:@"groupFileMenuCellIdentifier"];
//手动创建cell
[self.tableView registerClass:[FNAgendaListTableViewCell class] forCellReuseIdentifier:kFNAgendaListCellIdentifier];