摘要:
--生产环境--˃22prod2324prod252627ViewCode加完后,进入Maven项目看实际prod的配置文件有点问题,还是用dev的好。首先执行下jeecg-boot-parent的install操作然后mavenpackage打jar包这样在jeecg-boot-module-system的目录里面能找到打好的jar包,貌似比较大。那有没办法分离打呢?同时修改class目录为配置文件目录,待会和jar包、lib文件夹放在同一个目录。
后端Jar 包
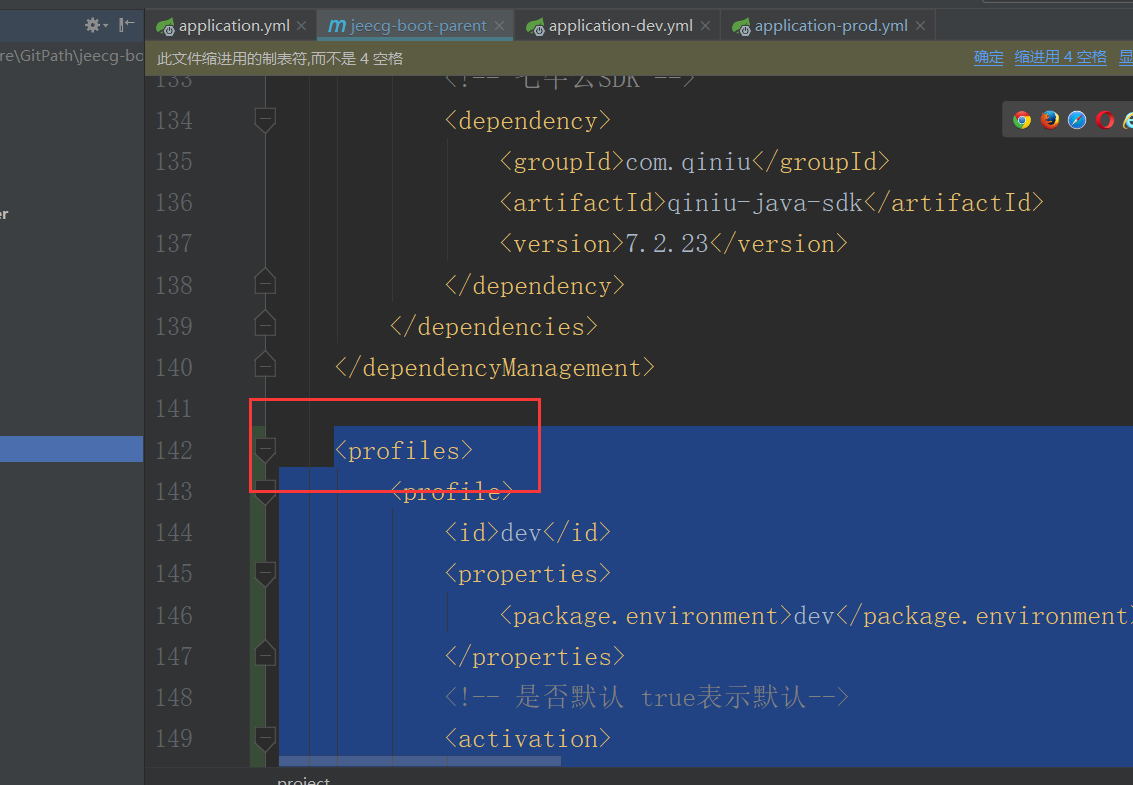
在根POM文件 加入profiles配置


1 <profiles>
2         <profile>
3             <id>dev</id>
4             <properties>
5                 <package.environment>dev</package.environment>
6             </properties>
7             <!--是否默认 true表示默认-->
8             <activation>
9                 <activeByDefault>true</activeByDefault>
10             </activation>
11         </profile>
12
13         <profile>
14             <id>test</id>
15             <properties>
16                 <package.environment>test</package.environment>
17             </properties>
18         </profile>
19
20         <profile>
21             <!--生产环境 -->
22             <id>prod</id>
23             <properties>
24                 <package.environment>prod</package.environment>
25             </properties>
26         </profile>
27     </profiles>
加完后,进入Maven项目看
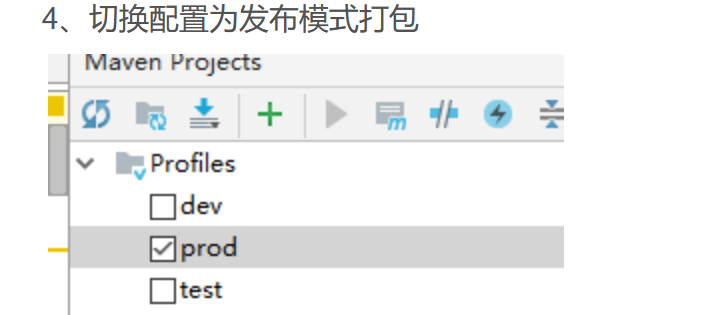
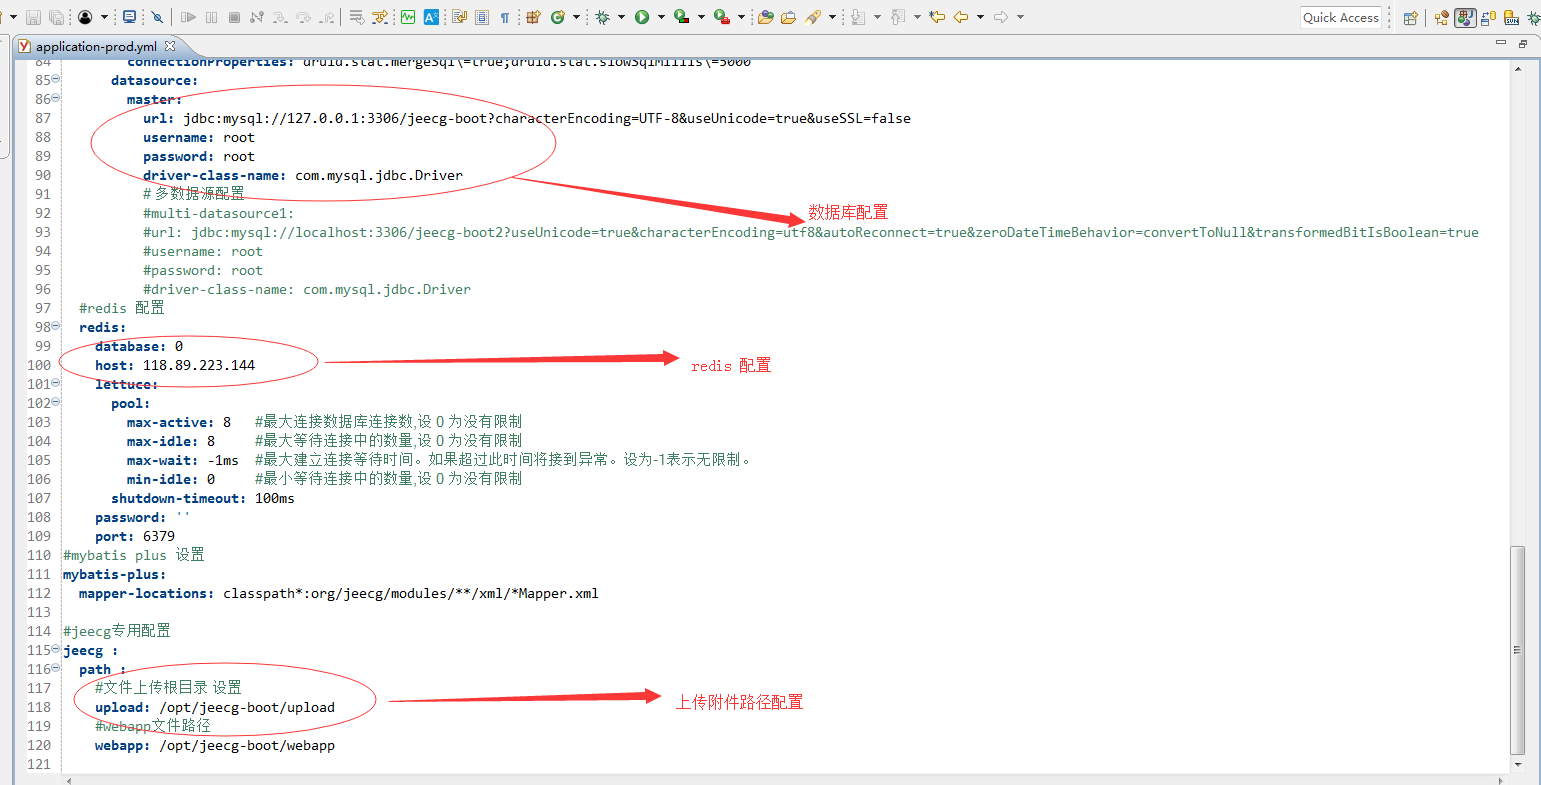
实际 prod的配置文件有点问题,还是用 dev的好。
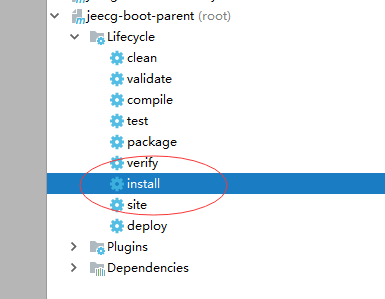
首先执行下jeecg-boot-parent的install 操作
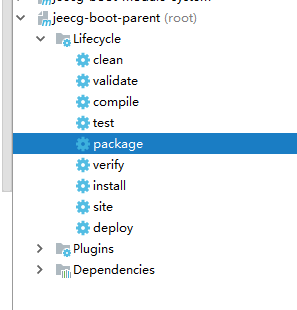
然后 maven package 打jar包
这样在jeecg-boot-module-system的目录里面能找到 打好的jar包,貌似比较大。有1百多M。
那有没办法分离打呢?有。
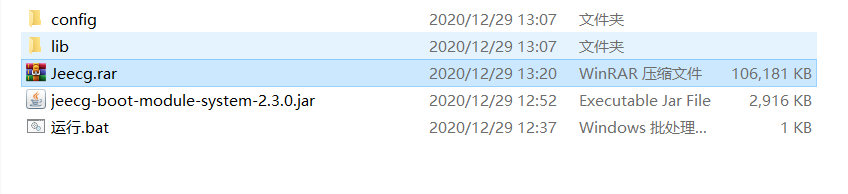
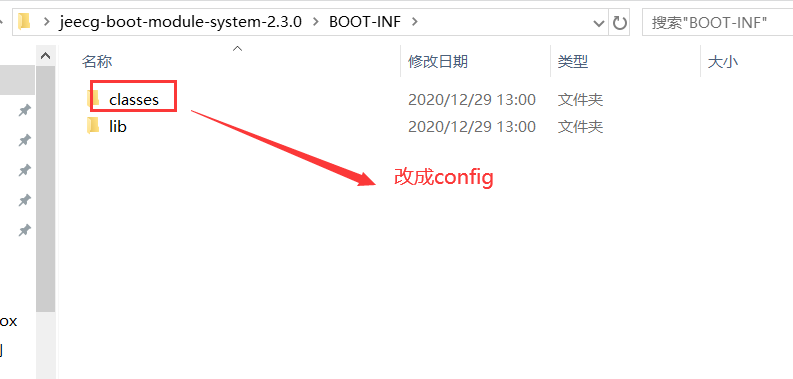
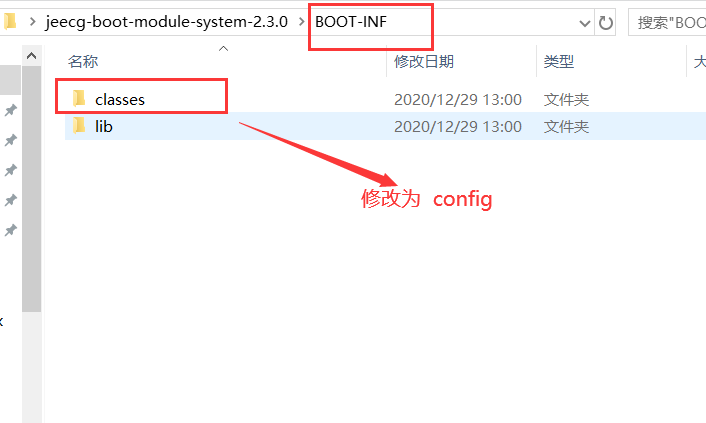
首先把这个打好的将jar包解压,将 BOOT-INF 下的 lib 包拿出单独存放。同时修改class目录为配置文件目录,待会和jar包、lib文件夹放在同一个目录。
修改jeecg-boot-module-system的pom重新打包
把这段
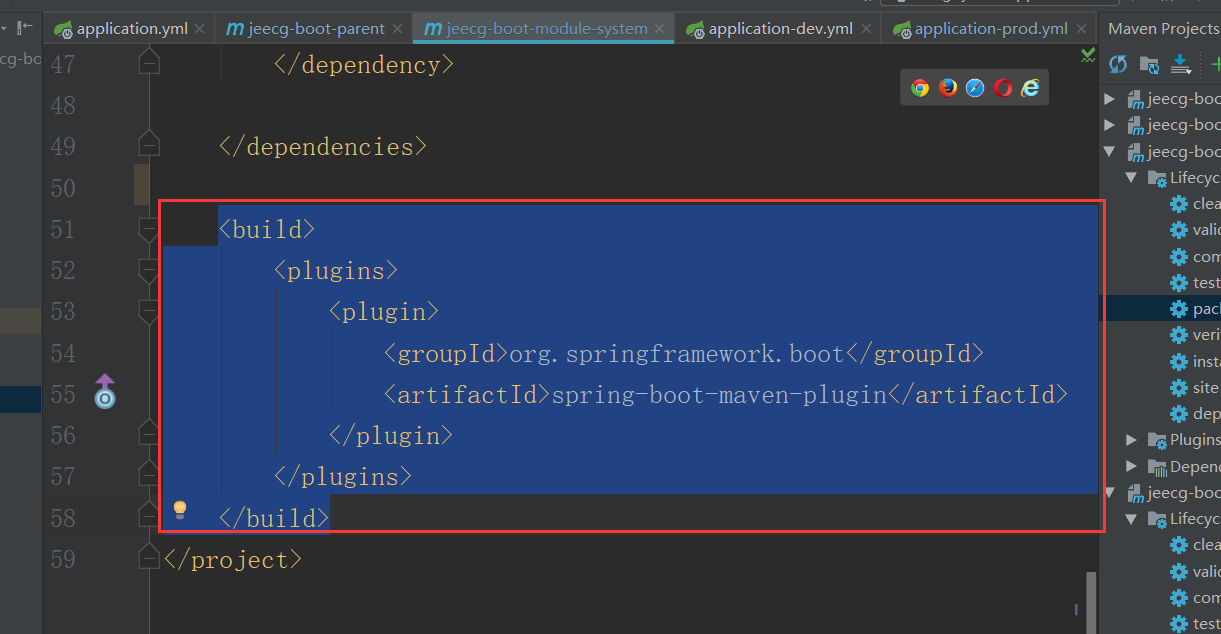
替换成
1 <build>
2         <plugins>
3             <plugin>
4                 <groupId>org.springframework.boot</groupId>
5                 <artifactId>spring-boot-maven-plugin</artifactId>
6                 <configuration>
7                     <layout>ZIP</layout>
8                     <includes>
9                         <include>
10                             <groupId>nothing</groupId>
11                             <artifactId>nothing</artifactId>
12                         </include>
13                     </includes>
14                 </configuration>
15                 <executions>
16                     <execution>
17                         <goals>
18                             <goal>repackage</goal>
19                         </goals>
20                     </execution>
21                 </executions>
22             </plugin>
23         </plugins>
24     </build>

这样打出来的jar包就很小了。最后的目录文件夹就是这样的。