摘要:
所选版本Openresty的版本号相对简单。形式为:Openresty 1.2.3。例如,Openresty 1.17.8.2表示它是基于Nginx1.17.8开发的第二个版本。选择的标准是根据自己的需要下载并安装与nginx版本对应的预编译包(可以跳过)。这里,以Centos为例,简单介绍一下。根据官方要求,RedHat类系统支持的Openresty版本为:x.x.6.xx.x.7.xx.8。x(x)
选择版本
Openresty的版本号比较简单,形式为:Openresty 1.2.3.x 例如Openresty 1.17.8.2表示是基于Nginx 1.17.8开发的第二个版本
那么选择的标准就是根据自己的需要,对应nginx的版本来下载
预编译包安装(可跳过)
这里以centos为例,简单带过一下,根据官方的要求,Red Hat类的系统支持的Openresty版本为:
x.x.6.x
x.x.7.x
x.x.8.x
yum包安装的话很简单
[root@localhost ~]# wget https://openresty.org/package/centos/openresty.repo      #下载yum配置文件
[root@localhost ~]# mv openresty.repo /etc/yum.repos.d/      #移动文件至yum配置目录下
[root@localhost ~]# yum check-update      #检查更新,生效yum配置文件
[root@localhost ~]# yum install -y openresty      #安装
[root@localhost ~]# yum install -y openresty openresty-resty      #安装Openresty和命令行工具 resty
[root@localhost ~]# systemctl start openresty.service       #开启Openresty服务
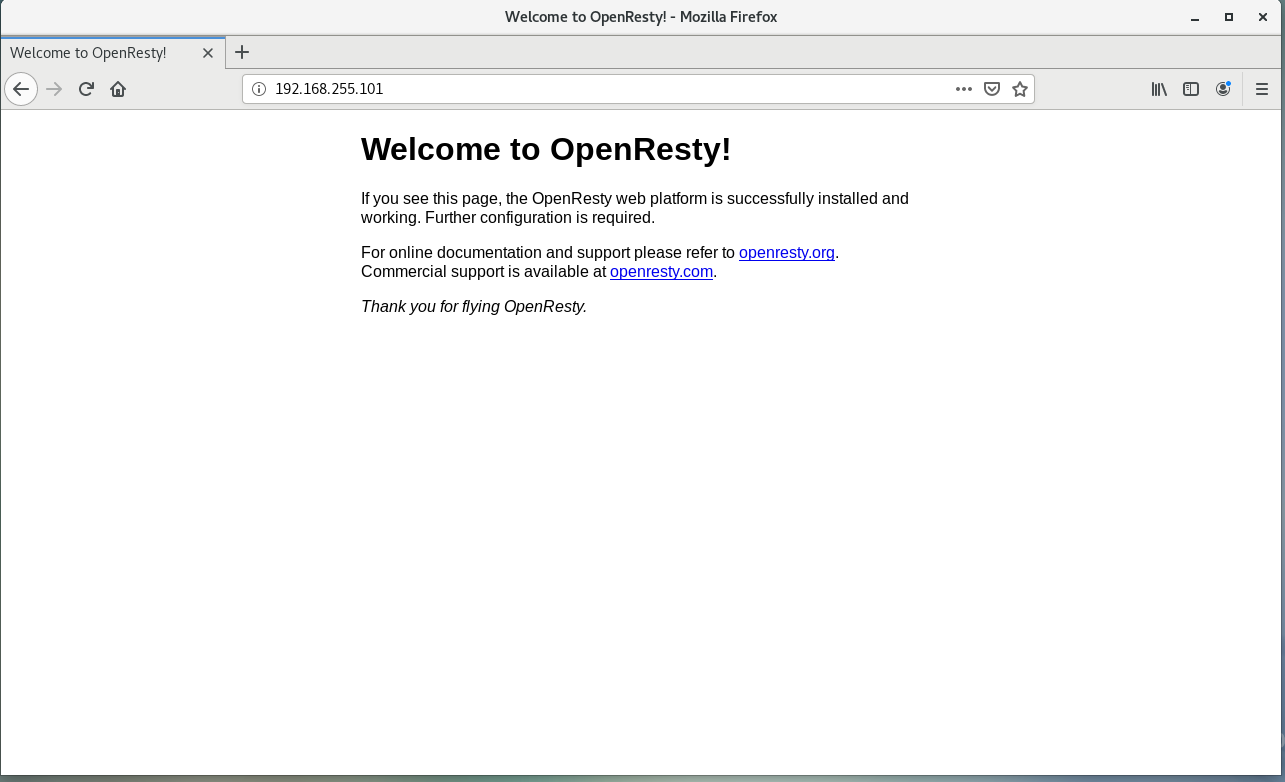
事实上这个时候我们就可以初见Openresty和Nginx那“不清不楚”的关系-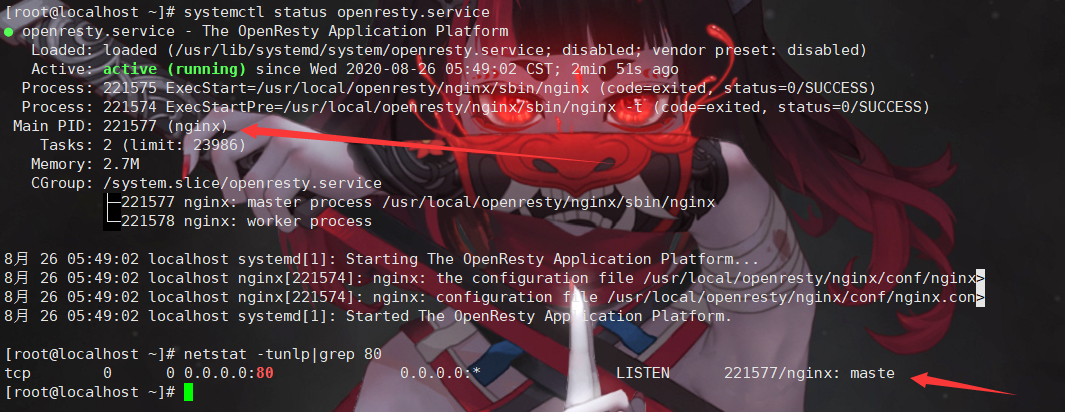
使用浏览器验证一下,服务是否正常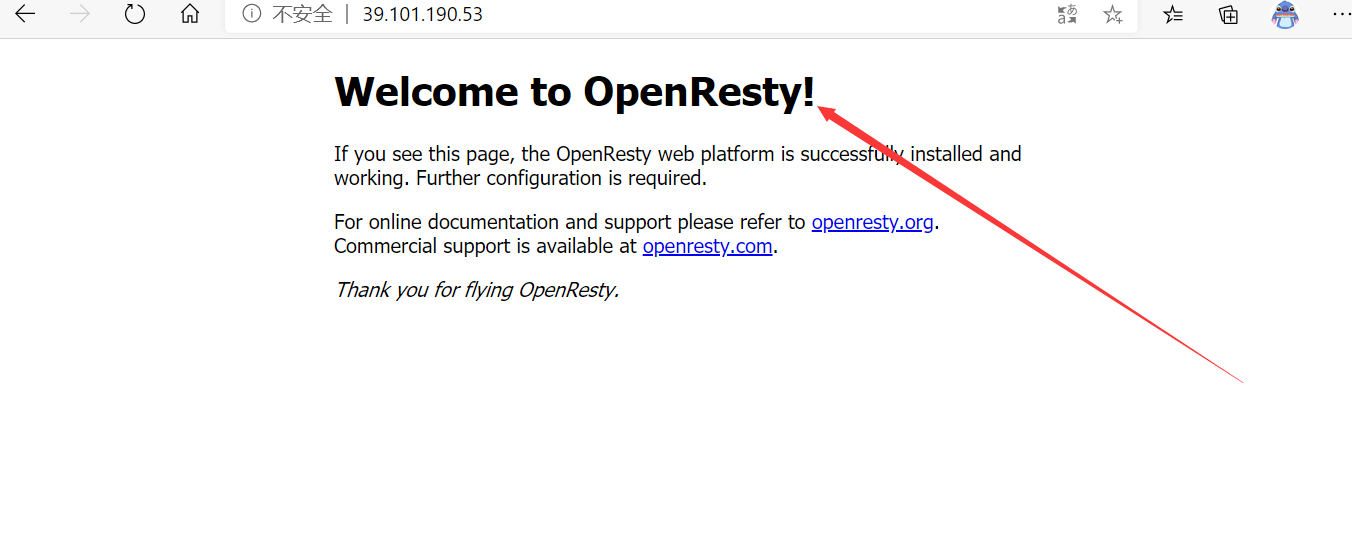
源码包编译安装
其实选择源码包编译安装和yum安装并没有多大区别(对开发实验而言,功能上并没有多大区别),只不过源码包安装可以"个性化"定制:指定安装路径、配置参数,增删模块等
废话不多说,开整
指定安装路径为/web目录(根据自己的需要)
启动HTTP2和真实IP地址转发
编译使用OpenSSL 1.1.1g
[root@localhost ~]# mkdir /web      #创建/web目录
[root@localhost ~]# cd /usr/local/src/      #切换到源码包安装目录
[root@localhost src]# wget https://openresty.org/download/openresty-1.15.8.3.tar.gz      #下载源码包
[root@localhost src]# wget https://www.openssl.org/source/openssl-1.1.1g.tar.gz
[root@localhost src]# tar -zvxf openresty-1.15.8.3.tar.gz       #解压openresty
[root@localhost src]# tar -zvxf openssl-1.1.1g.tar.gz           #解压openssl
[root@localhost src]# cd openresty-1.15.8.3/      #进入安装目录
[root@localhost openresty-1.15.8.3]# ./configure --prefix=/web/openresty --with-http_v2_module --with-http_realip_module --with-openssl=/usr/local/src/openssl-1.1.1g
[root@localhost openresty-1.15.8.3]# gmake
[root@localhost openresty-1.15.8.3]# gmake install
验证
[root@localhost ~]# /web/openresty/bin/openresty       #开启openresty服务
[root@localhost ~]# netstat -tunlp|grep 80             #监听80端口
tcp        0      0 0.0.0.0:80              0.0.0.0:*               LISTEN      70847/nginx: master
[root@localhost ~]# ps -aux |grep openresty            #查看openresty进程
root      70847  0.0  0.1  33024  1444 ?        Ss   09:10   0:00 nginx: master process /web/openresty/bin/openresty
root      70860  0.0  0.0 112824   976 pts/1    R+   09:10   0:00 grep --color=auto openresty
浏览器验证