基于 Jenkins + Git + Ansible 发布 PHP 项目
1、部署 PHP 运行环境
PHP 是一个动态程序,负责解析 PHP-FPM 服务,而这个服务不支持静态网页处理,一般结合 Nginx 解决这个问题。Nginx 本身是一个静态 Web 服务器,并不支持解析 PHP 程序,但它支持了 FastCGI 接口来调用动态服务来解析 PHP 程序。
当客户端请求 PHP 页面时,Nginx 通过 fastcgi 接口转发给本地 9000 端口的 PHP-FPM 子进程处理,处理完成后返回 Nginx。
1)安装 Nginx
配置 Nginx 网络源
[root@tomcat ~]# vim /etc/yum.repos.d/nginx.repo
[nginx]
name=nginx repo
baseurl=http://nginx.org/packages/centos/7/$basearch/
gpgcheck=0
enabled=1
安装并启动
[root@tomcat ~]# yum -y install nginx
[root@tomcat ~]# systemctl start nginx
2)安装 PHP
安装 PHP 依赖的第三方库,命令如下:
[root@tomcat ~]# yum -y install gd-devel libxml2-devel libcurl-devel libjpeg-devel libpng-devel gcc gcc-c++ make openssl-*
编译安装 PHP
[root@tomcat ~]# tar xf php-5.6.39.tar.gz -C /usr/src/
[root@tomcat ~]# cd /usr/src/php-5.6.39/
[root@tomcat php-5.6.39]# ./configure --prefix=/usr/local/php --with-config-file-path=/usr/local/php/etc --with-mysql --with-mysqli --with-openssl --with-zlib --with-curl --with-gd --with-jpeg-dir --with-png-dir --with-iconv --enable-fpm --enable-zip --enable-mbstring && make && make install
配置 php-fpm,命令如下:
[root@tomcat php-5.6.39]# cp php.ini-production /usr/local/php/etc/php.ini
[root@tomcat php-5.6.39]# cp /usr/local/php/etc/php-fpm.conf.default /usr/local/php/etc/php-fpm.conf
[root@tomcat php-5.6.39]# vim /usr/local/php/etc/php-fpm.conf
149 user = nginx
150 group = nginx[root@tomcat php-5.6.39]# cp sapi/fpm/init.d.php-fpm /etc/init.d/php-fpm
[root@tomcat php-5.6.39]# chmod +x /etc/init.d/php-fpm[root@tomcat php-5.6.39]# service php-fpm start
Starting php-fpm done
3)Nginx 代理 PHP
添加虚拟主机配置如下:
[root@tomcat ~]# vim /etc/nginx/conf.d/default.conf
location / {
root /usr/share/nginx/html;
index index.html index.htm index.php;
}location ~.php${
root /usr/share/nginx/html;
fastcgi_pass 127.0.0.1:9000;
fastcgi_index index.php;
fastcgi_param SCRIPT_FILENAME $document_root$fastcgi_script_nam
e;
include fastcgi_params;
}[root@tomcat ~]# systemctl restart nginx
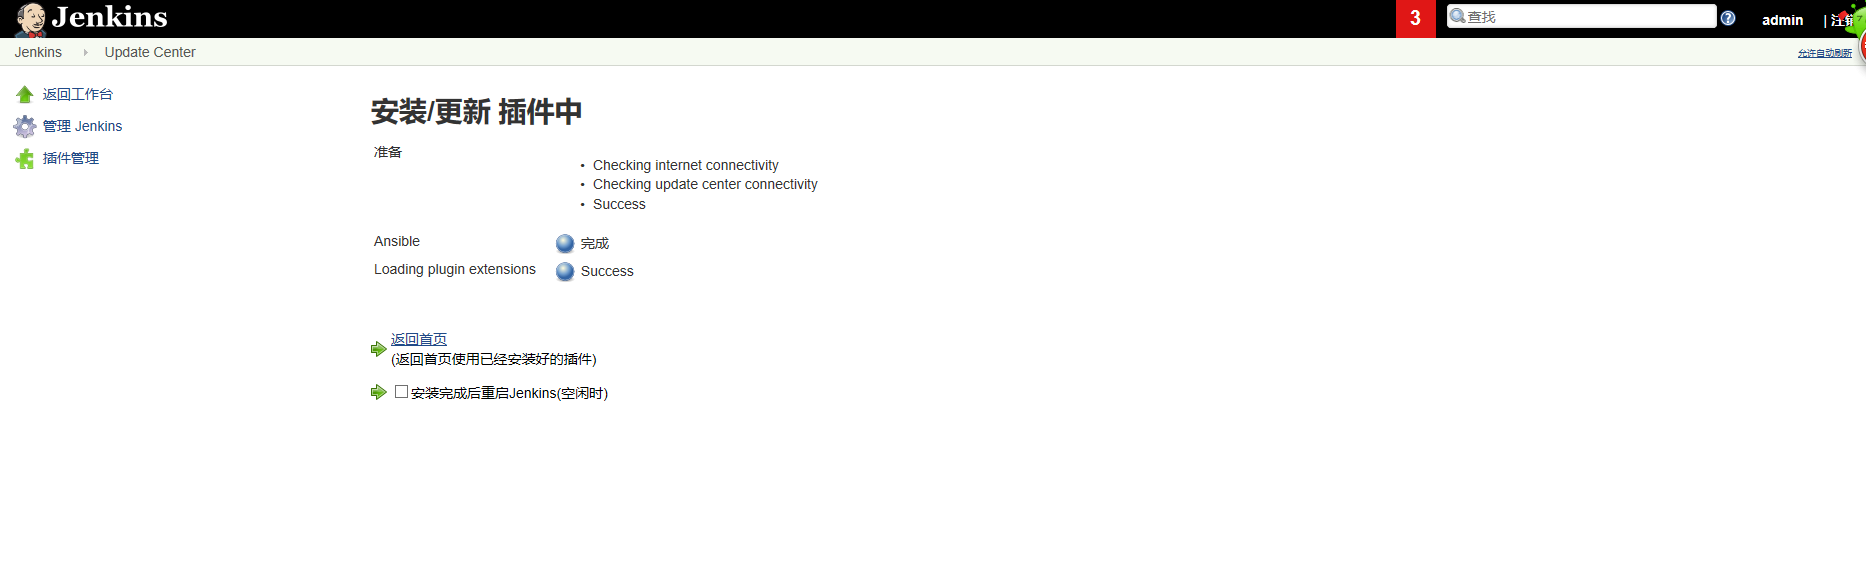
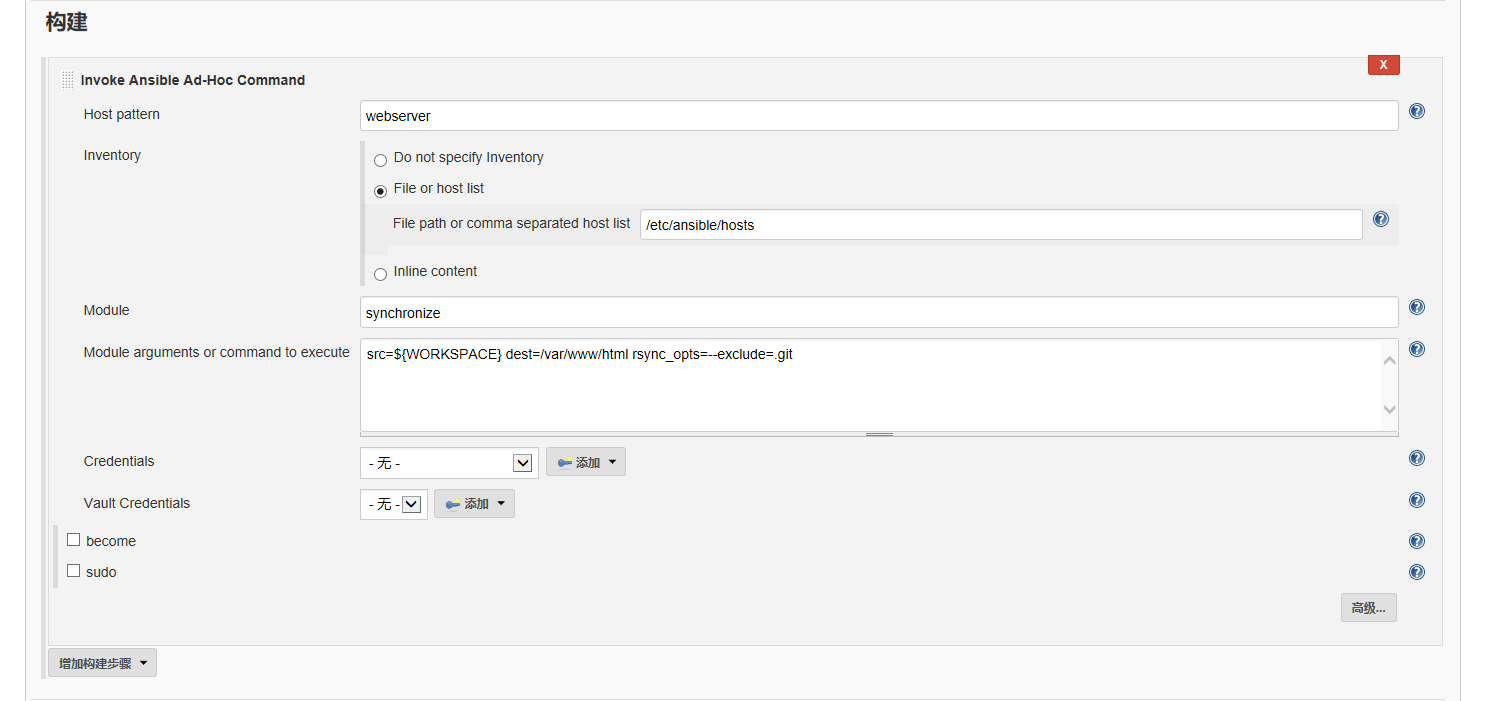
2、安装 Ansible 插件
3、上传 PHP 项目代码到 Git 仓库
1)在 Git 服务器创建 wordpress 版本仓库
[root@git ~]# su - git
[git@git ~]$ mkdir wordpress.git
[git@git ~]$ cd wordpress.git/
[git@git wordpress.git]$ git --bare init
初始化空的 Git 版本库于 /home/git/wordpress.git/
2)下载开源 PHP 博客系统 wordpress
[root@jenkins ~]# wget https://wordpress.org/latest.tar.gz
[root@jenkins ~]# tar xf latest.tar.gz
[root@jenkins ~]# cd wordpress/
3) 提交到 Git 仓库
[root@jenkins wordpress]# git init
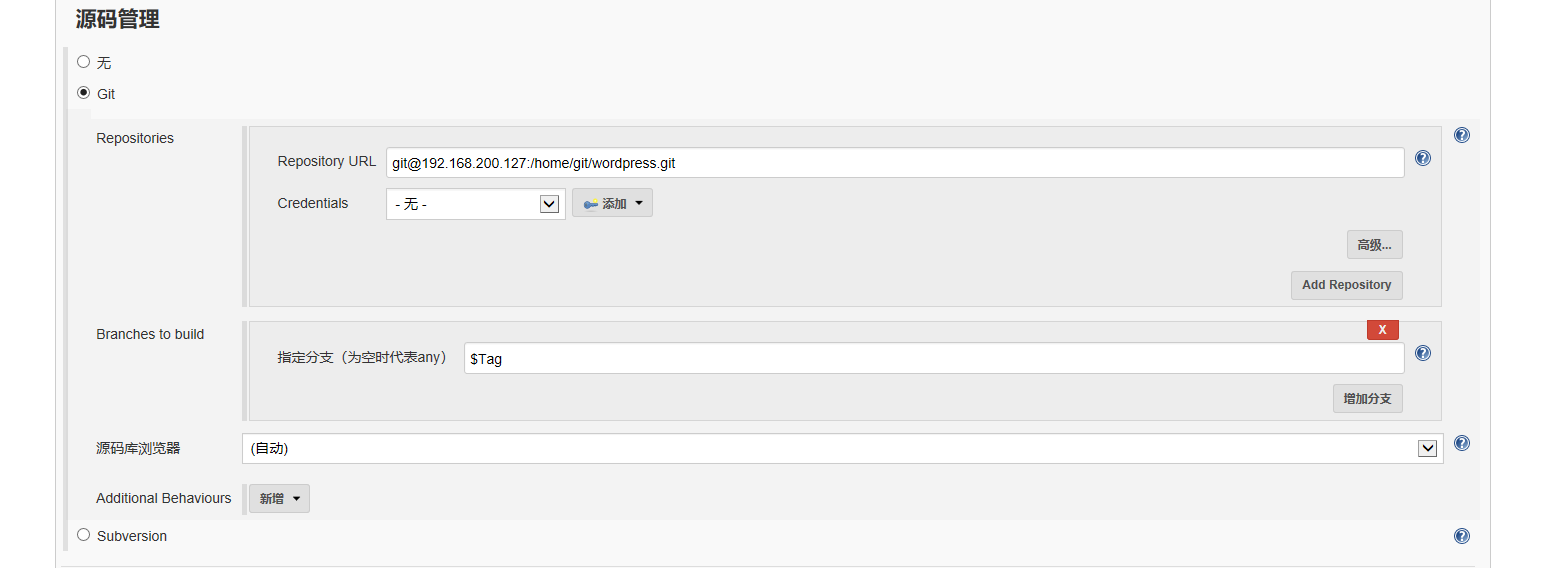
[root@jenkins wordpress]# git remote add origin git@192.168.200.127:/home/git/wordpress.git
[root@jenkins wordpress]# git add .
[root@jenkins wordpress]# git commit -m "wp"
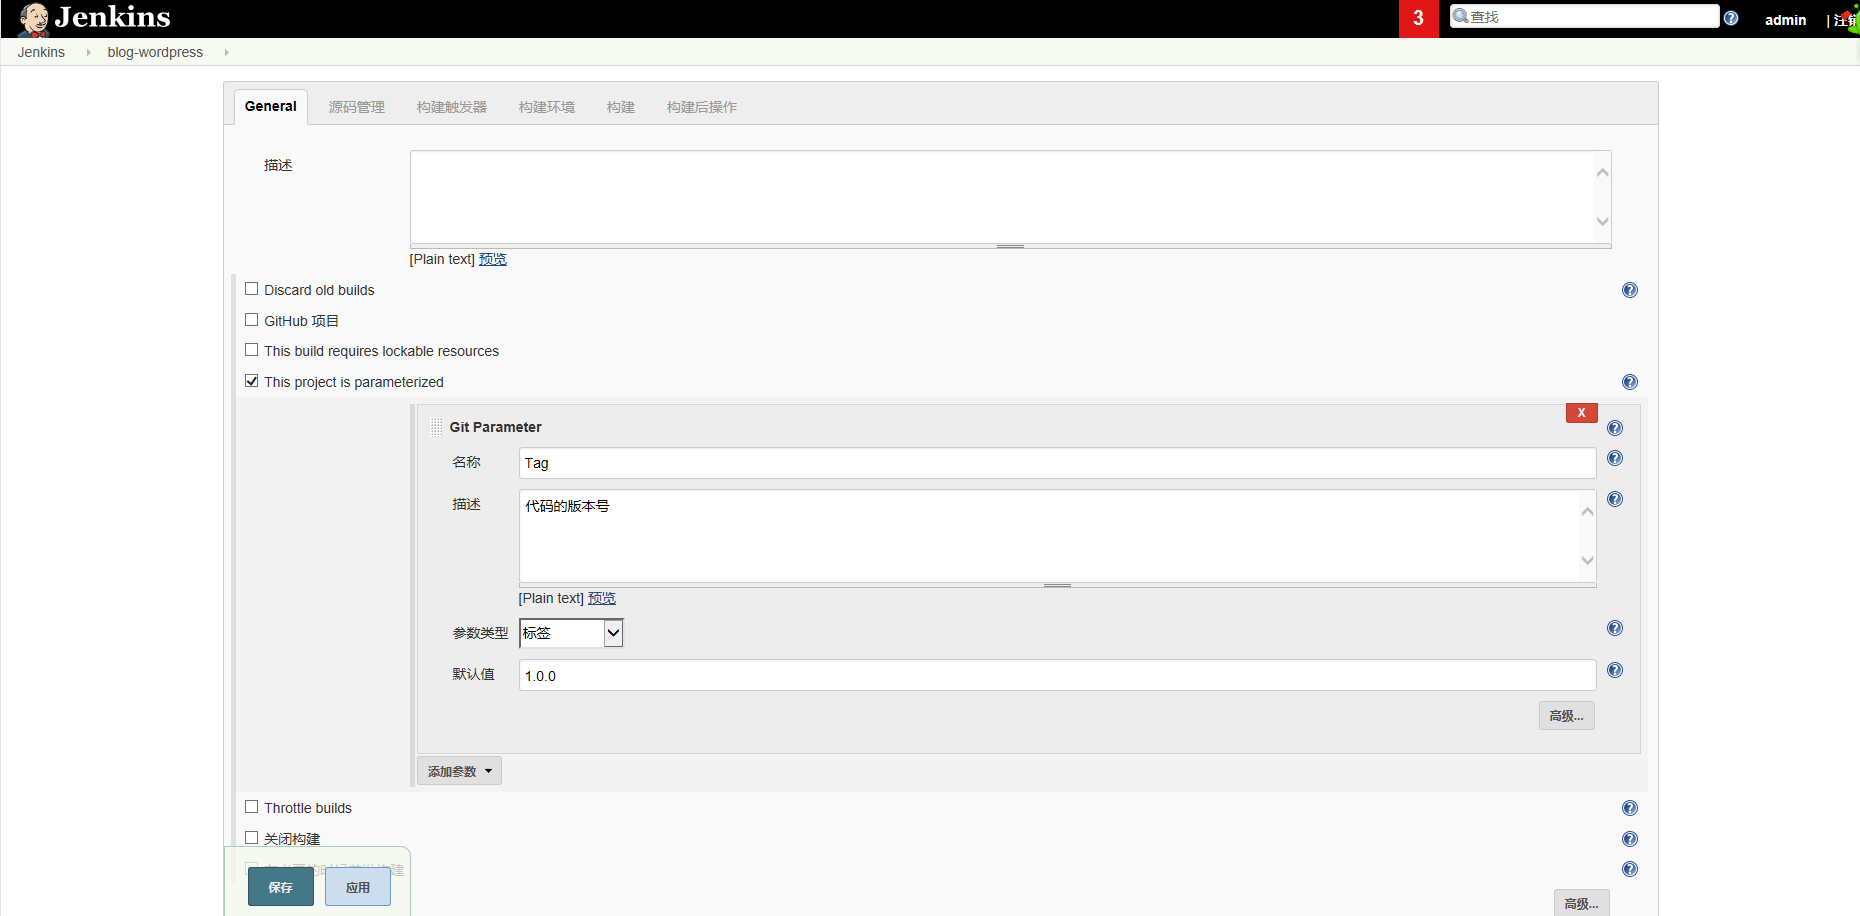
[root@jenkins wordpress]# git tag 1.0.0
[root@jenkins wordpress]# git push origin 1.0.0
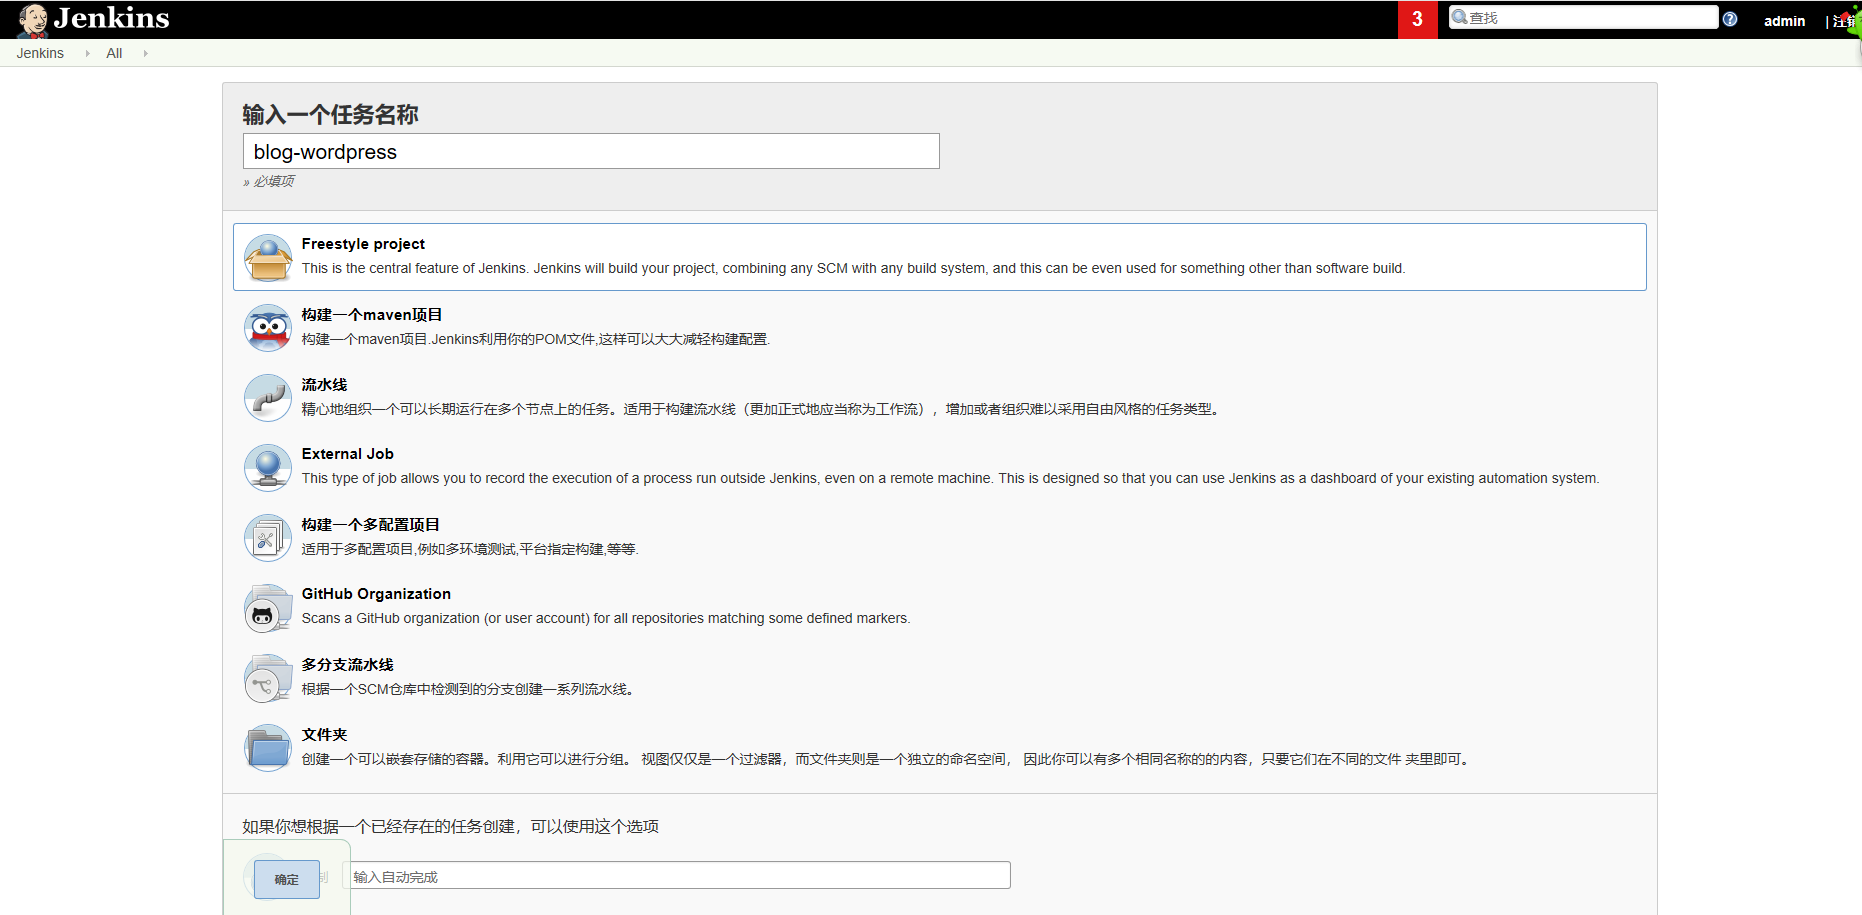
4、Jenkins 创建项目并发布测试


1)模拟实际生产环境提交代码,作用是可以清楚看到两次发版代码的不同
[root@jenkins ~]# cd wordpress/
[root@jenkins wordpress]# echo "Hello Wordpress" > test.html
2)将修改的 test.html 提交到 Git 仓库
[root@jenkins wordpress]# git add .
[root@jenkins wordpress]# git commit -m "hw"
[master f1f2d1c] hw
1 file changed, 1 insertion(+)
create mode 100644 test.html
[root@jenkins wordpress]# git tag 1.0.1
[root@jenkins wordpress]# git push origin 1.0.1
枚举对象: 4, 完成.
对象计数中: 100% (4/4), 完成.
使用 2 个线程进行压缩
压缩对象中: 100% (2/2), 完成.
写入对象中: 100% (3/3), 270 bytes | 270.00 KiB/s, 完成.
总共 3 (差异 1),复用 0 (差异 0)
To 192.168.200.127:/home/git/wordpress.git
* [new tag] 1.0.1 -> 1.0.1
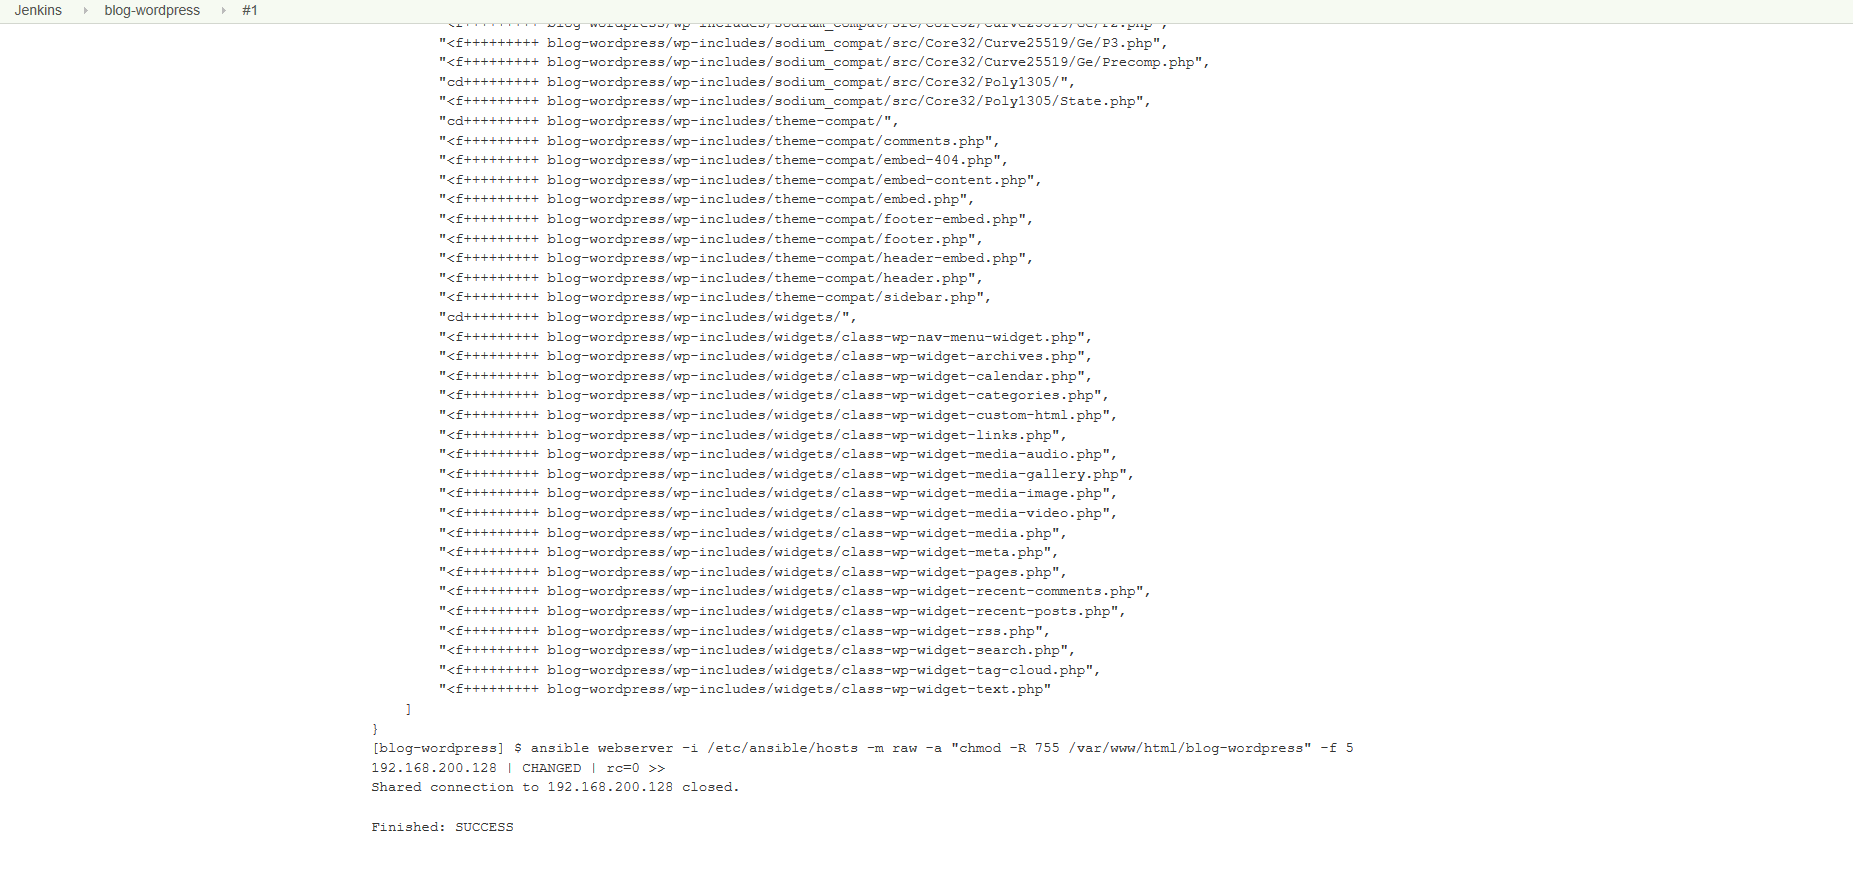
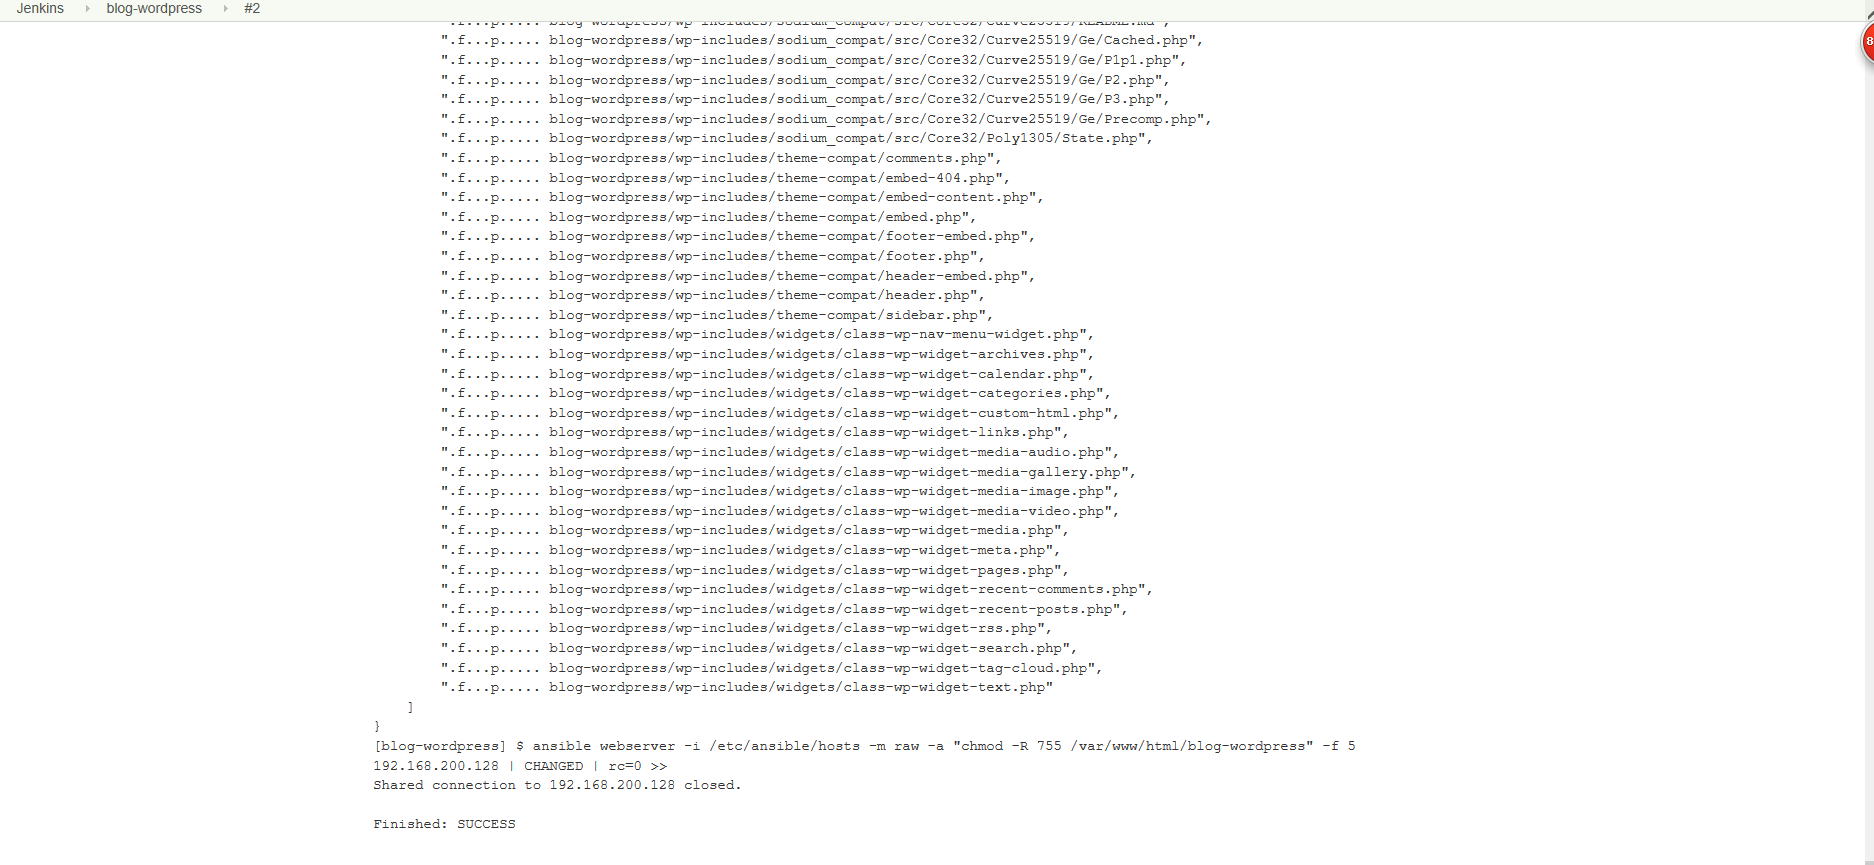
3)在 Jenkins 执行构建任务
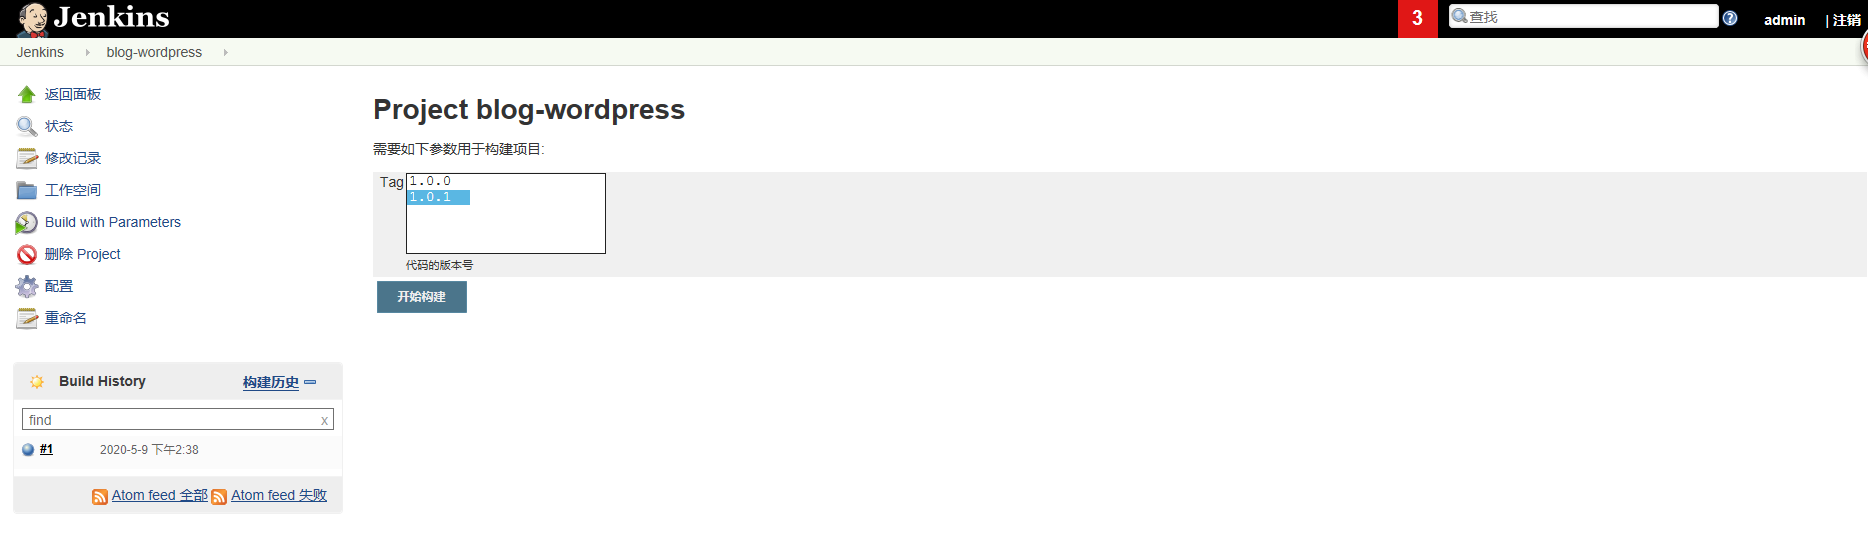
然后呢,代码回滚操作,你就按版本来构建就行了。