摘要:
Null=True)数据=模型。TextField(u'Asset Data')日期=模型。DateTimeField(u'报告日期',auto_now_add=True)已批准=型号。BooleanField(u'Approved',默认值=False)Approved_by=models.ForeignKey('UserProfile',
1、想在admin中增加新的字段如图:
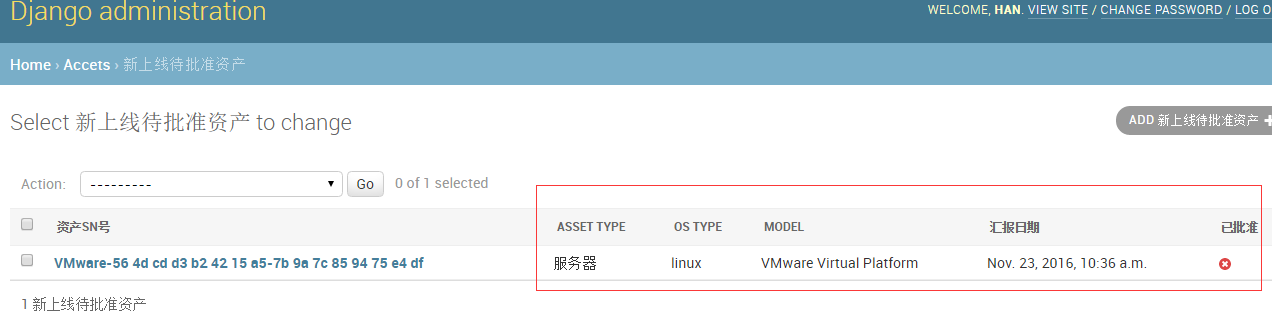
默认django只显示 def __str__(self)里面的return的值
from django.contrib import admin

# Register your models here.
from accets import models

class NewAssetApprovalZoneAdmin(admin.ModelAdmin):
#自定义一个类,必须继承 admin.ModelAdmin
    """增加列数据"""
   #list_display中的数据就是在models中设置的字段
    list_display = ['sn', 'asset_type', 'os_type', 'model' ,"date", "approved"]

admin.site.register(models.EventLog),
admin.site.register(models.Manufactory),
admin.site.register(models.Tag)
admin.site.register(models.NewAssetApprovalZone,NewAssetApprovalZoneAdmin)


class NewAssetApprovalZone(models.Model):
    sn = models.CharField(u'资产SN号',max_length=128, unique=True)
    asset_type_choices = (
        ('server', u'服务器'),
        ('switch', u'交换机'),
        ('router', u'路由器'),
        ('firewall', u'防火墙'),
        ('storage', u'存储设备'),
        ('NLB', u'NetScaler'),
        ('wireless', u'无线AP'),
        ('software', u'软件资产'),
        ('others', u'其它类'),
    )
    asset_type = models.CharField(choices=asset_type_choices,max_length=64,blank=True,null=True)
    manufactory = models.CharField(max_length=64,blank=True,null=True)
    model = models.CharField(max_length=128,blank=True,null=True)
    ram_size = models.IntegerField(blank=True,null=True)
    cpu_model = models.CharField(max_length=128,blank=True,null=True)
    cpu_count = models.IntegerField(blank=True,null=True)
    cpu_core_count = models.IntegerField(blank=True,null=True)
    os_distribution =  models.CharField(max_length=64,blank=True,null=True)
    os_type =  models.CharField(max_length=64,blank=True,null=True)
    os_release =  models.CharField(max_length=64,blank=True,null=True)
    data = models.TextField(u'资产数据')
    date = models.DateTimeField(u'汇报日期',auto_now_add=True)
    approved = models.BooleanField(u'已批准',default=False)
    approved_by = models.ForeignKey('UserProfile',verbose_name=u'批准人',blank=True,null=True)
    approved_date = models.DateTimeField(u'批准日期',blank=True,null=True)

    def __str__(self):
        return self.sn
    class Meta:
        verbose_name = '新上线待批准资产'
        verbose_name_plural = "新上线待批准资产"
2、增加过滤功能
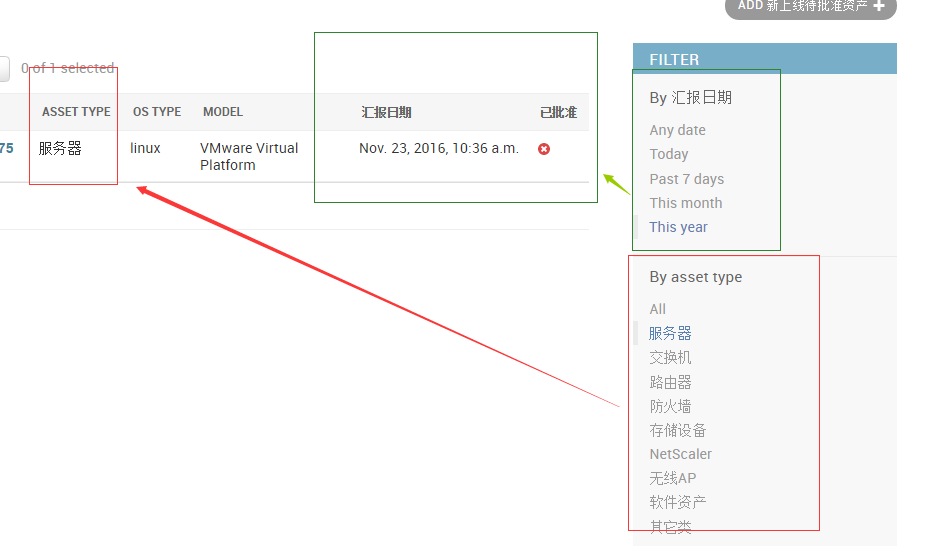
class NewAssetApprovalZoneAdmin(admin.ModelAdmin):
    """增加列数据"""
    list_display = ['sn', 'asset_type', 'os_type', 'model' ,"date", "approved"]
    list_filter = ('date', 'asset_type' )

admin.site.register(models.Asset),
admin.site.register(models.BusinessUnit),
admin.site.register(models.IDC),
admin.site.register(models.Server),
admin.site.register(models.NetworkDevice),
admin.site.register(models.NewAssetApprovalZone,NewAssetApprovalZoneAdmin)
3、只能在多对多的列中使用
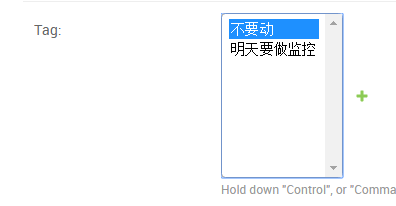 ======》
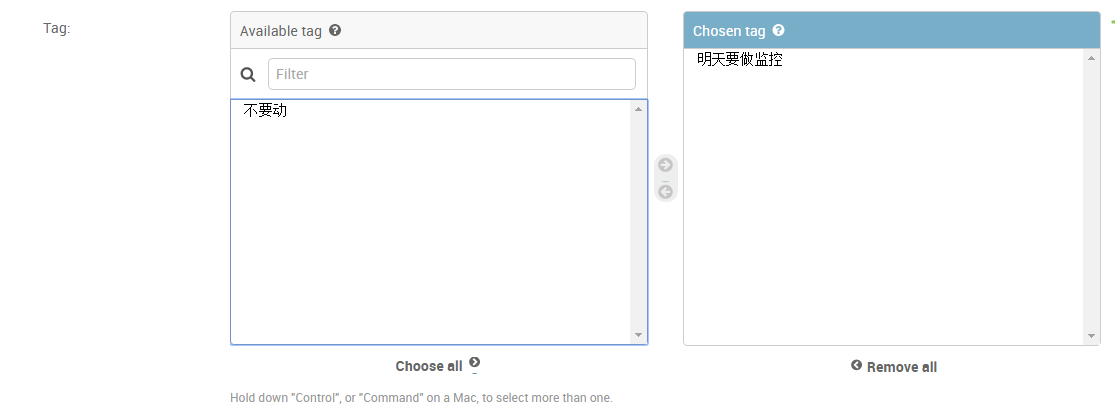
class AssetAdmin(admin.ModelAdmin):
    list_display = ['name', 'sn', "asset_type", "create_date", "update_date" ]
    filter_horizontal =('tag',)

admin.site.register(models.Asset,AssetAdmin),
admin.site.register(models.BusinessUnit),
admin.site.register(models.IDC),
admin.site.register(models.Server),
admin.site.register(models.NetworkDevice),
tag就是models 中 Asset的一个列
4、增加下拉框选项:
class NewAssetApprovalZoneAdmin(admin.ModelAdmin):
    """增加列数据"""
    list_display = ['sn', 'asset_type', 'os_type', 'model' ,"date", "approved"]
    list_filter = ('date', 'asset_type',)
    search_fields = ("sn", "os_type",)

    actions = ['apprpve_select_rows']
  def apprpve_select_rows(self,*args,**kwargs):
      print(args,kwargs)

    #<WSGIRequest: POST '/admin/accets/newassetapprovalzone/'>, [<NewAssetApprovalZone: VMware-56 4d cd d3 b2 42 15 a5-7b 9a 7c 85 94 75 e4 df>
<WSGIRequest: POST '/admin/accets/newassetapprovalzone/'>, request对象
<NewAssetApprovalZone: VMware-56 4d cd d3 b2 42 15 a5-7b 9a 7c 85 94 75 e4 df> 在admin中选中的对象
5、自定义django用户认证
from django.contrib.auth.models import User
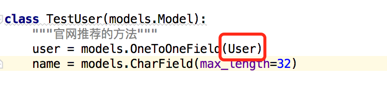
class TestUser(AbstractBaseUser):
"""官网推荐的方法"""
user = models.OneToOneField(User)
name = models.CharField(max_length=32)
#此时用户就集成了Django User的功能
这么做有一些问题
1、在admin中创建用户必须要先执行以下user这个用户,然后才能在下面创建一个用户
2、在调用的时候需要通过user字段才能调用出username的字段
调用:
a = modules.UserProfile.objects.last()
a.user.username
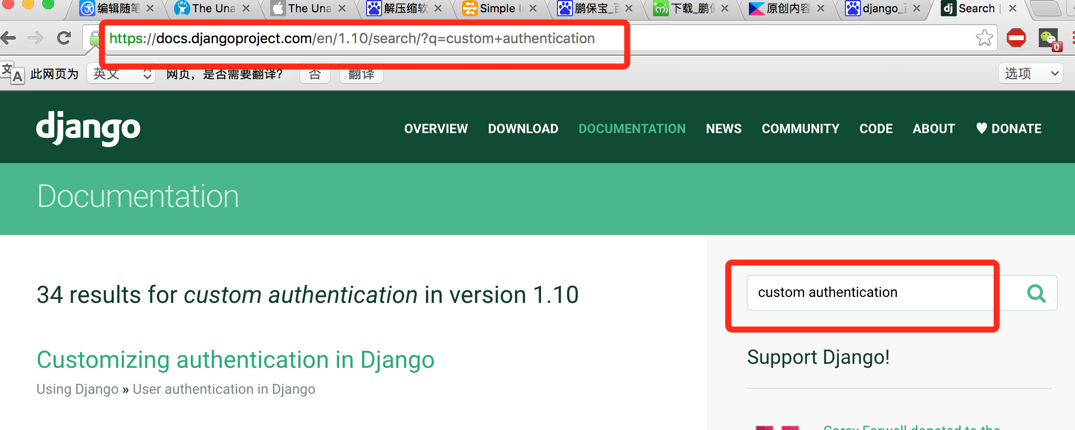
- django User深度自定义
官网文档 搜索:custom authentication
继承的User是什么鬼
点进去瞅瞅
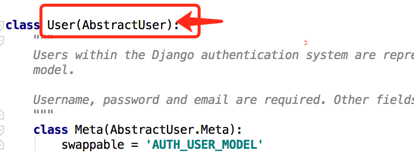
就能发现这个User就是继承的AbstractUser
from django.db import models
from django.contrib.auth.models import (
    BaseUserManager, AbstractBaseUser
)
1、我们就先导入这个 使用其中的的AbstractBaseUser
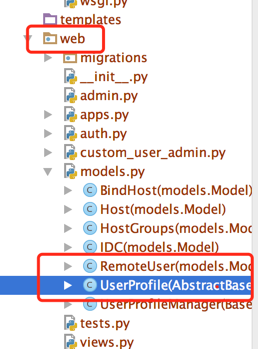
UserProfile
class UserProfile(AbstractBaseUser):    #自定义一个用户认证的类,继承 AbstractBaseUser,这里面会有密码字段,所以下面不用创建密码字段
    """自定义用户表"""
    email = models.EmailField(          #定义用户注册的类型为email 也可以定义为别的
            verbose_name='email address',
            max_length=255,
            unique=True,
    )
    # date_of_birth = models.DateField()
    name = models.CharField(max_length=64)        #用户名
    is_active = models.BooleanField(default=True)    #是不是活跃
    is_admin = models.BooleanField(default=False)    #是不是管理员
    bind_hosts = models.ManyToManyField('BindHost', blank=True)
    host_groups = models.ManyToManyField('HostGroups', blank=True)

  objects = UserProfileManager()                      #关联UserProfileManager一个类

    USERNAME_FIELD = 'email'                  #用户名字段
    REQUIRED_FIELDS = ['name']                # 必须要有这个字段

    def get_full_name(self):
        # The user is identified by their email address
        return self.email

    def get_short_name(self):
        # The user is identified by their email address
        return self.email

    def __str__(self):  # __unicode__ on Python 2
        return self.email

    def has_perm(self, perm, obj=None):
        "Does the user have a specific permission?"
        # Simplest possible answer: Yes, always
        return True

    def has_module_perms(self, app_label):
        "Does the user have permissions to view the app `app_label`?"
        # Simplest possible answer: Yes, always
        return True

    @property
    def is_staff(self):
        "Is the user a member of staff?"
        # Simplest possible answer: All admins are staff
        return self.is_admin
2、UserProfileManager (创建用户使用的类)
class UserProfileManager(BaseUserManager):   #创建用户使用的类
    def create_user(self, email, name, password=None):
        """
        Creates and saves a User with the given email, date of
        birth and password.
        """
        if not email:            #确认要有email
            raise ValueError('Users must have an email address')

        user = self.model(
                email=self.normalize_email(email),  #判断邮件地址是否合法
                # date_of_birth=date_of_birth,
                name=name
        )

        user.set_password(password)   #加密密码
        user.save(using=self._db)
        return user

    def create_superuser(self, email, name, password):  #通过命令行创建时会调用这里
        """
        Creates and saves a superuser with the given email, date of
        birth and password.
        """
        user = self.create_user(
                email,
                password=password,
                name=name,
        )
        user.is_admin = True               #把用户类型admin 定义为True
        user.save(using=self._db)
        return user
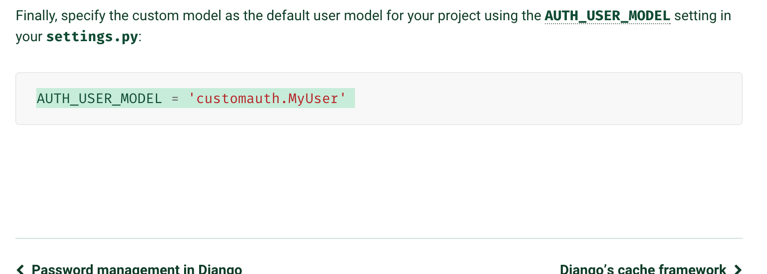
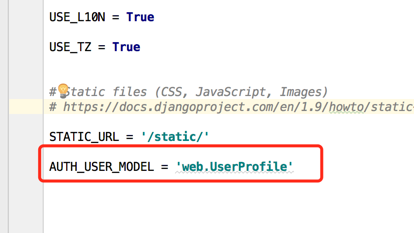
3、让Django用自己写的这个UserProfile的用户认证,需要在setting中增加一个字段
AUTH_USER_MODEL = 'customauth.MyUser'
4、然后就执行
python3 manage.py makemigrations
如果之前执行创建过用户,就要把之前的User删除
成功以后,进入amdin中,看到用户的密码是密文的,但是自己添加是明文的,所以我们输入密码django就不能识别了。、
5、然后再写一个文件将django官网中的一段代码粘贴过来
名字随便起就可以
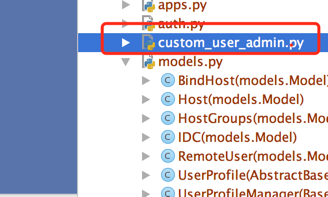
from django import forms
from django.contrib import admin
from django.contrib.auth.models import Group
from django.contrib.auth.admin import UserAdmin as BaseUserAdmin
from django.contrib.auth.forms import ReadOnlyPasswordHashField
from web.models import UserProfile                #导入自定义的用户表


class UserCreationForm(forms.ModelForm):          #创建用户
    """A form for creating new users. Includes all the required
    fields, plus a repeated password."""
    password1 = forms.CharField(label='Password', widget=forms.PasswordInput)   #输入两次密码
    password2 = forms.CharField(label='Password confirmation', widget=forms.PasswordInput)

    class Meta:
        model = UserProfile       #这里指定之前自定义的UserProfile
        fields = ('email', 'name','is_admin','bind_hosts', 'host_groups', )     #创建用户的时候需要输入的内容 - 1

    def clean_password2(self):
        # Check that the two password entries match
        password1 = self.cleaned_data.get("password1")
        password2 = self.cleaned_data.get("password2")
        if password1 and password2 and password1 != password2:
            raise forms.ValidationError("Passwords don't match")
        return password2

    def save(self, commit=True):
        # Save the provided password in hashed format
        user = super(UserCreationForm, self).save(commit=False)
        user.set_password(self.cleaned_data["password1"])
        if commit:
            user.save()
        return user


class UserChangeForm(forms.ModelForm):                 #修改用户记录的时候显示的东西
    """A form for updating users. Includes all the fields on
    the user, but replaces the password field with admin's
    password hash display field.
    """
    password = ReadOnlyPasswordHashField()

    class Meta:
        model = UserProfile
        fields = ('email', 'password', 'name', 'is_active', 'is_admin')

    def clean_password(self):
        # Regardless of what the user provides, return the initial value.
        # This is done here, rather than on the field, because the
        # field does not have access to the initial value
        return self.initial["password"]


class UserAdmin(BaseUserAdmin):
    # The forms to add and change user instances
    form = UserChangeForm
    add_form = UserCreationForm

    # The fields to be used in displaying the User model.
    # These override the definitions on the base UserAdmin
    # that reference specific fields on auth.User.
    list_display = ('email', 'name', 'is_admin')     #显示字段
    list_filter = ('is_admin','name')          #过滤字段
    fieldsets = (
        (None, {'fields': ('email', 'password')}),
        ('Personal info', {'fields': ('name',)}),
        ('Permissions', {'fields': ('is_admin', 'bind_hosts', 'host_groups',)}),     #点击修改用户时候显示的字段
    )
    # add_fieldsets is not a standard ModelAdmin attribute. UserAdmin
    # overrides get_fieldsets to use this attribute when creating a user.
    add_fieldsets = (
        (None, {
            'classes': ('wide',),
            'fields': ('email', 'name', 'password1', 'password2','bind_hosts', 'host_groups')}  #创建新用户是需要填写那些字段内容 - 2
        ),
    )
    search_fields = ('email',)
    ordering = ('email',)
    filter_horizontal = ('bind_hosts','host_groups')   #可以拖拽的格式

# Now register the new UserAdmin...
admin.site.register(UserProfile, UserAdmin)
# ... and, since we're not using Django's built-in permissions,
# unregister the Group model from admin.
admin.site.unregister(Group)
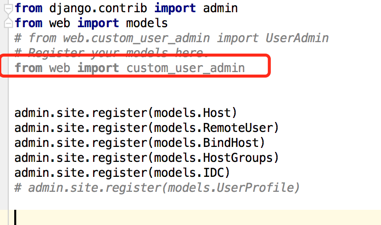
6、在admin.py中注册custom_user_admin
7、然后将django这个用户认证可以用到我们的自己的业务中
a、在最后粘贴的新文件中导入UserProfile用户类

b、 UserCreationForm 类中
fields = ('email', 'name','is_admin','bind_hosts', 'host_groups', ) #创建用户的时候需要输入的内容 - 1
c、UserAdmin 类中
 fieldsets = (
        (None, {'fields': ('email', 'password')}),
        ('Personal info', {'fields': ('name',)}),
        ('Permissions', {'fields': ('is_admin', 'bind_hosts', 'host_groups',)}),     #点击修改用户时候显示的字段
 add_fieldsets = (
        (None, {
            'classes': ('wide',),
            'fields': ('email', 'name', 'password1', 'password2','bind_hosts', 'host_groups')}  #创建新用户是需要填写那些字段内容 - 2
        ),
    )