nexus3 搭建maven远程仓库

摘要:
在右上角下载mavenhttp://maven.apache.org/download.cgi下载nexushttps://www.sonatype.com/download-oss-sonatype将nexus版本下载为:next-3.8.0-02-win64.zip解压后,将目录输入到bin目录中,如图所示。Maven配置使用nextsettings.xml设置<Nexus<

右上角

下载maven

http://maven.apache.org/download.cgi

下载nexus

https://www.sonatype.com/download-oss-sonatype

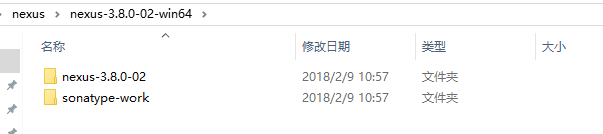
下载nexus版本为: nexus-3.8.0-02-win64.zip

解压后目录如图

nexus3 搭建maven远程仓库第1张

进入到bin目录下,如图

nexus3 搭建maven远程仓库第2张

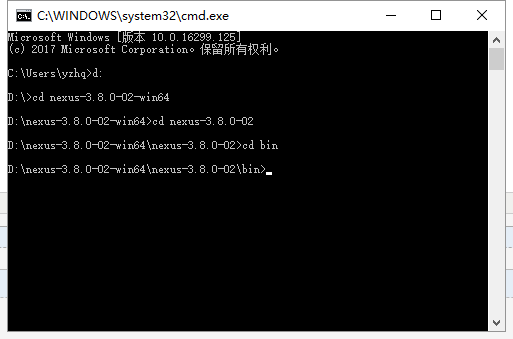
执行:nexus.exe /run 启动 nexus

启动后访问:http://localhost:8081/ 界面如图

nexus3 搭建maven远程仓库第3张

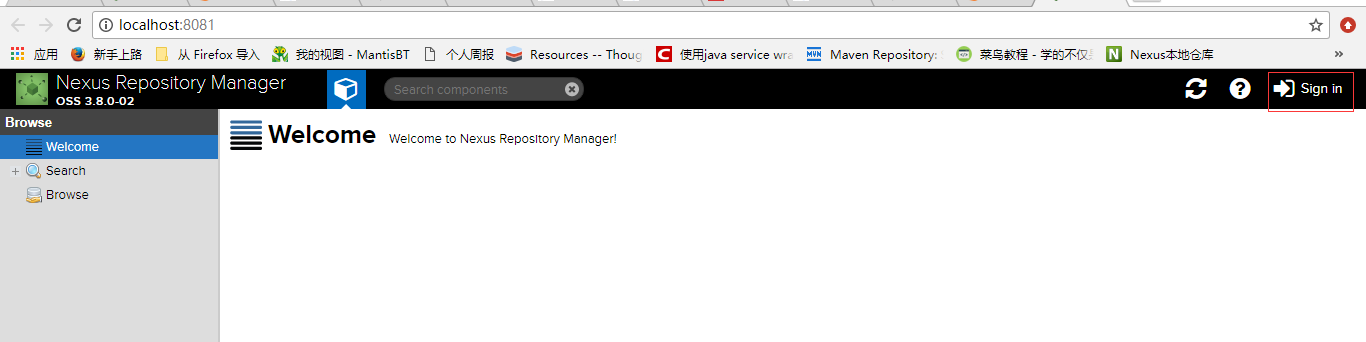
右上角登录:默认用户名密码为 admin/admin123
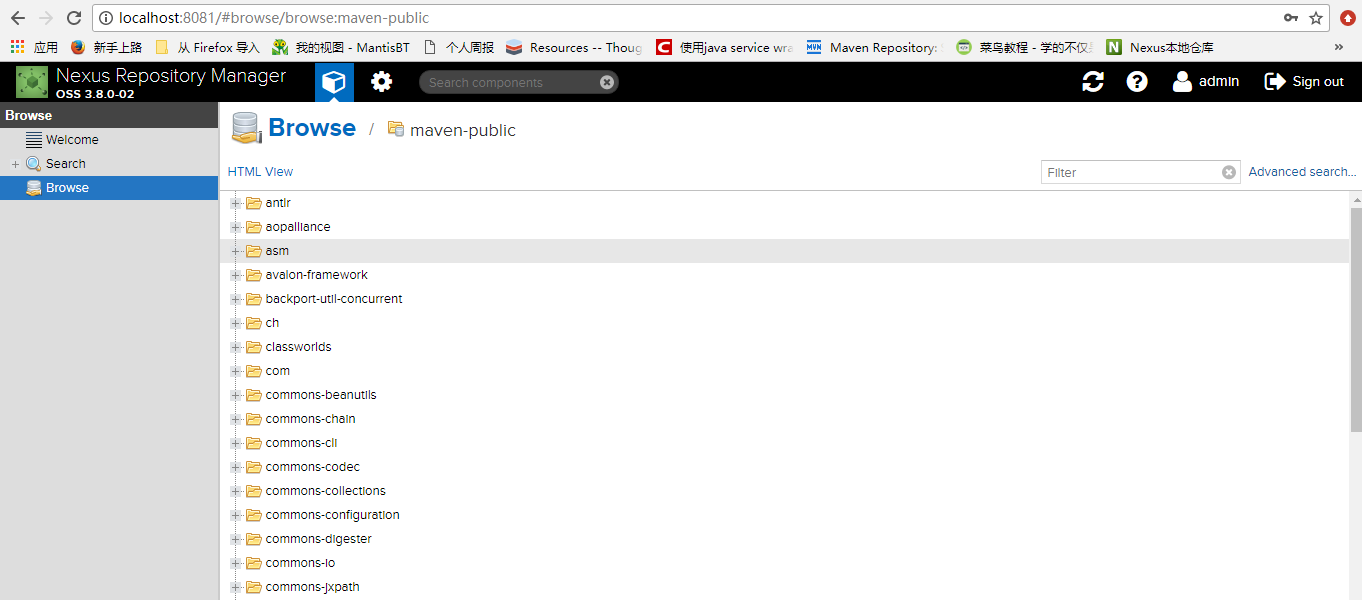
登录后界面多了设置操作如下图:

nexus3 搭建maven远程仓库第4张

maven 配置使用nexus

settings.xml中设置

<profiles>

<profile>
<id>nexus</id>
<repositories>
<repository>
<id>nexus</id>
<name>Nexus</name>
<url>http://192.168.3.20:8081/repository/maven-public/</url>
<releases>
<enabled>true</enabled>
</releases>
<snapshots>
<enabled>true</enabled>
</snapshots>
</repository>
</repositories>
<pluginRepositories>
<pluginRepository>
<id>nexus</id>
<name>Nexus</name>
<url>http://192.168.3.20:8081/repository/maven-public/</url>
<releases>
<enabled>true</enabled>
</releases>
<snapshots>
<enabled>true</enabled>
</snapshots>
</pluginRepository>
</pluginRepositories>
</profile>

</profiles>

<activeProfiles>
<activeProfile>nexus</activeProfile>
</activeProfiles>
</settings>

最后激活profile

新建一个maven项目发现开始从nexus远程仓库开始下载依赖包

nexus3 搭建maven远程仓库第5张

将本地项目部署至nexus远程仓库

项目中pom文件做如下配置

<distributionManagement>
<repository>
<id>nexus-releases</id>
<name>Nexus Releases Repository</name>
<url>http://127.0.0.1:8081/repository/maven-releases/</url>
</repository>
<snapshotRepository>
<id>nexus-snapshots</id>
<name>Nexus Snapshots Repository</name>
<url>http://127.0.0.1:8081/repository/maven-snapshots/</url>
</snapshotRepository>
</distributionManagement>


settings.xml中做如下配置

<server>
<id>nexus-releases</id>
<username>admin</username>
<password>admin123</password>
</server>
<server>
<id>nexus-snapshots</id>
<username>admin</username>
<password>admin123</password>
</server>

切记此处配置的 id应与上面pom中配置的id保持一致

执行 mvn deploy即可将项目部署至nexus远程仓库

免责声明:文章转载自《nexus3 搭建maven远程仓库》仅用于学习参考。如对内容有疑问,请及时联系本站处理。

上篇windows搭建ngnix图片服务器django-rest-framework框架 第二篇 之Mixin扩展类下篇

宿迁高防,2C2G15M,22元/月;香港BGP,2C5G5M,25元/月 雨云优惠码:MjYwNzM=

相关文章

分享一个Winform里面的HTML编辑控件Zeta HTML Edit Control,汉化附源码

我们知道,Web开发上有很多HTML的编辑控件,如FCKEditor、CKEditor、kindeditor等等,很多都做的很好,而虽然Winform里面有WebBrowser控件,但是默认这个控件是不允许编辑内容的,可以显示网页而已。Winform开发里面,有些使用RichTextBox控件来编辑HTML,也有一些结合WebBrowser控件来实现内容的...

Openjudge1.11.1 查找最接近的元素

【描述】    在一个非降序列中,查找与给定值最接近的元素。【输入】    第一行包含一个整数n,为非降序列长度。1 <= n <= 100000。    第二行包含n个整数,为非降序列各元素。所有元素的大小均在0-1,000,000,000之间。    第三行包含一个整数m,为要询问的给定值个数。1 <= m <= 10000。 ...

SSH框架使用注解简化代码

注释的优势:     1.最简单直接的优势就是减少了配置文件的代码量。     2.注释和Java代码位于一个文件中,而XML 配置采用独立的配置文件。配置信息和 Java 代码放在一起,有助于增强程序的内聚性。而采用独立的XML 配置文件,程序员在编写一个功能时,往往需要在程序文件和配置文件中不停切换,这种思维上的不连贯会降低开发效率。  SSH 注解组...

vscode 对于 C 源文件,IntelliSenseMode 已根据编译器参数和探测 compilerPath 从“clang-x64”更改为“gcc-x64”

vscode 不知道从什么时候开始出现 对于 C 源文件,IntelliSenseMode 已根据编译器参数和探测 compilerPath 从“clang-x64”更改为“gcc-x64” 的信息 解决方案 .vscode 文件夹 -> c_cpp_properties.json 文件 -> 将 "intelliSenseMode": "cl...

ElementUI中的el-table怎样实现绑定对象数组时每一列不同控件的动态数据绑定

场景 ElementUI中的el-table中实现动态添加一行、删除一行、清空所有行: https://mp.csdn.net/console/editor/html/107815187 上面实现的效果如下 其中每一行都是动态添加的,每一行对应的是一个对象,每一列对应的是一个对象的属性。 所以整个el-table绑定的数据源就是一个对象的数组。 但是在...

python中filter()函数

filter()函数是 Python 内置的另一个有用的高阶函数,filter()函数接收一个函数 f 和一个list,这个函数 f 的作用是对每个元素进行判断,返回 True或 False,filter()根据判断结果自动过滤掉不符合条件的元素,返回由符合条件元素组成的新list。 例如,要从一个list [1, 4, 6, 7, 9, 12, 17]中...