SpringBoot2.x 整合Spring-Session实现Session共享
1.前言
发展至今,已经很少还存在单服务的应用架构,不说都使用分布式架构部署, 至少也是多点高可用服务。在多个服务器的情况下,Seession共享就是必须面对的问题了。
解决Session共享问题,大多数人的思路都是比较清晰的, 将需要共享的数据存在某个公共的服务中,如缓存。很多人都采用的Redis,手动将Session存在Redis,需要使用时,再从Redsi中读取数据。毫无疑问,这种方案是可行的,只是在手动操作的工作量确实不少。
LZ在这里采用的Spring-Session来实现。它使用代理过滤器,将Session操作拦截,自动将数据同步到Redis中,以及自动从Redis读取数据。从此,操作分布式的Session就像操作单服务的Session一样,可以为所欲为了。
2.实践
2.1 创建工程
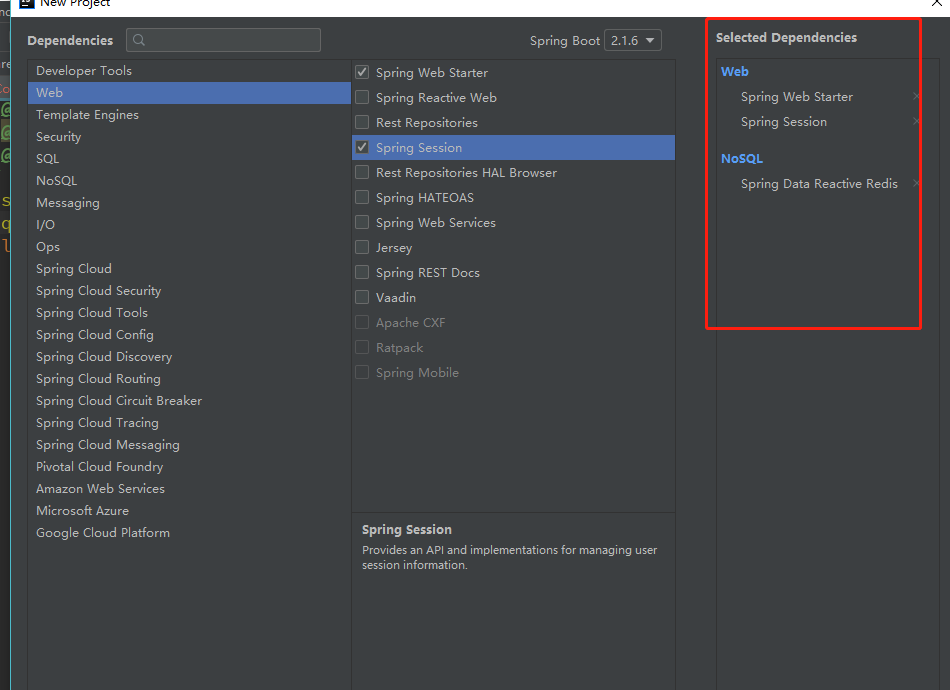
使用idea创建SpringBoot工程, 添加组件Web、Spring Session和Redis。 我这里idea是2019版本,SpringBoot是2.1.6。
pom.xml文件
<dependencies>
		<dependency>
			<groupId>org.springframework.boot</groupId>
			<artifactId>spring-boot-starter-data-redis-reactive</artifactId>
		</dependency>
		<dependency>
			<groupId>org.springframework.boot</groupId>
			<artifactId>spring-boot-starter-web</artifactId>
		</dependency>
		<dependency>
			<groupId>org.springframework.session</groupId>
			<artifactId>spring-session-data-redis</artifactId>
		</dependency>

		<dependency>
			<groupId>org.springframework.boot</groupId>
			<artifactId>spring-boot-starter-test</artifactId>
			<scope>test</scope>
		</dependency>
	</dependencies>
2.2 配置Redis
spring:
  redis:
      port: 6379
      password: xofcO46Fy
      host: 10.17.153.104
server:
  port: 9090
2.3 测试
代码实现
package com.xiaoqiang.sessionshare.web;

import org.springframework.beans.factory.annotation.Value;
import org.springframework.web.bind.annotation.GetMapping;
import org.springframework.web.bind.annotation.RequestMapping;
import org.springframework.web.bind.annotation.RestController;

import javax.servlet.http.HttpSession;

/**
 * SessionShareController <br>
 * 〈session共享控制器〉
 *
 * @author XiaoQiang
 * @create 2019-7-6
 * @since 1.0.0
 */
@RestController
@RequestMapping(value = "/session")
public class SessionShareController {

    @Value("${server.port}")
    Integer port;


    @GetMapping(value = "/set")
    public String set(HttpSession session){
        session.setAttribute("user","wangwq8");
        return String.valueOf(port);
    }

    @GetMapping(value = "get")
    public String get(HttpSession session){
        return "用户:"+session.getAttribute("user")+",端口:"+port;
    }
}
maven package打包发布到服务器服务器,过程略。
分别使用9090 9091端口启动项目。
nohup java -jar sessionshare-0.0.1-SNAPSHOT.jar --server.port=9090 &
nohup java -jar sessionshare-0.0.1-SNAPSHOT.jar --server.port=9091 &
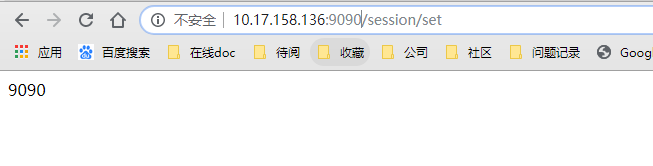
先访问http://10.17.158.136:9090/session/set,在9090这个服务的session保存用户变量;
然后再访问http://10.17.158.136:9091/session/get,从session中获取得到用户信息。
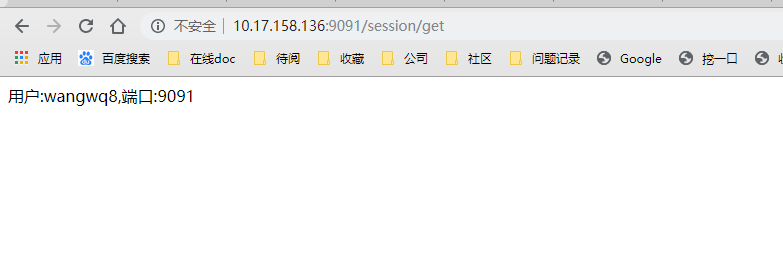
从上面样例,可以看出session已经实现了共享,只是测试过程是需要手动切换服务。为了更好地模式真实项目环境,为此,我们配置Nginx,来进行测试。
2.4 配置Nginx
在Nginx安装目录conf下,编辑nginx.conf,
 upstream tomcatServer {
        server 10.17.158.136:9092 weight=1;
        server 10.17.158.136:9091 weight=2;
        }

    server {
        listen       9000;
        server_name  localhost;

        #charset koi8-r;

        #access_log  logs/host.access.log  main;

        location / {
            proxy_pass http://tomcatServer;
            proxy_redirect default;
            #root   html;
            #index  index.html index.htm;
        }

        #error_page  404              /404.html;

        # redirect server error pages to the static page /50x.html
        #
        error_page   500 502 503 504  /50x.html;
        location = /50x.html {
            root   html;
        }
在这里我们只需要配置简单的负载均衡,端口是9000。所有localhost:9000都会按一定策略(这里是按权重分发,配置weight=1一样,随机分发的;nginx默认是轮询策略)分发到上游服务upstream配置的服务上。
配置完成后,启动Nginx;
/apps/test/software/nginx/nginx-1.6.2/sbin/nginx
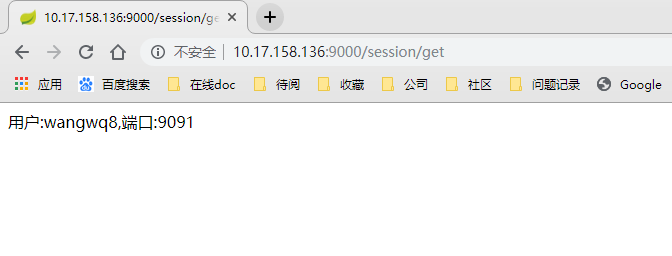
首先访问http://10.17.158.136:9000/session/set,向seesion中保存数据,从下图中可知9090端口的服务处理了该请求。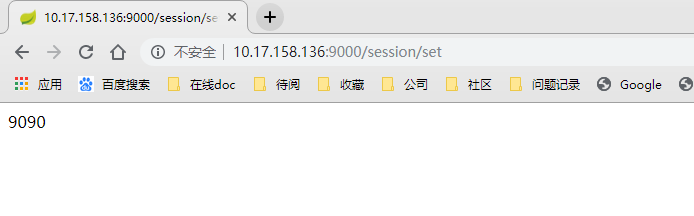
然后在访问/get请求,是从9091端口的服务获取得到的用户信息,至此,测试完成。
3.总结
本文主要是Spring Session的简单使用,从上面可以看出,除了引入了Spring Session的jar, 其他方面,不管是代码还是配置,都与之没有什么关联,就相当于在操作最常用的HttpSession,在实际项目中用起来也是相当方便。
样例已上传github,地址:https://github.com/lanxuan826/sample-library/tree/master/sessionshare,有兴趣可下载测试。
另外,此文是从松哥博客中得到启示,在此推荐:https://blog.csdn.net/u012702547/article/list/2?
,还推荐一篇关于Spring Session原理的博客:https://blog.csdn.net/u010648555/article/details/79491988