若该文为原创文章,未经允许不得转载
原博主博客地址:https://blog.csdn.net/qq21497936
原博主博客导航:https://blog.csdn.net/qq21497936/article/details/102478062
本文章博客地址:https://blog.csdn.net/qq21497936/article/details/107090002
红胖子(红模仿)的博文大全:开发技术集合(包含Qt实用技术、树莓派、三维、OpenCV、OpenGL、ffmpeg、OSG、单片机、软硬结合等等)持续更新中…(点击传送门)
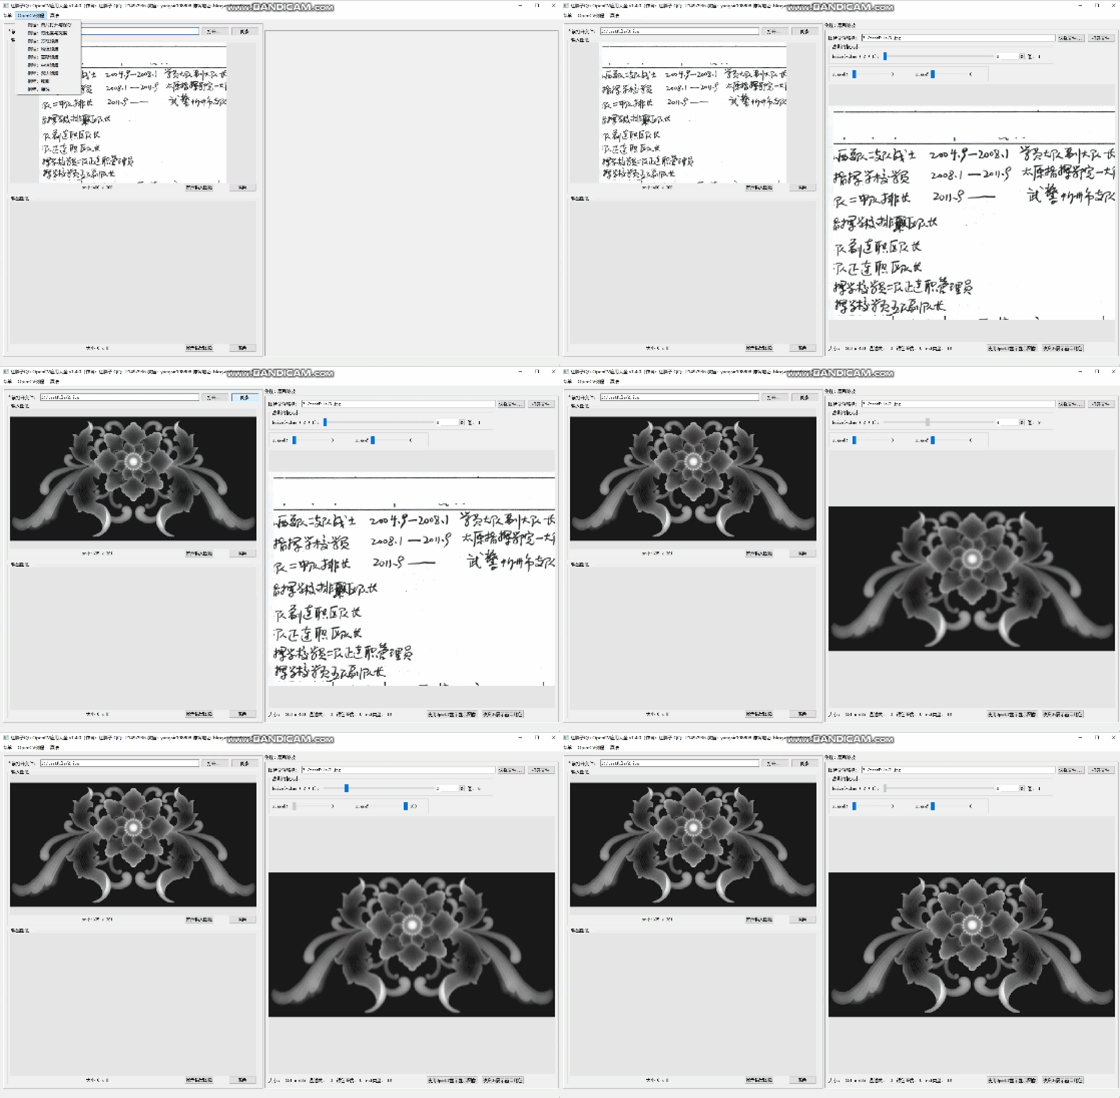
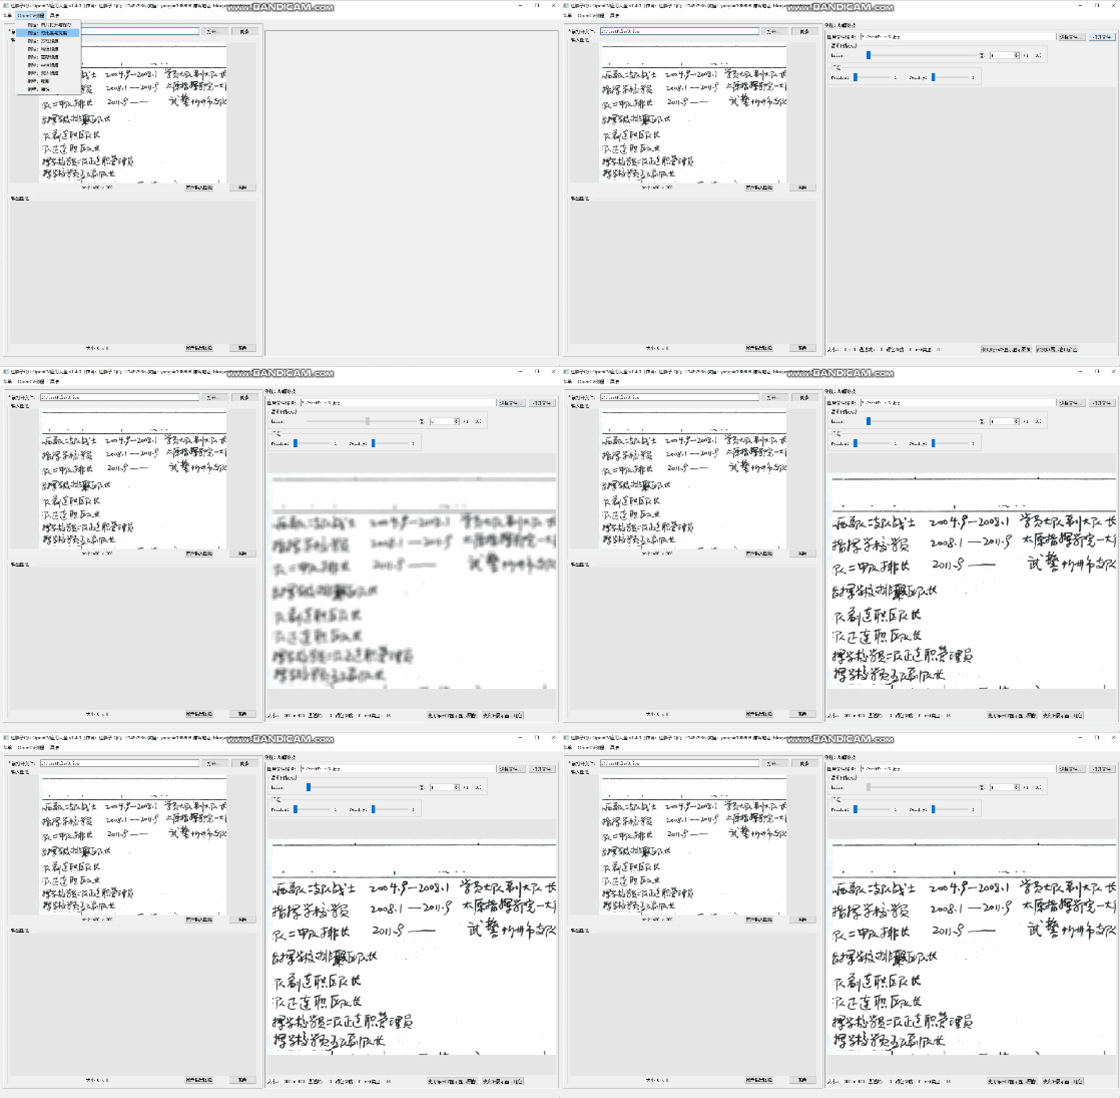
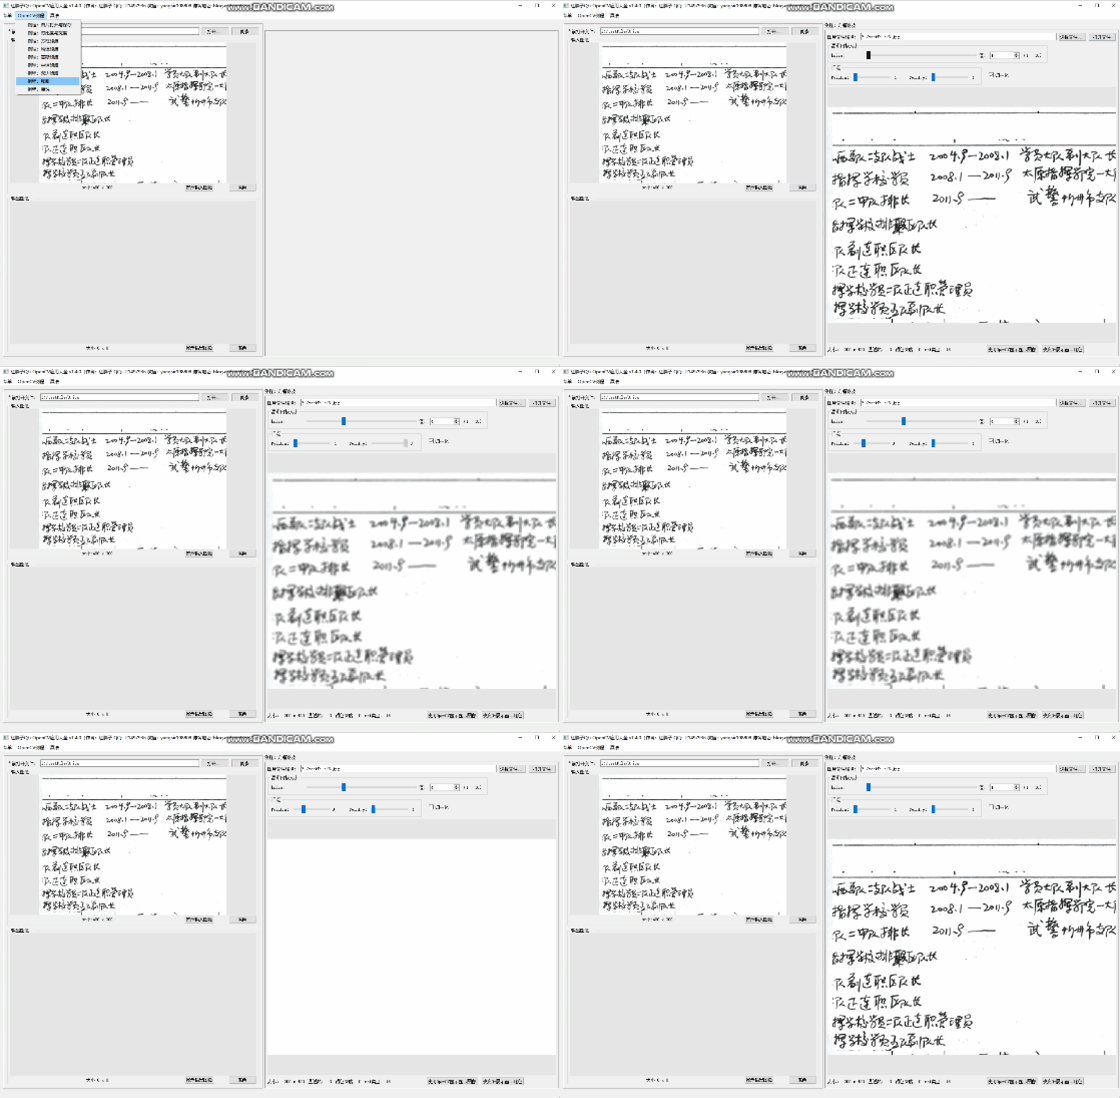
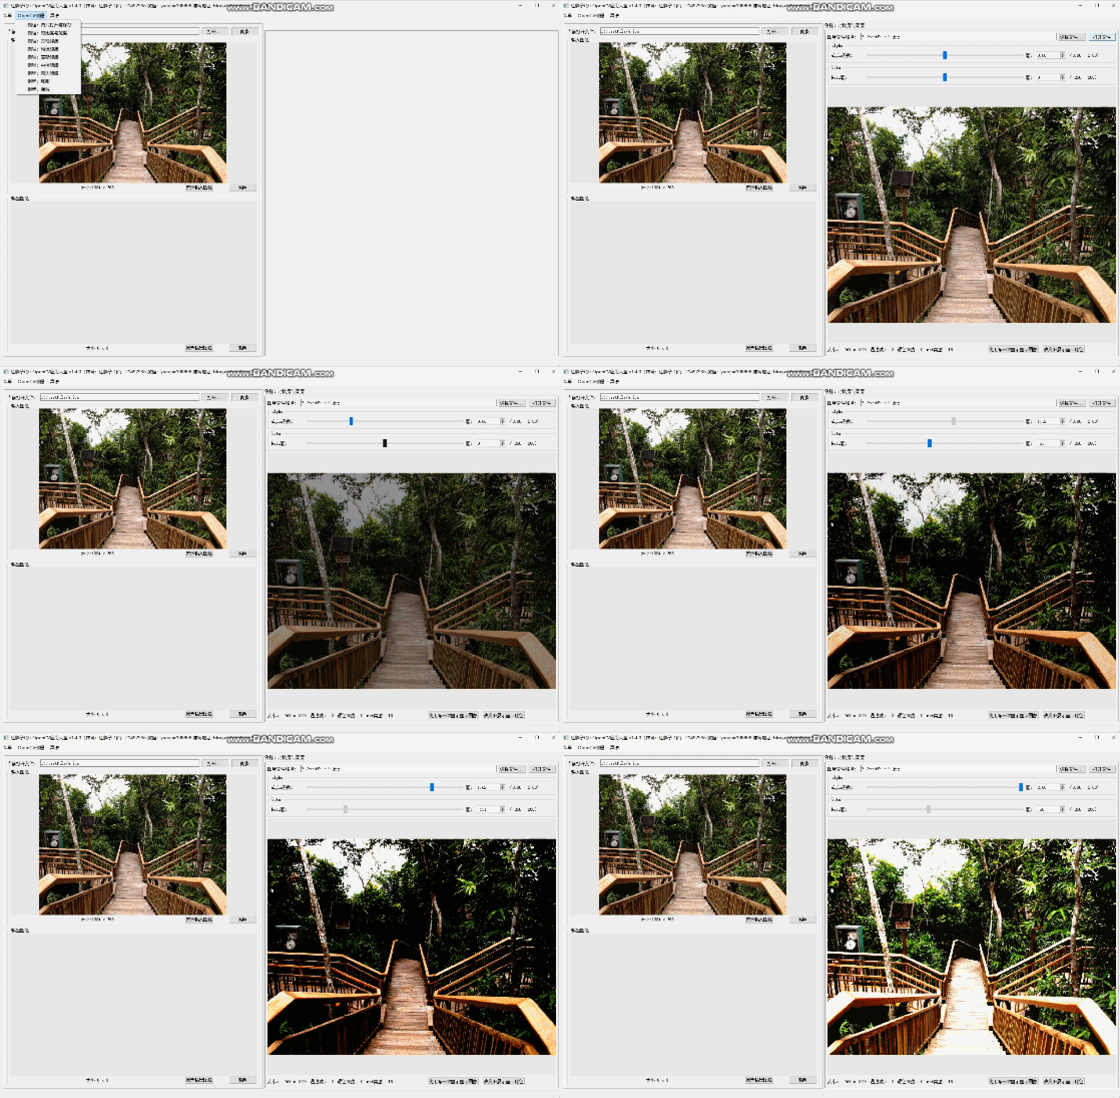
做算法过程中,需要一个平台来实时查看效果,记录处理过程,可以一键查看效果;
OpenCV的各种算法在Qt效果调试;
持续升级版本,敬请期待…
基于Qt的OpenCV开发,依托Qt作为界面,OpenCV进行图像处理。
《OpenCV开发笔记(三十四):红胖子带你傻瓜式编译Qt+openCV3.4.1+opencv_contrib(全网最浅显易懂)》
《OpenCV开发笔记(四):OpenCV图片和视频数据的读取与存储》
《OpenCV开发笔记(十三):OpenCV图像对比度、亮度的调整》
《OpenCV开发笔记(十四):算法基础之线性滤波-方框滤波》
《OpenCV开发笔记(十五):算法基础之线性滤波-均值滤波》
《OpenCV开发笔记(十六):算法基础之线性滤波-高斯滤波》
《OpenCV开发笔记(十八):算法基础之非线性滤波-中值滤波》
《OpenCV开发笔记(十九):算法基础之非线性滤波-双边滤波》
《OpenCV开发笔记(二十一):算法基础之形态学滤波-膨胀》
《OpenCV开发笔记(二十二):算法基础之形态学滤波-腐蚀》
CSDN:https://download.csdn.net/download/qq21497936/12570673
QQ群:1047134658(点击“文件”搜索“qtOpenCVTools”,群内与博文同步更新)
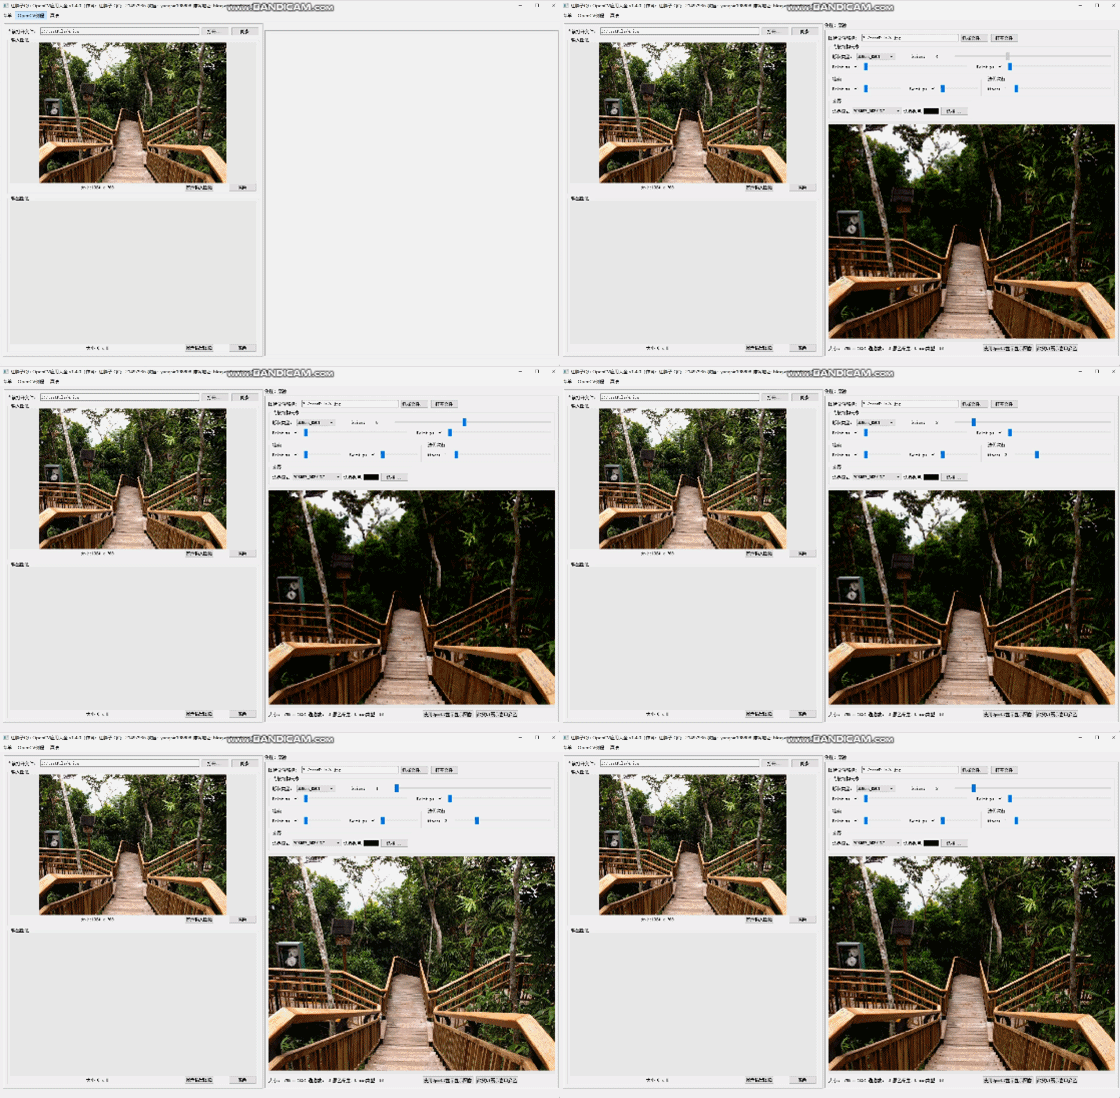
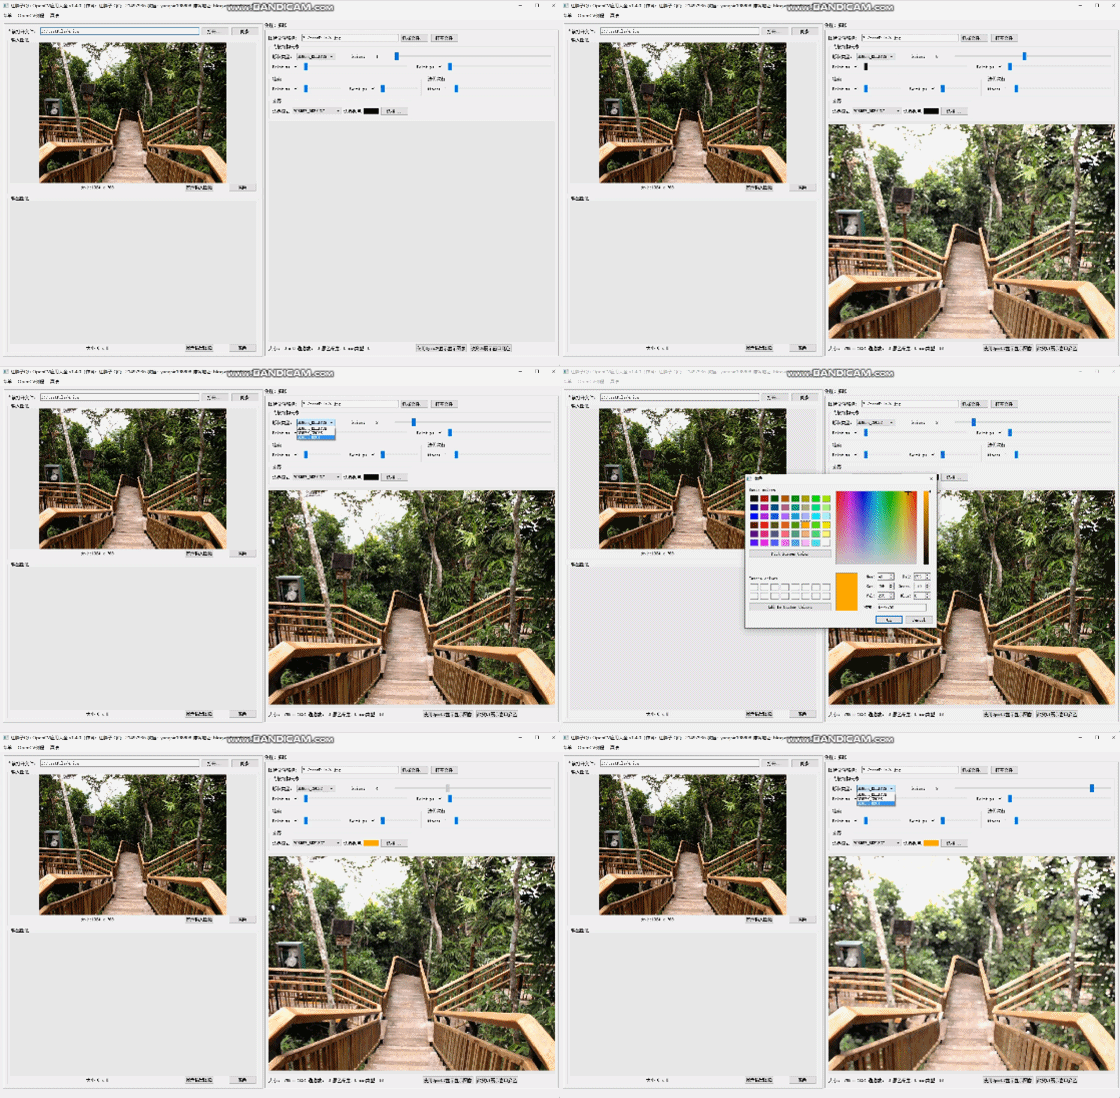
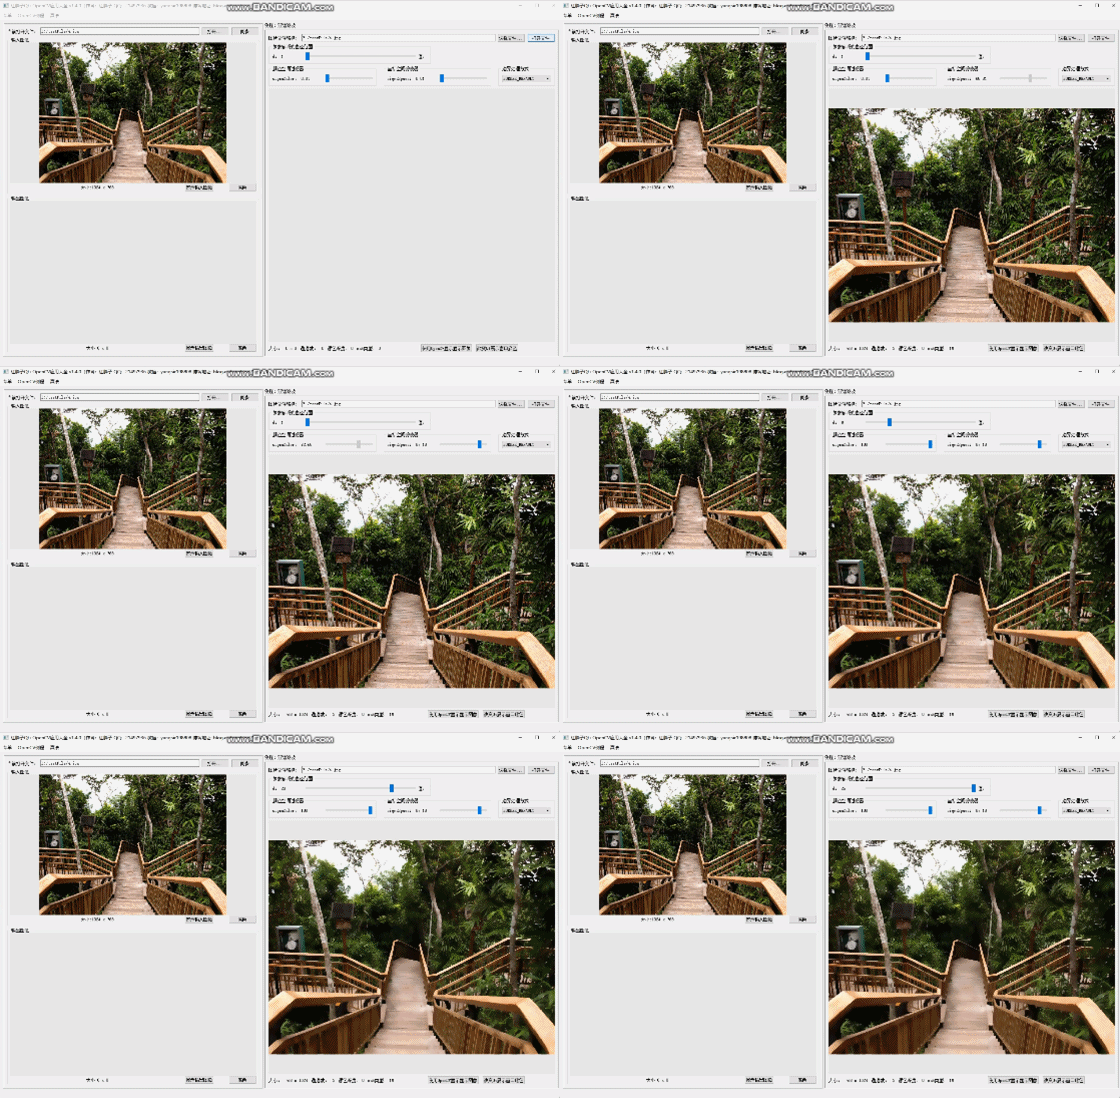
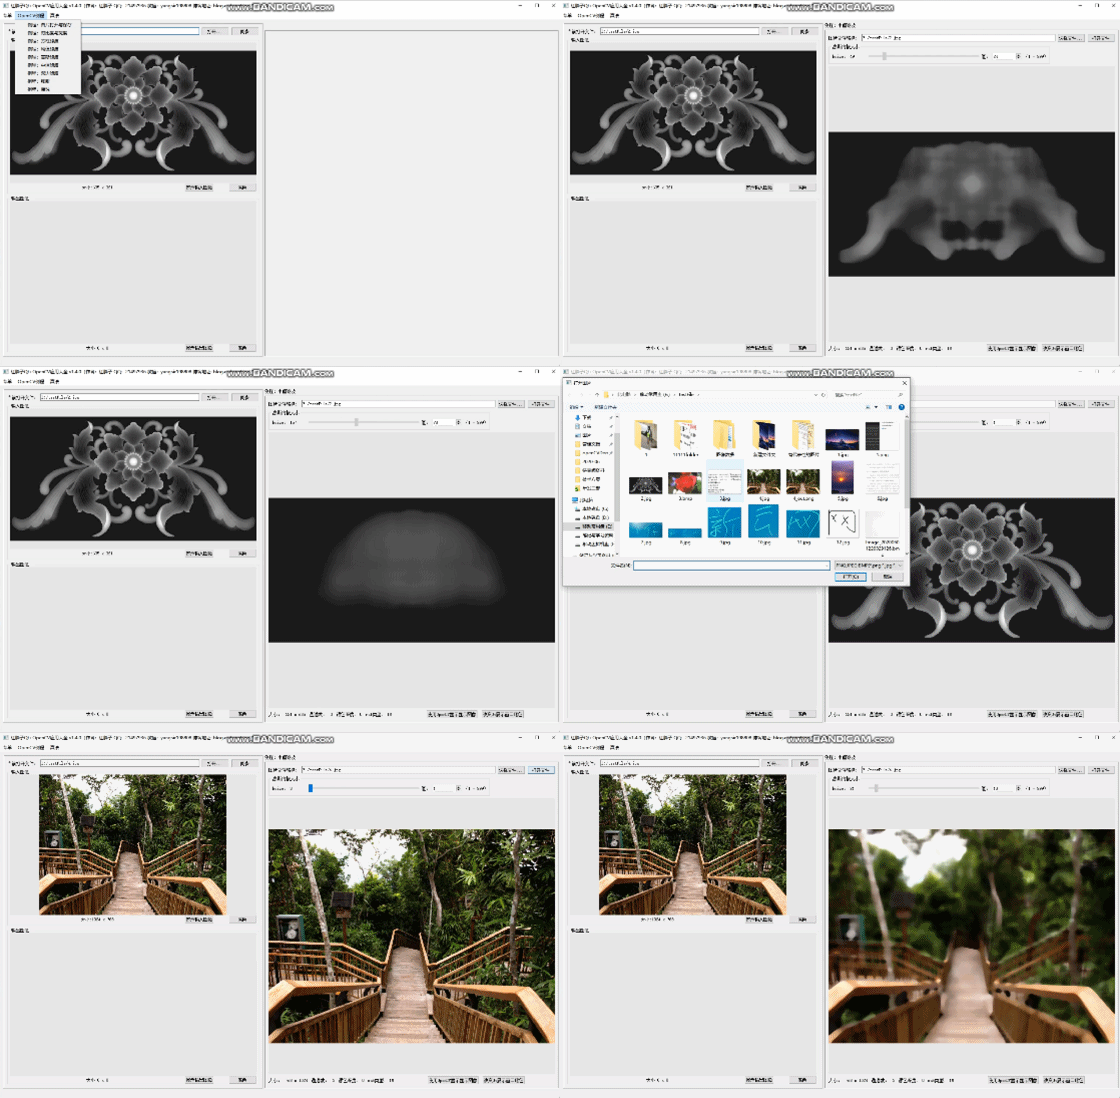
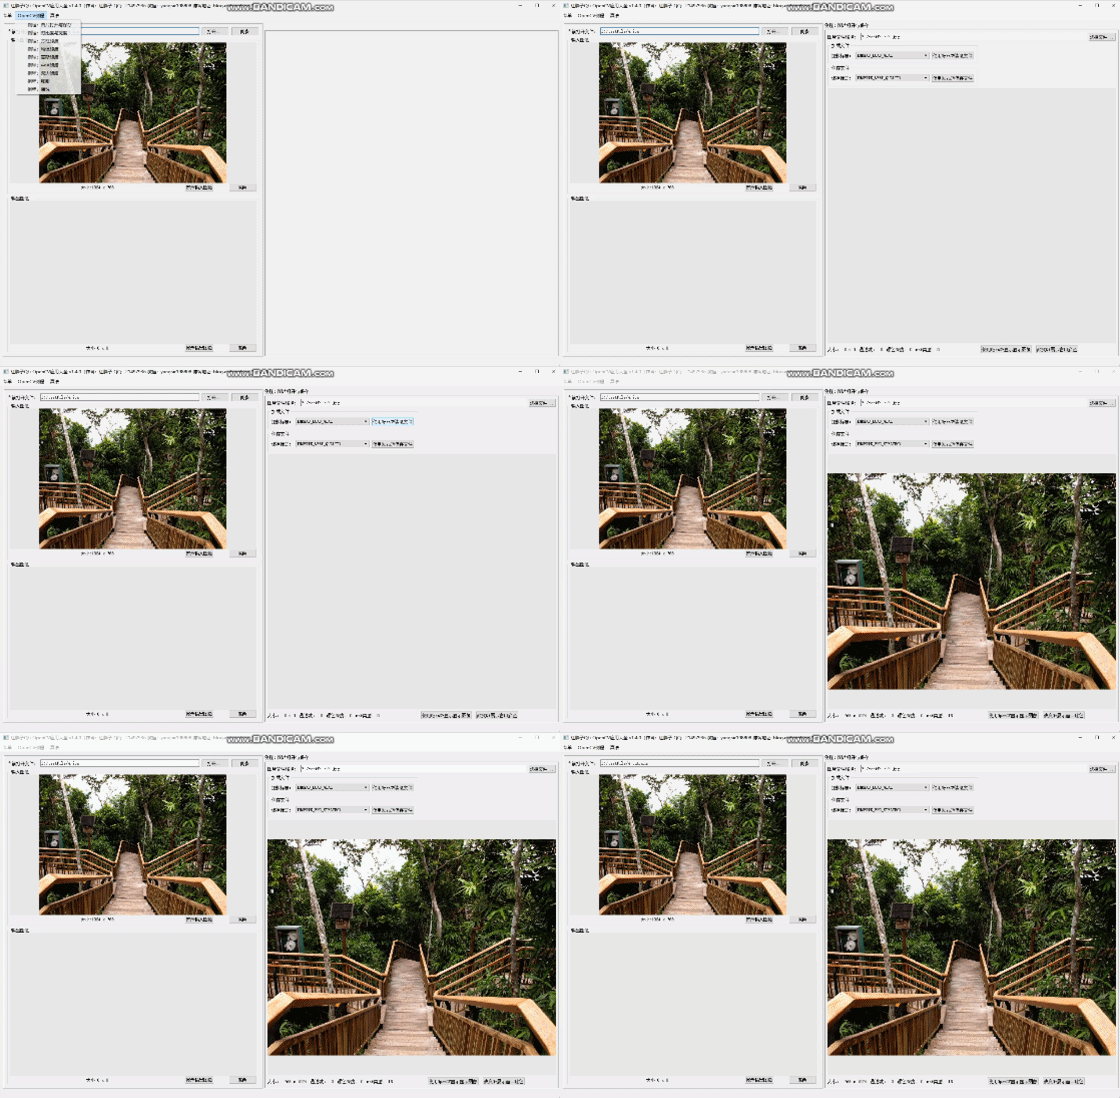
#ifndef COMMON_H
#define COMMON_H

#include <QImage>
#include <QDebug>
#include <QFileDialog>
#include <QColorDialog>
#include <QMessageBox>
#include <QHash>
// opencv
#include "opencv/highgui.h"
#include "opencv/cxcore.h"
#include "opencv2/core/core.hpp"
#include "opencv2/highgui/highgui.hpp"
#include "opencv2/opencv.hpp"
#include "opencv2/xphoto.hpp"
// opencv_contrib
#include <opencv2/xphoto.hpp>
#include <opencv2/ximgproc.hpp>
#include <opencv2/calib3d.hpp>

cv::Mat image2Mat(QImage image);    // Qimage 转 cv::Mat
QImage mat2Image(cv::Mat mat);      // cv::Mat 转 QImage

#endif // COMMON_H
#include "common.h"

cv::Mat image2Mat(QImage image)
{
    cv::Mat mat;
    switch(image.format())
    {
    case QImage::Format_ARGB32:
    case QImage::Format_RGB32:
    case QImage::Format_ARGB32_Premultiplied:
        mat = cv::Mat(image.height(), image.width(), CV_8UC4, (void*)image.constBits(), image.bytesPerLine());
        cv::cvtColor(mat, mat, CV_BGRA2BGR);
        break;
    case QImage::Format_RGB888:
        mat = cv::Mat(image.height(), image.width(), CV_8UC3, (void*)image.constBits(), image.bytesPerLine());
        cv::cvtColor(mat, mat, CV_BGR2RGB);
        break;
    case QImage::Format_Indexed8:
        mat = cv::Mat(image.height(), image.width(), CV_8UC1, (void*)image.constBits(), image.bytesPerLine());
        break;
    }
    return mat;
}

QImage mat2Image(cv::Mat mat)
{
    if(mat.type() == CV_8UC1)
    {
        QImage image(mat.cols, mat.rows, QImage::Format_Indexed8);
        // Set the color table (used to translate colour indexes to qRgb values)
        image.setColorCount(256);
        for(int i = 0; i < 256; i++)
        {
            image.setColor(i, qRgb(i, i, i));
        }
        // Copy input Mat
        uchar *pSrc = mat.data;
        for(int row = 0; row < mat.rows; row ++)
        {
            uchar *pDest = image.scanLine(row);
            memcpy(pDest, pSrc, mat.cols);
            pSrc += mat.step;
        }
        return image;
    }
    else if(mat.type() == CV_8UC3)
    {
        const uchar *pSrc = (const uchar*)mat.data;
        QImage image(pSrc, mat.cols, mat.rows, mat.step, QImage::Format_RGB888);
        return image.rgbSwapped();
    }
    else if(mat.type() == CV_8UC4)
    {
        const uchar *pSrc = (const uchar*)mat.data;
        QImage image(pSrc, mat.cols, mat.rows, mat.step, QImage::Format_ARGB32);
        return image.copy();
    }
    else
    {
        return QImage();
    }
}
#ifndef DEMOCONTRASTANDBRIGHTNESSWIDGET_H
#define DEMOCONTRASTANDBRIGHTNESSWIDGET_H

#include <QWidget>
#include "common.h"

namespace Ui {
class DemoContrastAndBrightnessWidget;
}

class DemoContrastAndBrightnessWidget : public QWidget
{
    Q_OBJECT

public:
    explicit DemoContrastAndBrightnessWidget(QWidget *parent = 0);
    ~DemoContrastAndBrightnessWidget();

public:
    void setFilePath(QString filePath);

protected:
    void updateInfo();
    void updateImage();

private slots:
    void on_pushButton_openFile_clicked();
    void on_horizontalSlider_beta_sliderMoved(int position);
    void on_horizontalSlider_alpha_sliderMoved(int position);
    void on_pushButton_broswer_clicked();
    void on_spinBox_beta_valueChanged(int arg1);
    void on_doubleSpinBox_alpha_valueChanged(double arg1);
    void on_pushButton_showFile_clicked();
    void on_pushButton_backgroundColor_clicked();

private:
    Ui::DemoContrastAndBrightnessWidget *ui;

private:
    QString _filePath;

    cv::Mat _srcMat;
    QImage _srcImage;
    cv::Mat _dstMat;
    QImage _dstImage;
};
#endif // DEMOCONTRASTANDBRIGHTNESSWIDGET_H
#include "DemoContrastAndBrightnessWidget.h"
#include "ui_DemoContrastAndBrightnessWidget.h"

DemoContrastAndBrightnessWidget::DemoContrastAndBrightnessWidget(QWidget *parent) :
    QWidget(parent),
    ui(new Ui::DemoContrastAndBrightnessWidget)
{
    ui->setupUi(this);
}

DemoContrastAndBrightnessWidget::~DemoContrastAndBrightnessWidget()
{
    delete ui;
}

void DemoContrastAndBrightnessWidget::setFilePath(QString filePath)
{
    _filePath = filePath;
    ui->lineEdit_filePath->setText(_filePath);
}

void DemoContrastAndBrightnessWidget::updateInfo()
{
    if(_srcMat.data == 0)
    {
        return;
    }
    // mat行列与图片高度是对角线反向的
    ui->label_size->setText(QString("%1 x %2").arg(_srcMat.rows).arg(_srcMat.cols));
    ui->label_channels->setText(QString("%1").arg(_srcMat.channels()));
    ui->label_depth->setText(QString("%1").arg(_srcMat.depth()));
    ui->label_type->setText(QString("%1").arg(_srcMat.type()));
}

void DemoContrastAndBrightnessWidget::updateImage()
{
    if(_srcImage.isNull())
    {
        return;
    }

    cv::Mat srcMat = image2Mat(_srcImage);

    // 增强对比度
    float r;
    float g;
    float b;
    _dstMat = cv::Mat::zeros(srcMat.size(), srcMat.type());
    int alpha = ui->horizontalSlider_alpha->value();    // 小于1,则降低对比度
    int beta = ui->horizontalSlider_beta->value();     // 负数,则降低亮度
    for(int row = 0; row < srcMat.rows; row++)
    {
        for(int col = 0; col < srcMat.cols; col++)
        {
            b = srcMat.at<cv::Vec3b>(row, col)[0];
            g = srcMat.at<cv::Vec3b>(row, col)[1];
            r = srcMat.at<cv::Vec3b>(row, col)[2];
            // 对比度、亮度计算公式 cv::saturate_cast<uchar>(value):防止溢出
            _dstMat.at<cv::Vec3b>(row, col)[0] = cv::saturate_cast<uchar>(b * alpha / 100.0f + beta);
            _dstMat.at<cv::Vec3b>(row, col)[1] = cv::saturate_cast<uchar>(g * alpha / 100.0f + beta);
            _dstMat.at<cv::Vec3b>(row, col)[2] = cv::saturate_cast<uchar>(r * alpha / 100.0f + beta);
        }
    }
    _dstImage = mat2Image(_dstMat);
    ui->widget_image->setImage(_dstImage);
}

void DemoContrastAndBrightnessWidget::on_pushButton_openFile_clicked()
{
    if(!_srcImage.load(_filePath))
    {
        qDebug() << __FILE__ << __LINE__ << "Failed to load image:" << _filePath;
        return;
    }
    qDebug() << __FILE__<< __LINE__ << (int)_srcImage.format();
    _srcMat = image2Mat(_srcImage);
    updateInfo();
    updateImage();
}

void DemoContrastAndBrightnessWidget::on_horizontalSlider_beta_sliderMoved(int position)
{
    ui->spinBox_beta->setValue(position);
    updateImage();
}

void DemoContrastAndBrightnessWidget::on_horizontalSlider_alpha_sliderMoved(int position)
{
    ui->doubleSpinBox_alpha->setValue(position / 100.0f);
    updateImage();
}

void DemoContrastAndBrightnessWidget::on_pushButton_broswer_clicked()
{
    QString dir = ui->lineEdit_filePath->text();
    dir = dir.mid(0, dir.lastIndexOf("/"));
    QString filePath = QFileDialog::getOpenFileName(0, "打开图片", dir, "PNG;JPEG;BMP(*.png;*.jpg;*.bmp);;JPEG(*.jpg);;PNG(*.png);;BMP(*.bmp)");
    if(filePath.isEmpty())
    {
        return;
    }
    _filePath = filePath;
    ui->lineEdit_filePath->setText(_filePath);

}

void DemoContrastAndBrightnessWidget::on_spinBox_beta_valueChanged(int arg1)
{
    ui->horizontalSlider_beta->setValue(arg1);
    updateImage();
}

void DemoContrastAndBrightnessWidget::on_doubleSpinBox_alpha_valueChanged(double arg1)
{
    ui->horizontalSlider_alpha->setValue(arg1 * 100);
    updateImage();
}

void DemoContrastAndBrightnessWidget::on_pushButton_showFile_clicked()
{
    if(_dstMat.data == 0)
    {
        QMessageBox::information(this, "提示", "使用opencv显示图片失败");
        return;
    }
    cv::imshow("showFile", _dstMat);
}

void DemoContrastAndBrightnessWidget::on_pushButton_backgroundColor_clicked()
{
    QColor backgroundColor = ui->widget_image->getBackgroundColor();
    backgroundColor = QColorDialog::getColor(backgroundColor, this, "底色");
    if(!backgroundColor.isValid())
    {
       return;
    }
    QColor color(backgroundColor.red(), backgroundColor.green(), backgroundColor.blue());
    ui->widget_image->setBackgroundColor(color);
}