------------恢复内容开始------------
1.创建SpringBoot项目
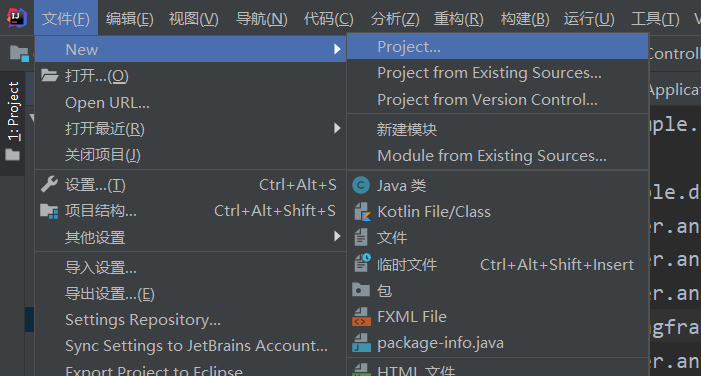
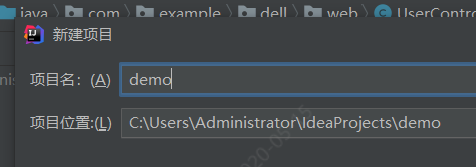
2.选择快捷方式创建springboot项目
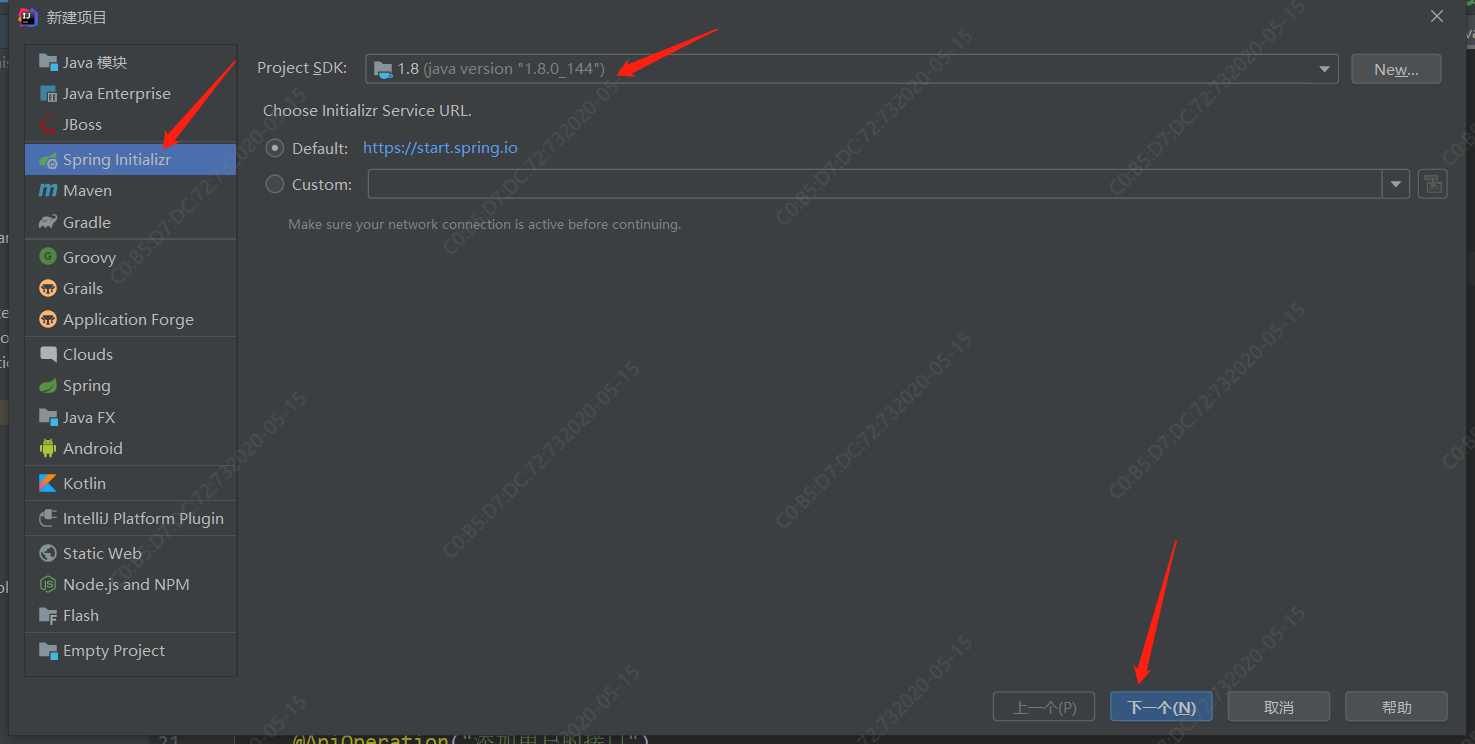

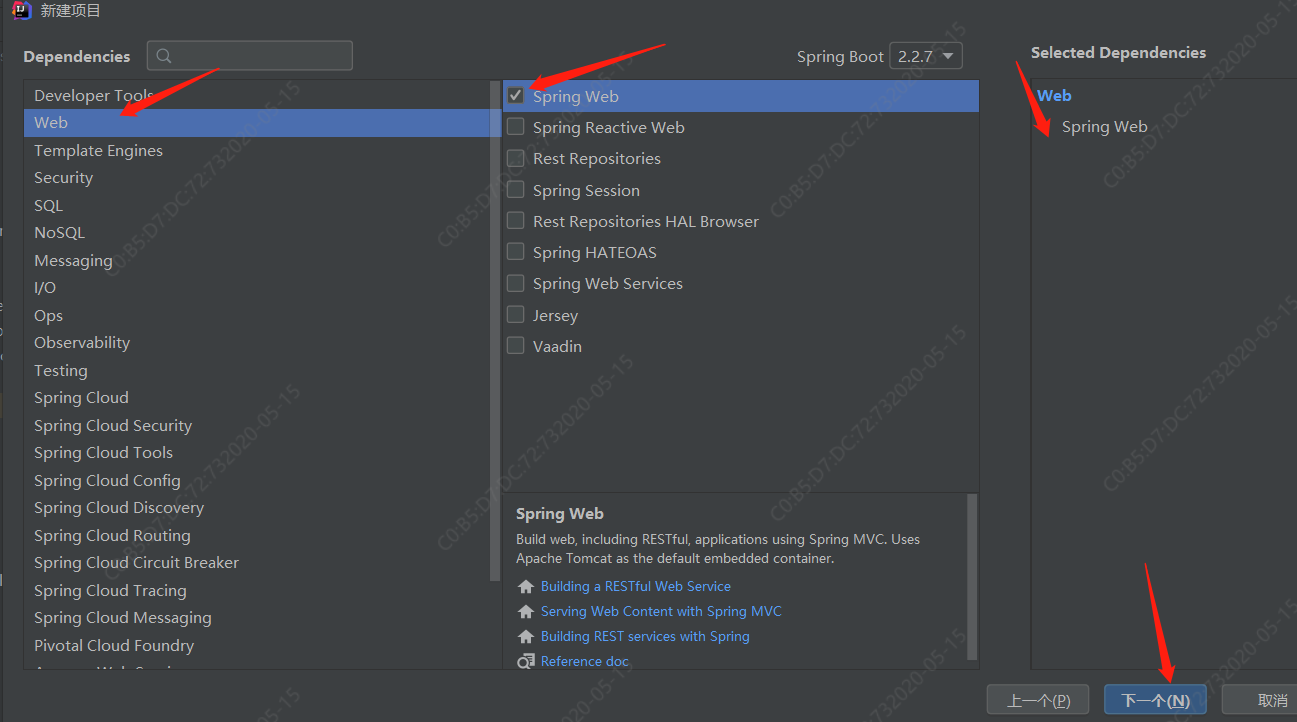
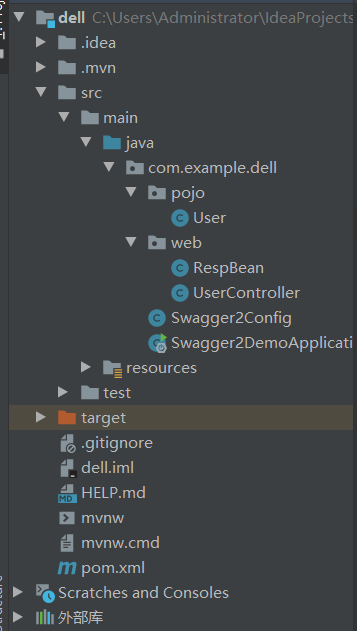
3.工程文件树形图
4.pom.xml中导入Swagger依赖
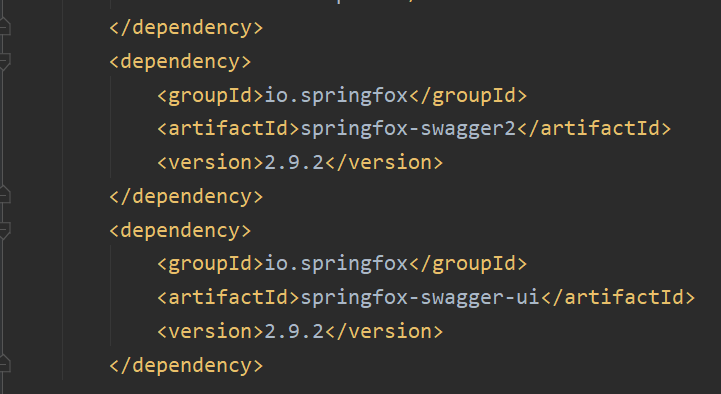
代码如下:
 1        <dependency>
 2             <groupId>io.springfox</groupId>
 3             <artifactId>springfox-swagger2</artifactId>
 4             <version>2.9.2</version>
 5         </dependency>
 6         <dependency>
 7             <groupId>io.springfox</groupId>
 8             <artifactId>springfox-swagger-ui</artifactId>
 9             <version>2.9.2</version>
10         </dependency>
5.配置Swagger信息
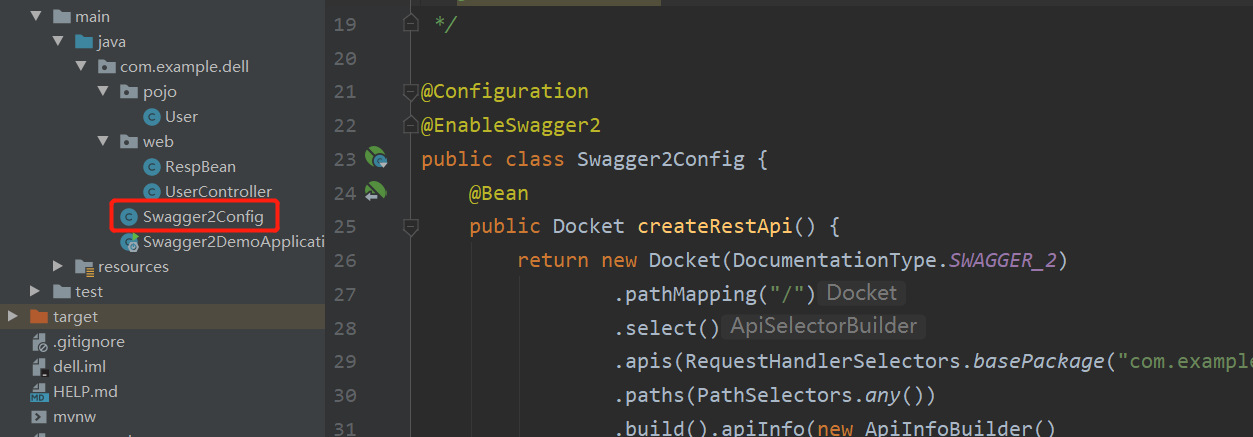
代码如下:
 1 package com.example.dell;
 2
 3 import org.springframework.context.annotation.Bean;
 4 import org.springframework.context.annotation.Configuration;
 5 import springfox.documentation.builders.ApiInfoBuilder;
 6 import springfox.documentation.builders.PathSelectors;
 7 import springfox.documentation.builders.RequestHandlerSelectors;
 8 import springfox.documentation.service.Contact;
 9 import springfox.documentation.spi.DocumentationType;
10 import springfox.documentation.spring.web.plugins.Docket;
11 import springfox.documentation.swagger2.annotations.EnableSwagger2;
12
13 /**
14  * @program:swagger2-demo
15  * @description:swagger配置类
16  * @author:feixiang
17  * @create:2020/5/14
18  */
19
20 @Configuration
21 @EnableSwagger2
22 public class Swagger2Config {
23     @Bean
24     public Docket createRestApi() {
25         return new Docket(DocumentationType.SWAGGER_2)
26                 .pathMapping("/")
27                 .select()
28                 .apis(RequestHandlerSelectors.basePackage("com.example.dell.web"))
29                 .paths(PathSelectors.any())
30                 .build().apiInfo(new ApiInfoBuilder()
31                         .title("飞翔用接口自动化平台")
32                         .description("飞翔独享")
33                         .version("9.0")
34                         .contact(new Contact("马化腾","blog.csdn.net","aaa@gmail.com"))
35                         .license("The Apache License")
36                         .licenseUrl("http://www.baidu.com")
37                         .build());
38     }
39 }
创建接口
接下来就是创建接口了,Swagger2相关的注解其实并不多,而且很容易懂,下面我来分别向小伙伴们举例说明
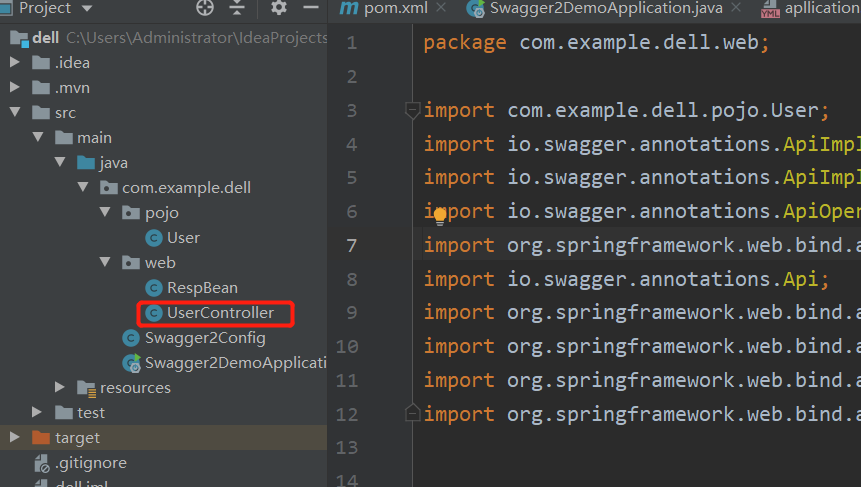
代码如下
 1 package com.example.dell.web;
 2
 3 import com.example.dell.pojo.User;
 4 import io.swagger.annotations.ApiImplicitParam;
 5 import io.swagger.annotations.ApiImplicitParams;
 6 import io.swagger.annotations.ApiOperation;
 7 import org.springframework.web.bind.annotation.*;
 8 import io.swagger.annotations.Api;
 9 import org.springframework.web.bind.annotation.PathVariable;
10 import org.springframework.web.bind.annotation.RequestBody;
11 import org.springframework.web.bind.annotation.RequestMapping;
12 import org.springframework.web.bind.annotation.RestController;
13
14
15
16 @RestController
17 @Api(tags = "用户管理相关接口")
18 @RequestMapping("/user")
19 public class UserController{
20     @PostMapping("/")
21     @ApiOperation("添加用户的接口")
22     @ApiImplicitParams({
23             @ApiImplicitParam(name = "username", value = "用户名", defaultValue = "张三"),
24             @ApiImplicitParam(name = "address", value = "用户地址", defaultValue = "佛山", required = true)
25     }
26     )
27     public RespBean addUser(String username, @RequestParam(required = true) String address) {
28         return new RespBean();
29     }
30
31     @GetMapping("/")
32     @ApiOperation("根据id查询用户的接口")
33     @ApiImplicitParam(name = "id", value = "用户id", defaultValue = "99", required = true)
34     public User getUserById(@PathVariable Integer id) {
35         User user = new User();
36         user.setId(id);
37         return user;
38     }
39     @PutMapping("/{id}")
40     @ApiOperation("根据id更新用户的接口")
41         public User updateUserById(@RequestBody User user) {
42         return user;
43     }
44 }
这里边涉及到多个API,我来向小伙伴们分别说明:
@Api注解可以用来标记当前Controller的功能。
@ApiOperation注解用来标记一个方法的作用。
@ApiImplicitParam注解用来描述一个参数,可以配置参数的中文含义,也可以给参数设置默认值,这样在接口测试的时候可以避免手动输入。
如果有多个参数,则需要使用多个@ApiImplicitParam注解来描述,多个@ApiImplicitParam注解需要放在一个@ApiImplicitParams注解中。
需要注意的是,@ApiImplicitParam注解中虽然可以指定参数是必填的,但是却不能代替@RequestParam(required = true),前者的必填只是在Swagger2框架内必填,抛弃了Swagger2,这个限制就没用了,所以假如开发者需要指定一个参数必填,@RequestParam(required = true)注解还是不能省略。
如果参数是一个对象(例如上文的更新接口),对于参数的描述也可以放在实体类中。例如下面一段代码: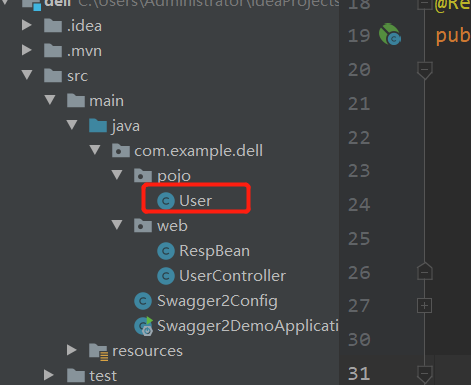
 1 package com.example.dell.pojo;
 2
 3 import io.swagger.annotations.ApiModelProperty;
 4
 5
 6
 7
 8 public class User {
 9     @ApiModelProperty(value = "用户id")
10     private Integer id;
11     @ApiModelProperty(value = "用户名")
12     private String username;
13     @ApiModelProperty(value = "用户地址")
14     private String address;
15     //getter/setter
16
17     public Integer getId() {
18         return id;
19     }
20
21     public void setId(Integer id) {
22         this.id = id;
23     }
24
25     public String getUsername() {
26         return username;
27     }
28
29     public void setUsername(String username) {
30         this.username = username;
31     }
32
33     public String getAddress() {
34         return address;
35     }
36
37     public void setAddress(String address) {
38         this.address = address;
39     }
40 }
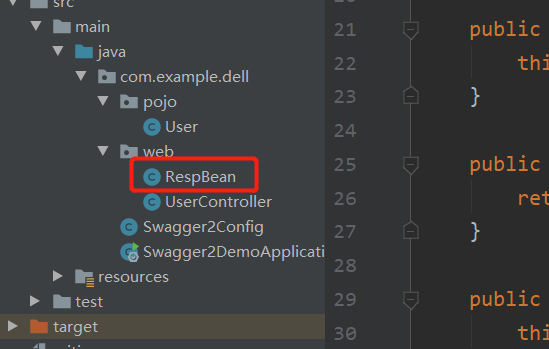
代码如下:
 1 package com.example.dell.web;
 2
 3 import io.swagger.annotations.ApiModelProperty;
 4
 5 public class RespBean {
 6     @ApiModelProperty(value = "用户id")
 7     private Integer id;
 8     @ApiModelProperty(value = "用户名")
 9     private String username;
10     @ApiModelProperty(value = "用户地址")
11     private String address;
12     //getter/setter
13
14     public Integer getId() {
15         return id;
16     }
17
18     public void setId(Integer id) {
19         this.id = id;
20     }
21
22     public String getUsername() {
23         return username;
24     }
25
26     public void setUsername(String username) {
27         this.username = username;
28     }
29
30     public String getAddress() {
31         return address;
32     }
33
34     public void setAddress(String address) {
35         this.address = address;
36     }
37 }
然后启动,运行
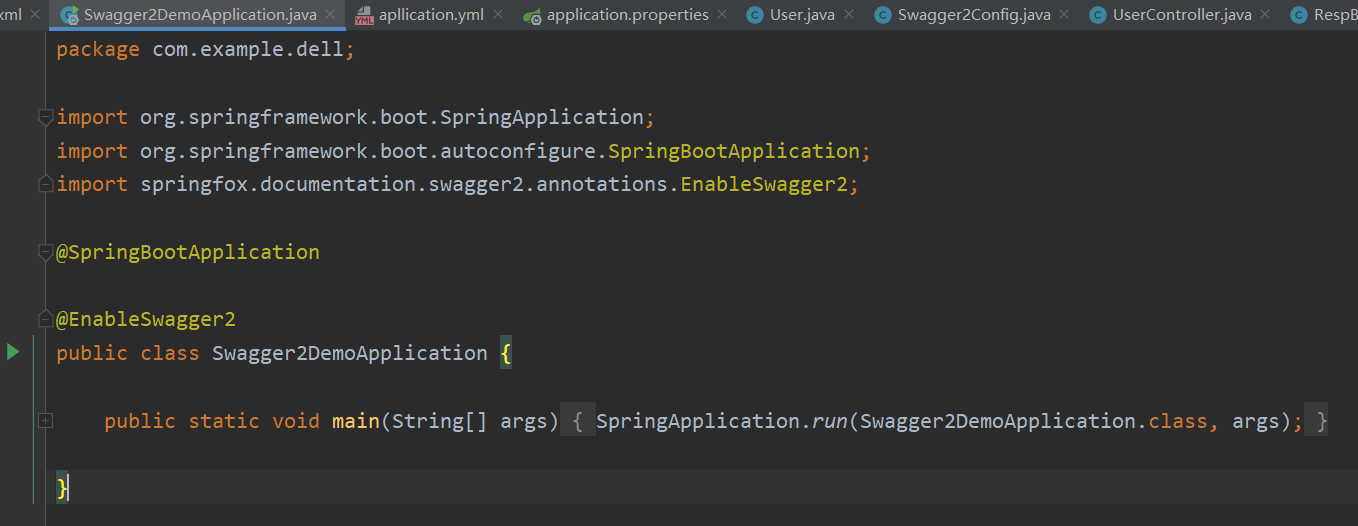
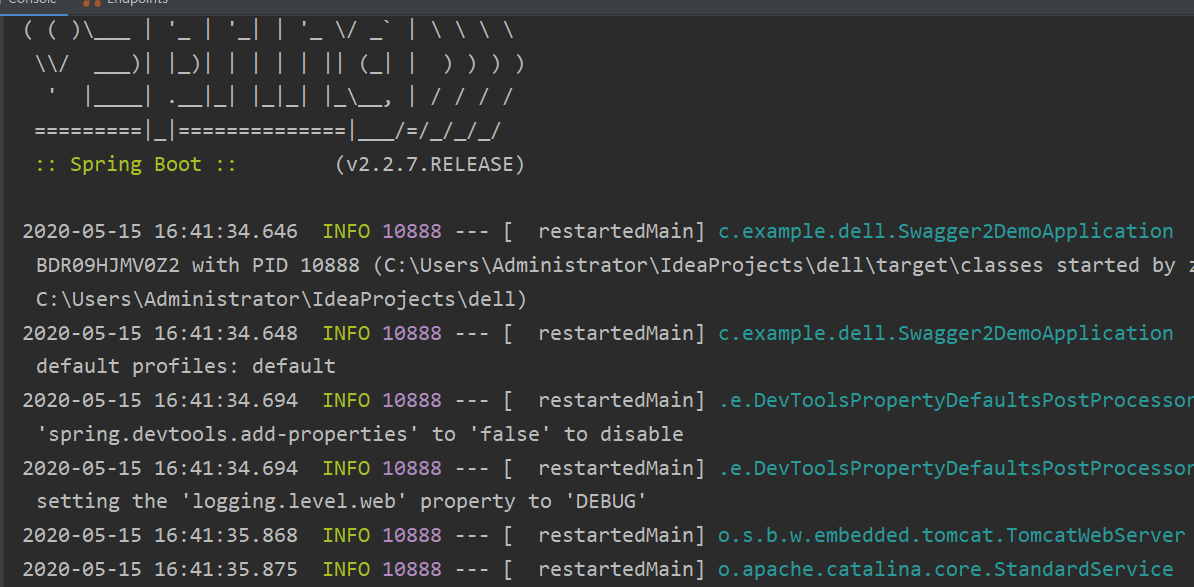
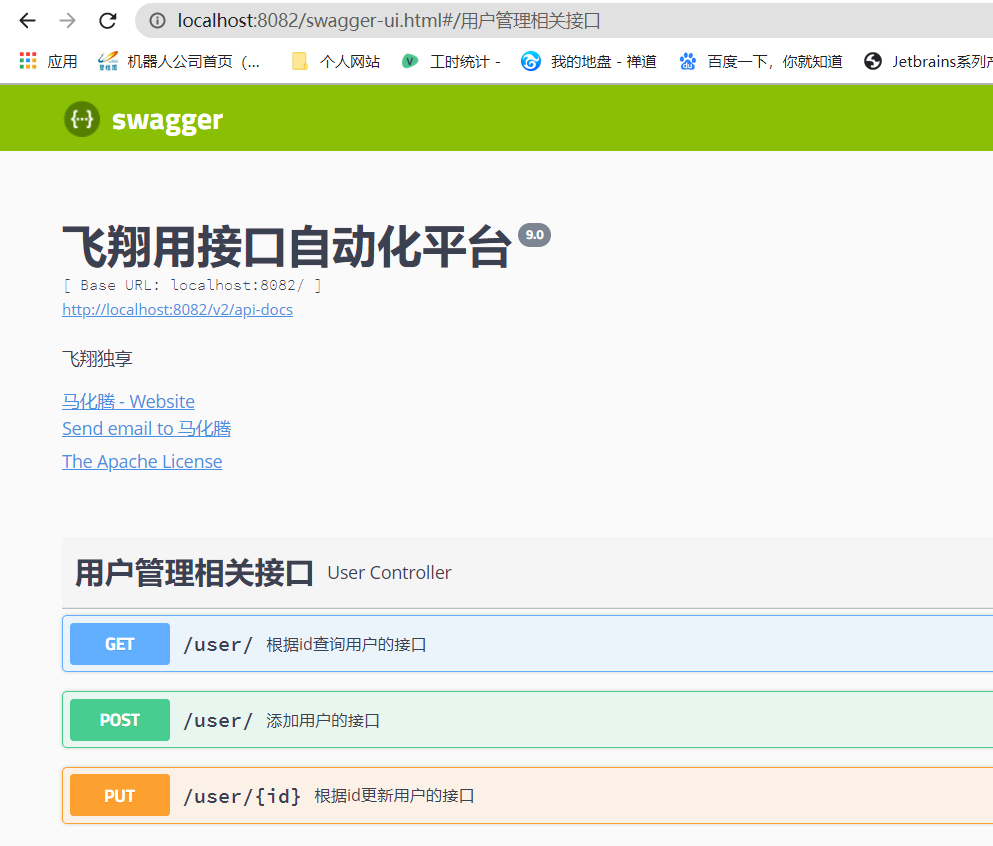
此时启动项目,输入http://localhost:8080/swagger-ui.html,能够看到如下页面,说明已经配置成功了:
