1.新建一个RN项目:(BaiDuMapTest)
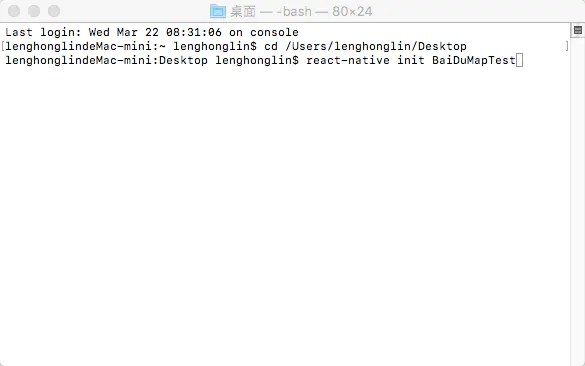
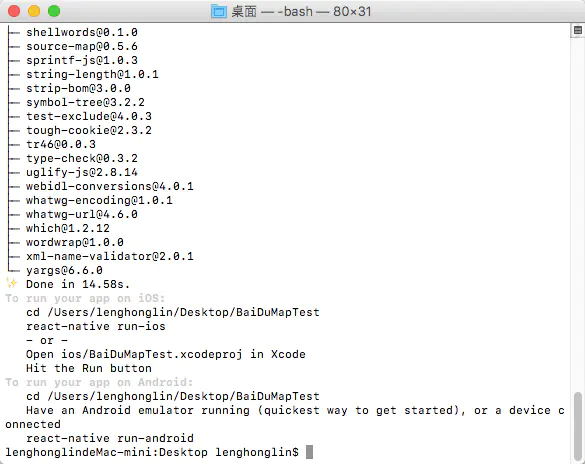
出现以下界面,就表示新建项目成功了
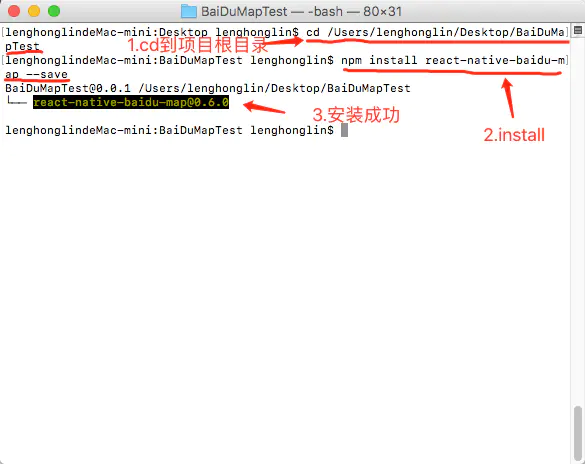
2.安装react-native-baidu-map(注意:一定要在项目根目录下进行安装):
在终端输入:
npm install react-native-baidu-map --save
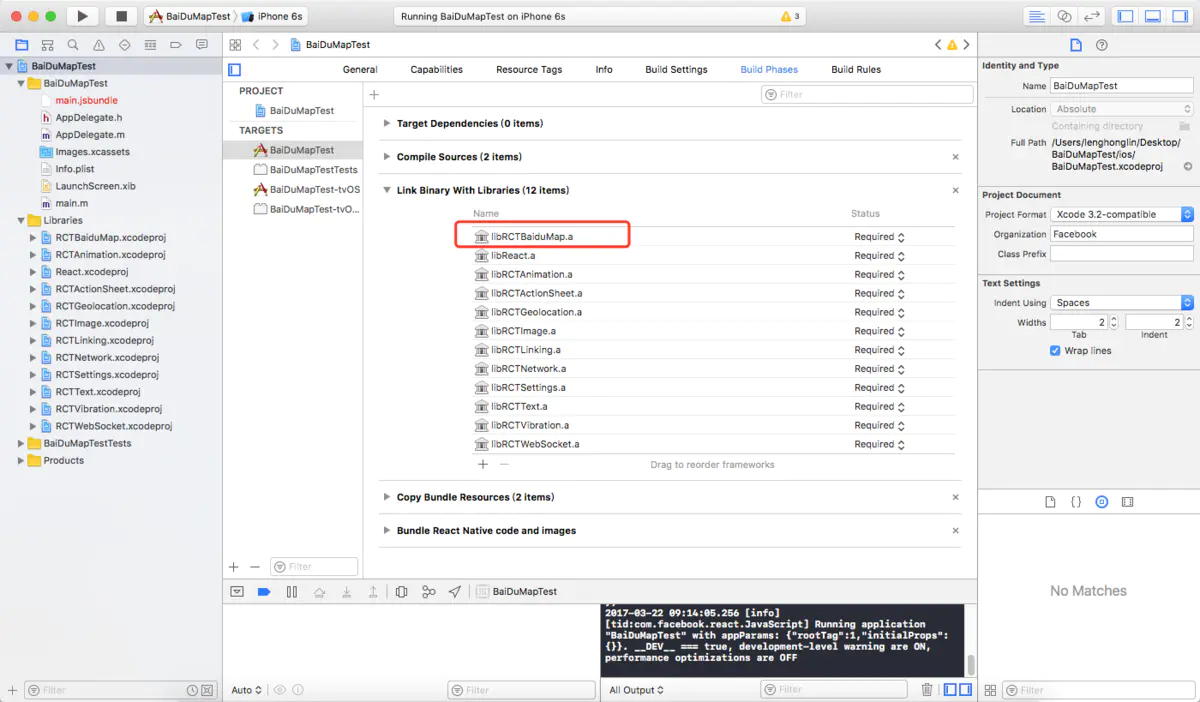
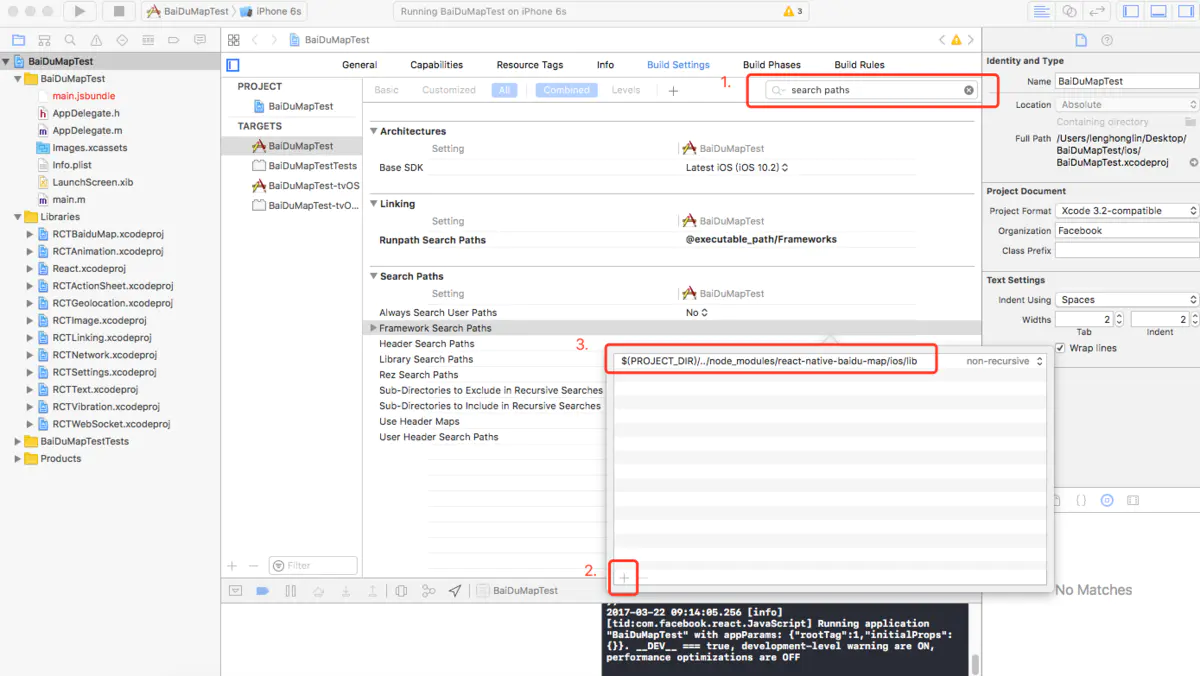
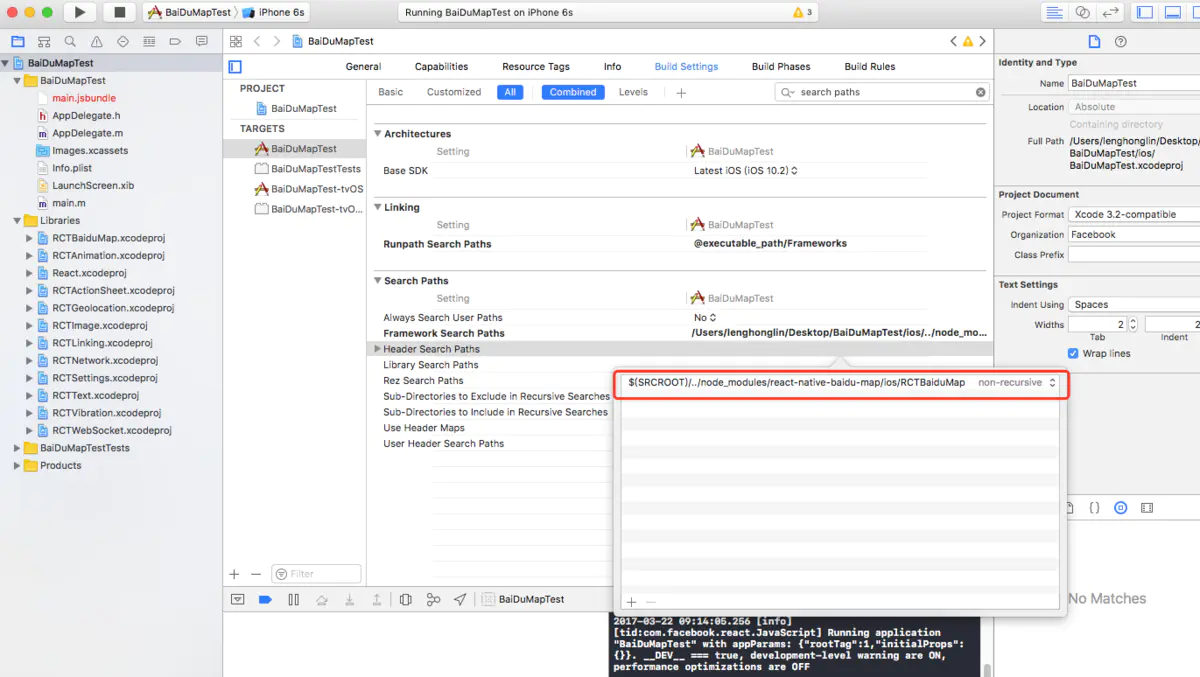
3.Xcode配置:
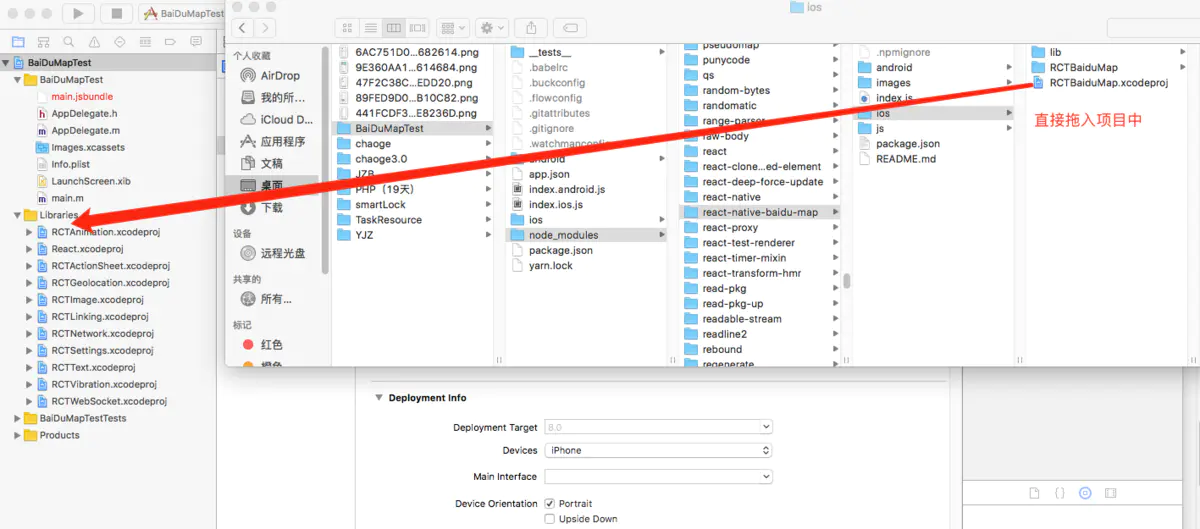
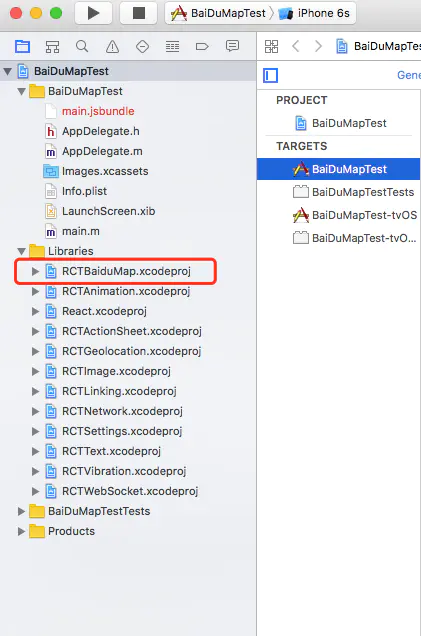
Build Phases->Link Binary With Libraries 加入 libRCTBaiduMap.a
Build Settings->Search Paths, Framework search paths 添加$(PROJECT_DIR)/../node_modules/react-native-baidu-map/ios/lib,Header search paths 添加 $(SRCROOT)/../node_modules/react-native-baidu-map/ios/RCTBaiduMap
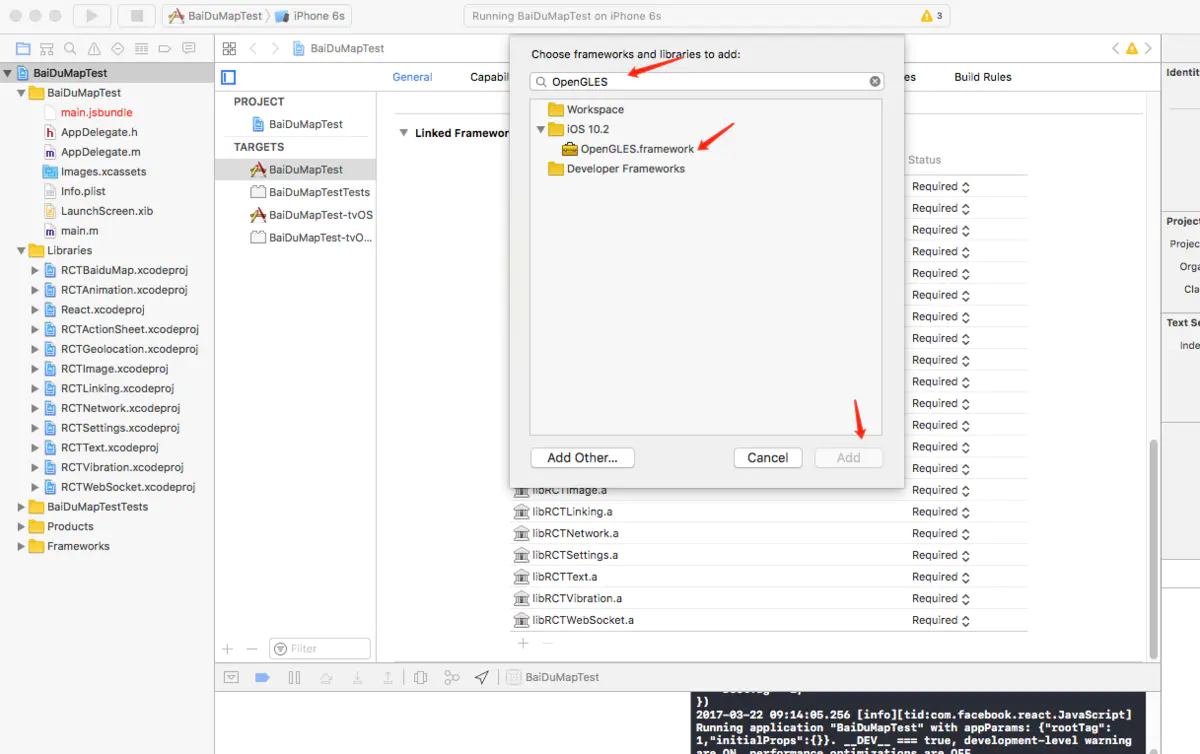
添加依赖, react-native-baidu-map/ios/lib 下的全部 framwordk:
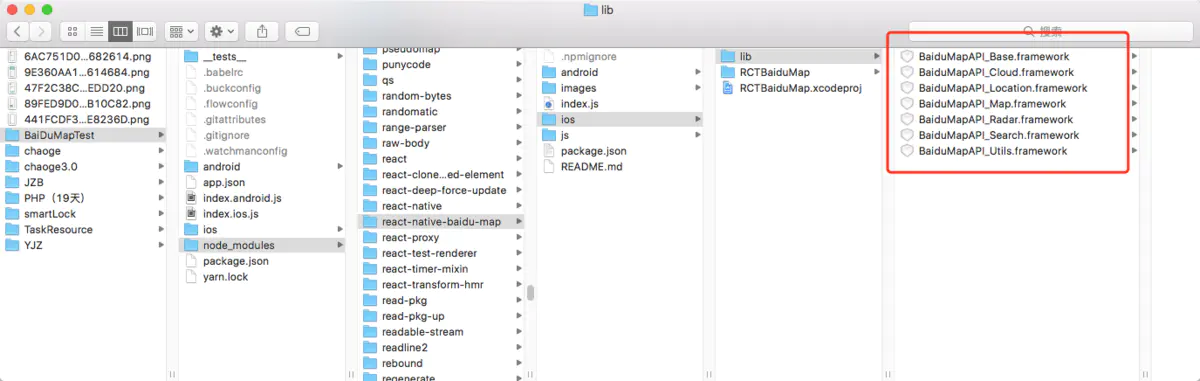
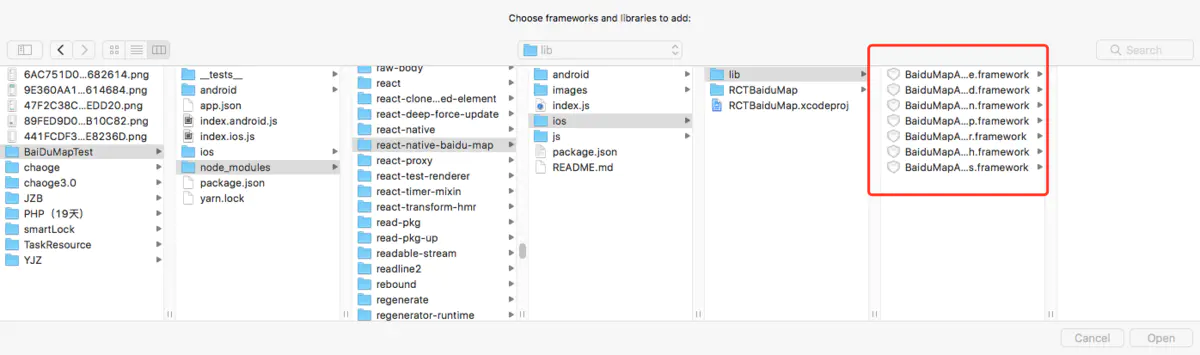
方法:

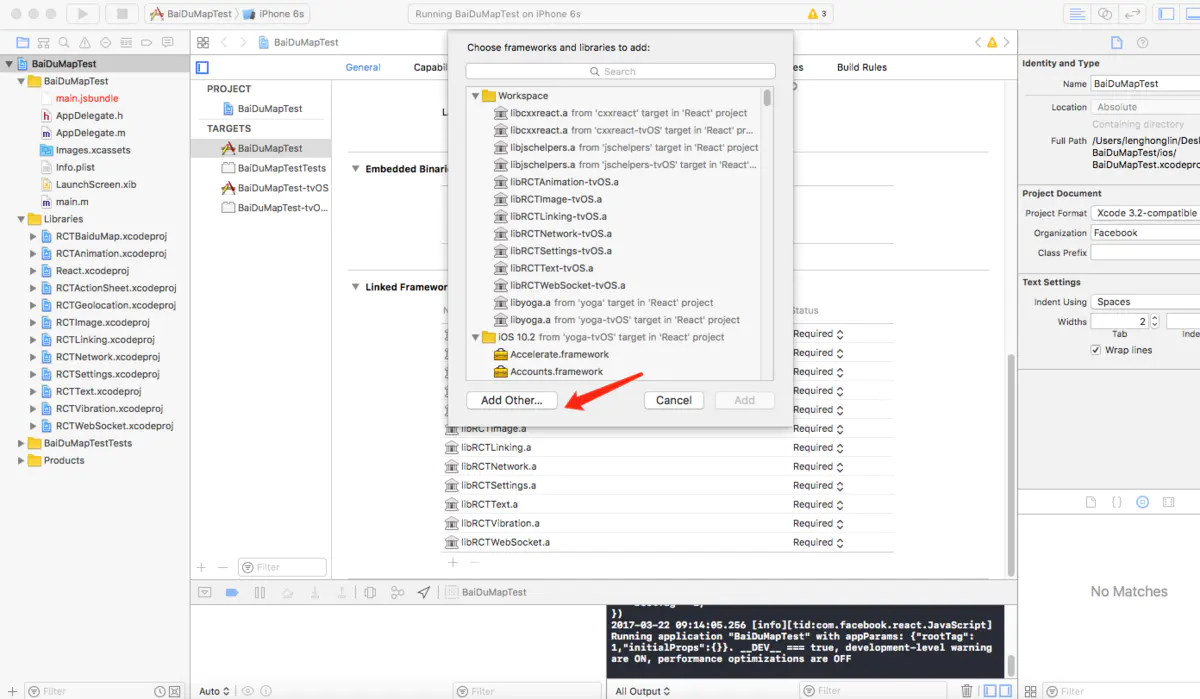
然后继续添加:CoreLocation.framework和QuartzCore.framework、OpenGLES.framework、SystemConfiguration.framework、CoreGraphics.framework、Security.framework、libsqlite3.0.tbd(xcode7以前为 libsqlite3.0.dylib)、CoreTelephony.framework 、libstdc++.6.0.9.tbd(xcode7以前为libstdc++.6.0.9.dylib)
例如:
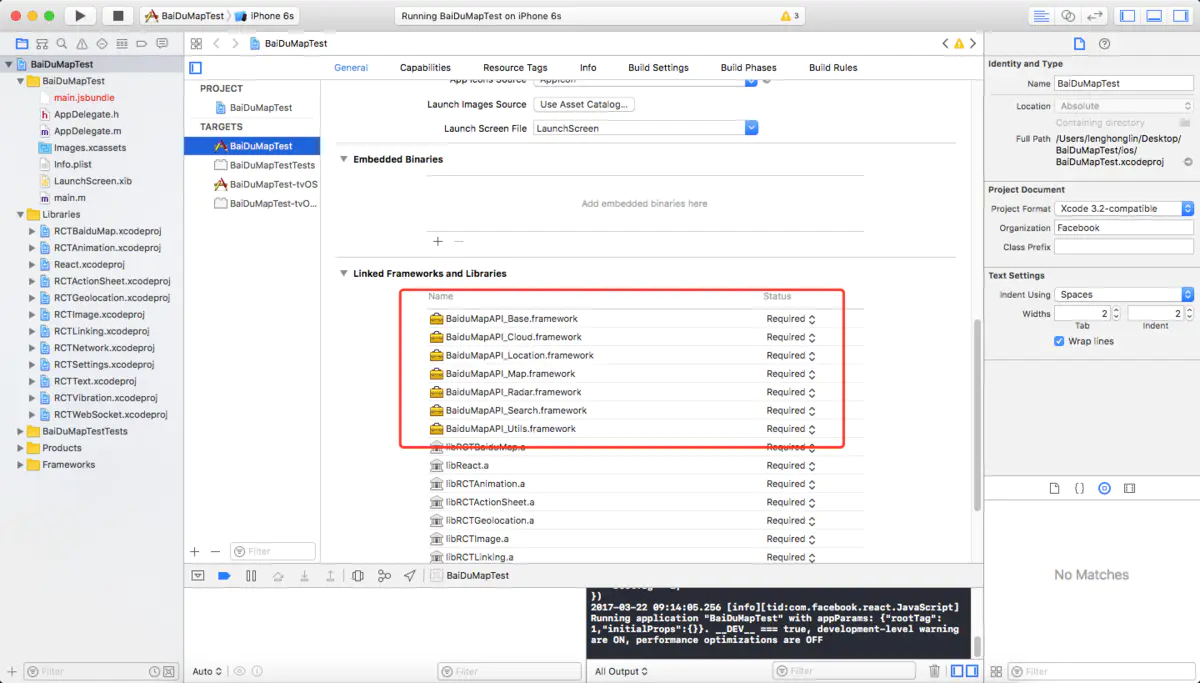
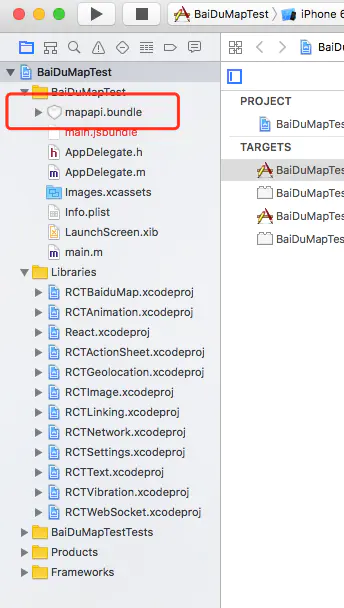
全部添加完后:

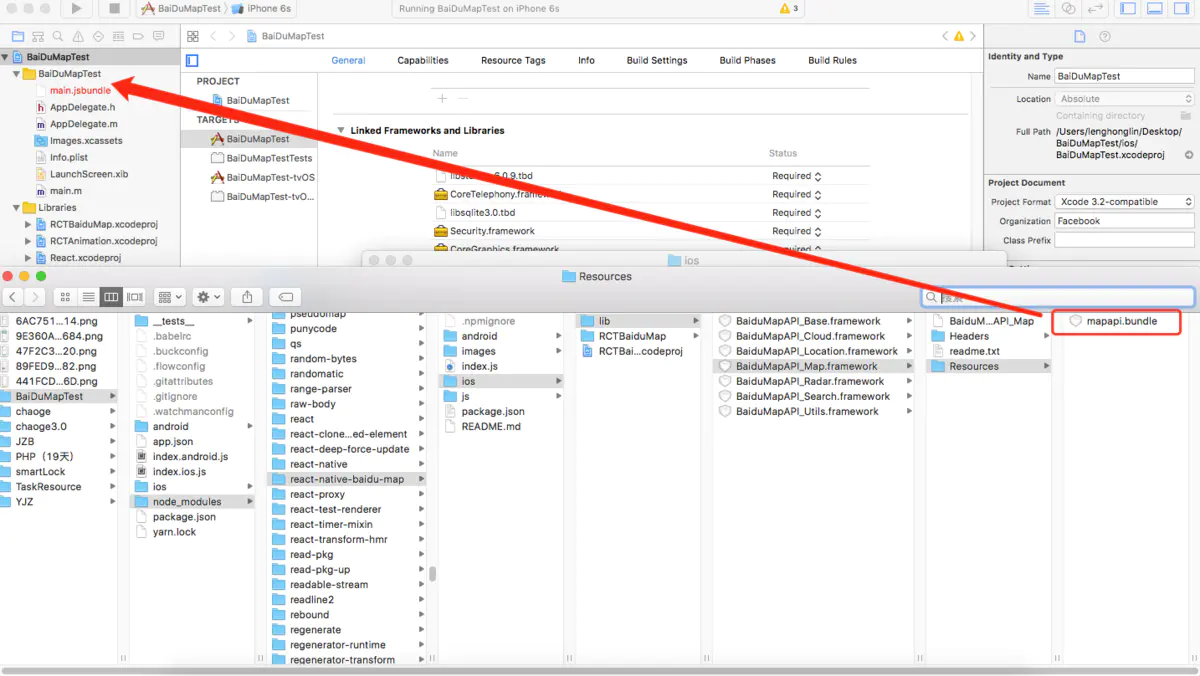
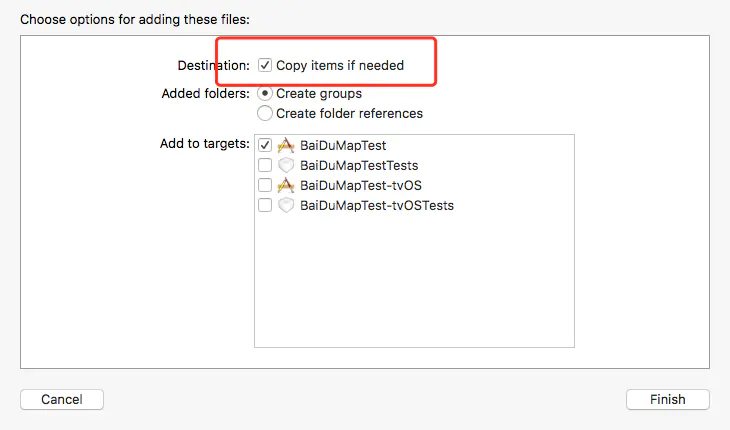
接下来添加 BaiduMapAPI_Map.framework/Resources/mapapi.bundle
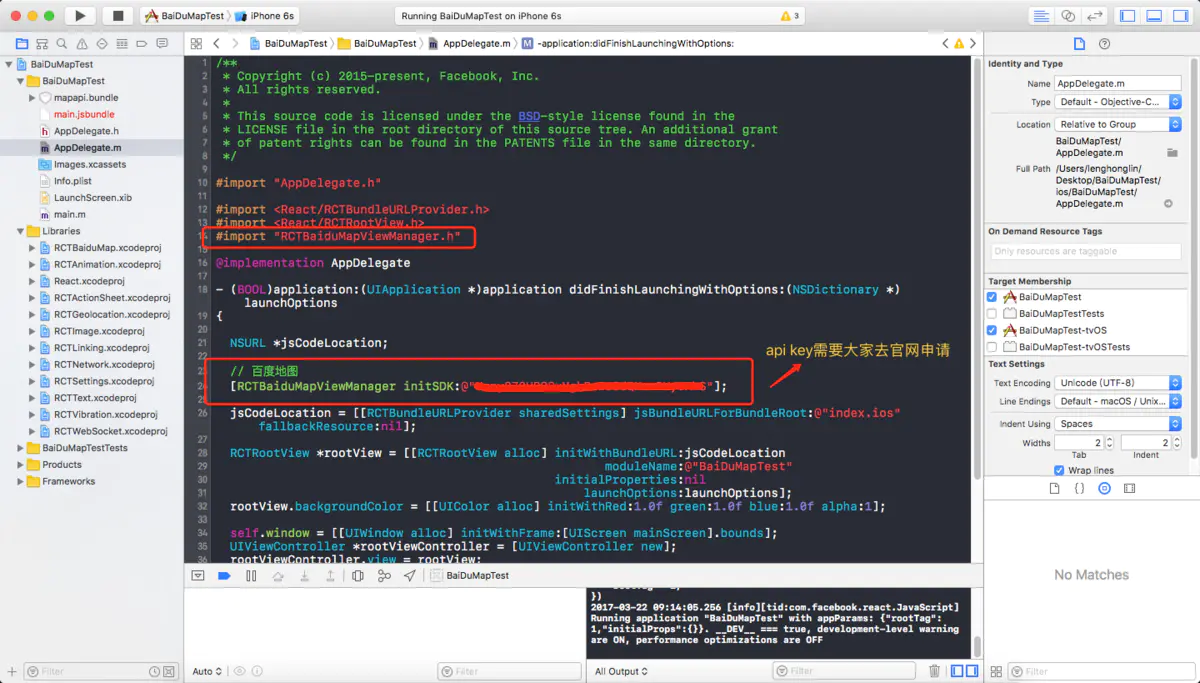
4.AppDelegate.m init 初始化
#import "RCTBaiduMapViewManager.h"
- (BOOL)application:(UIApplication *)application didFinishLaunchingWithOptions:(NSDictionary *)launchOptions
{
    ...
    [RCTBaiduMapViewManager initSDK:@"api key"];//这里的api key 一定要在官网和APP的Bundle identifier对应,否则地图会显示失败
    ...
}
5.build一下,看看是否配置成功
此时可能会报这个错误:
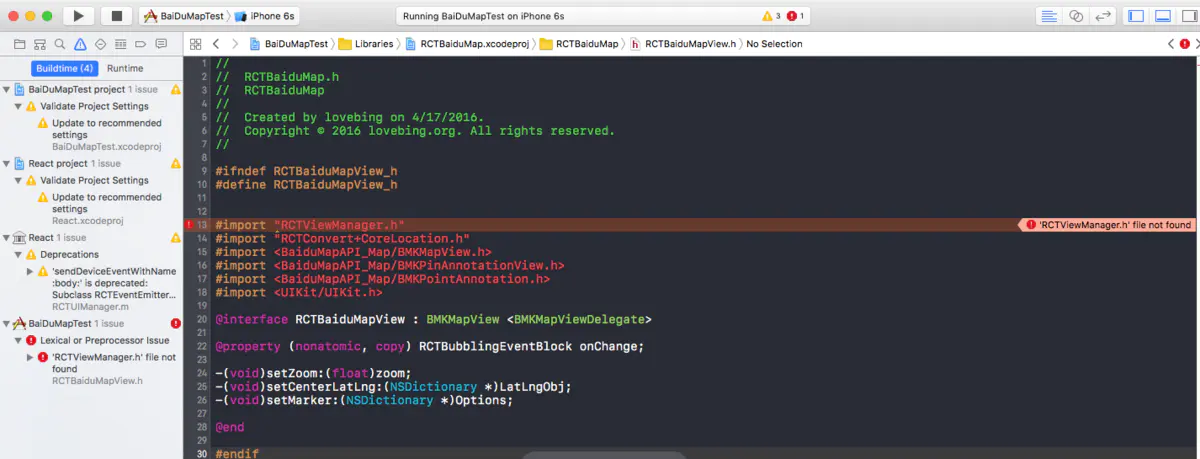
解决办法:
#import "RCTViewManager.h"
#import "RCTConvert+CoreLocation.h"
改成
#import <React/RCTViewManager.h>
#import <React/RCTConvert+CoreLocation.h>
如图:
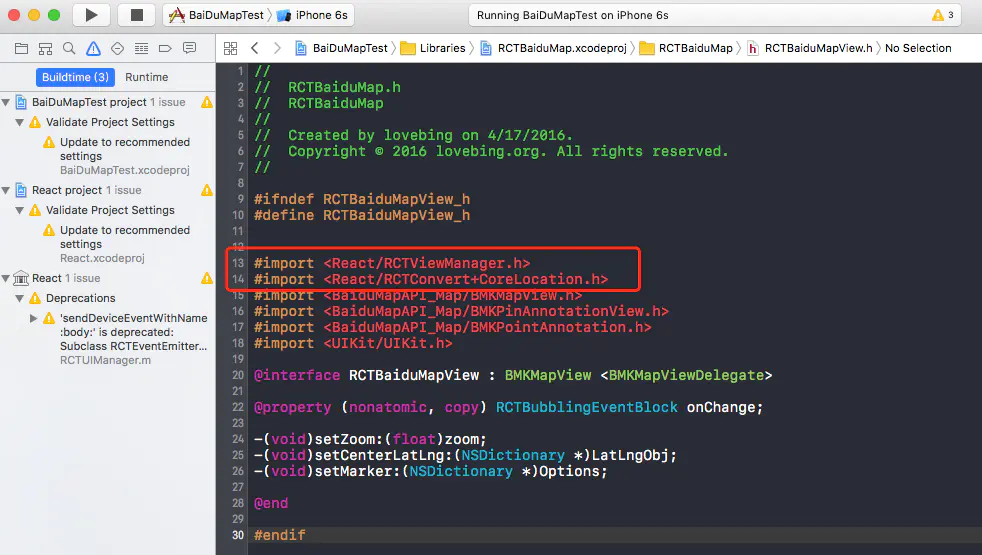
然后就build success啦~
6.到此为止,配置已经完成,我们可以在RN来玩一玩百度地图~
这里我们就参照官网的Demo给大家展示一下:
index.ios.js:
/**
 * Sample React Native App
 * https://github.com/facebook/react-native
 * @flow
 */

import React, { Component } from 'react';
import {
  AppRegistry,
  StyleSheet,
  Text,
  View
} from 'react-native';

import BaiduMapDemo from './BaiduMapDemo';

export default class BaiDuMapTest extends Component {
  render() {
    return (
      <BaiduMapDemo />
    );
  }
}

const styles = StyleSheet.create({
  container: {
    flex: 1,
    justifyContent: 'center',
    alignItems: 'center',
    backgroundColor: '#F5FCFF',
  },
  welcome: {
    fontSize: 20,
    textAlign: 'center',
    margin: 10,
  },
  instructions: {
    textAlign: 'center',
    color: '#333333',
    marginBottom: 5,
  },
});

AppRegistry.registerComponent('BaiDuMapTest', () => BaiDuMapTest);
BaiduMapDemo.js
/**
 * @author lovebing
 */

import React, {
  Component,
  PropTypes
} from 'react';

import {
  MapView,
  MapTypes,
  Geolocation
} from 'react-native-baidu-map';

import {
  Button,
  AppRegistry,
  StyleSheet,
  Text,
  View,
  TouchableHighlight
} from 'react-native';

import Dimensions from 'Dimensions';

export default class BaiduMapDemo extends Component {

  constructor() {
    super();

    this.state = {
      mayType: MapTypes.NORMAL,
      zoom: 15,
      center: {
        longitude: 113.981718,
        latitude: 22.542449
      },
      trafficEnabled: false,
      baiduHeatMapEnabled: false,
      markers: [{
        longitude: 113.981718,
        latitude: 22.542449,
        title: "Window of the world"
      },{
        longitude: 113.995516,
        latitude: 22.537642,
        title: ""
      }]
    };
  }

  componentDidMount() {
  }

  render() {
    return (
      <View style={styles.container}>
        <MapView
          trafficEnabled={this.state.trafficEnabled}
          baiduHeatMapEnabled={this.state.baiduHeatMapEnabled}
          zoom={this.state.zoom}
          mapType={this.state.mapType}
          center={this.state.center}
          marker={this.state.marker}
          markers={this.state.markers}
          style={styles.map}
          onMarkerClick={(e) => {
            console.warn(JSON.stringify(e));
          }}
          onMapClick={(e) => {
          }}
        >
        </MapView>

        <View style={styles.row}>
          <Button title="Normal" onPress={() => {
            this.setState({
              mapType: MapTypes.NORMAL
            });
          }} />
          <Button style={styles.btn} title="Satellite" onPress={() => {
            this.setState({
              mapType: MapTypes.SATELLITE
            });
          }} /