以下操作均在CentOs下操作
1、Gitlab install
① 启动gitlab
docker run --detach
  --hostname 115.30.149.35
  --publish 8888:8888 --publish 24:22
  --name gitlab
  --restart always
  --volume /data/docker/gitlab/config:/etc/gitlab
  --volume /data/docker/gitlab/logs:/var/log/gitlab
  --volume /data/docker/gitlab/data:/var/opt/gitlab
  --privileged=true
  gitlab/gitlab-ce:latest
--hostname 当前服务器的域名
--publish 24:22 SSH访问端口 默认22:22
--publish 8888:8888 http访问的端口 默认是80:80
--publish 443:443 https访问的端口
--privileged=true 授权
--volume 三个卷挂载gitlab的数据,需要提前创建好
443是https端口 80默认是http端口 根据官网文档,更改端口需要更改对应的配置文件。所在的配置信息存放在
/etc/gitlab/gitlab.rb。映射在主机的/data/docker/gitlab/config。
② 配置GitLab
由于我们没用使用默认的暴露端口,因此需要修改 /data/docker/gitlab/config/gitlab.rb。
Ⅰ、修改external_url:
# For HTTP external_url "http://115.30.149.35:8888"
or
For HTTPS (notice the https)
external_url "http://115.30.149.35:8888"
Ⅱ、修改gitlab_shell_ssh_port:
itlab_rails['gitlab_shell_ssh_port'] = 24
更多配置信息可以参考官方文档。
③ 重启gitlab
docker restart gitlab
④ 访问gitlab
浏览器输入 http://115.30.149.35:8888
官方建议4G内存,启动gitlab很吃CPU。
1核2G gitlab启动服务器卡死。解决方案:
https://yq.aliyun.com/articles/52098
2、Gitlab Runner Install
①安装gitlab-runnner rpm包
在这里选择适合你系统的gitlab runner包https://gitlab-runner-downloads.s3.amazonaws.com/latest/index.html
curl -LJO https://gitlab-runner-downloads.s3.amazonaws.com/latest/rpm/gitlab-runner_amd64.rpm
②安装rpm 包
rpm -i gitlab-runner_amd64.rpm
③注册Runner
Ⅰ、Run the following command
gitlab-runner register
Ⅱ、Enter your GitLab instance URL:(GitLab实例地址,上面GitLab的地址)
Please enter the gitlab-ci coordinator URL (e.g. https://gitlab.com )
http://115.30.149.35:8888
Ⅲ、Enter the token you obtained to register the Runner(输入注册Runner的token):
Please enter the gitlab-ci token for this runner
hUCad4cXYPEKTt
token所在地方:
1、登入GitLabhttp://115.30.149.35:8888
2、点击工具刀
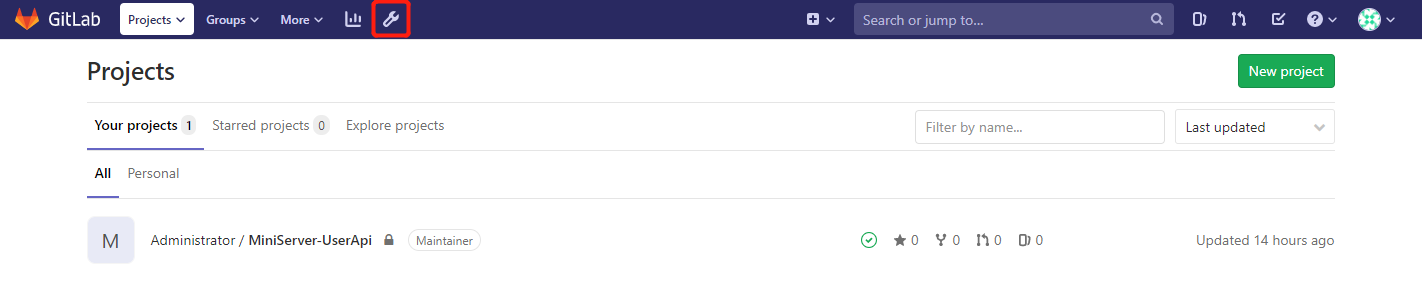
3、Overview->Runners
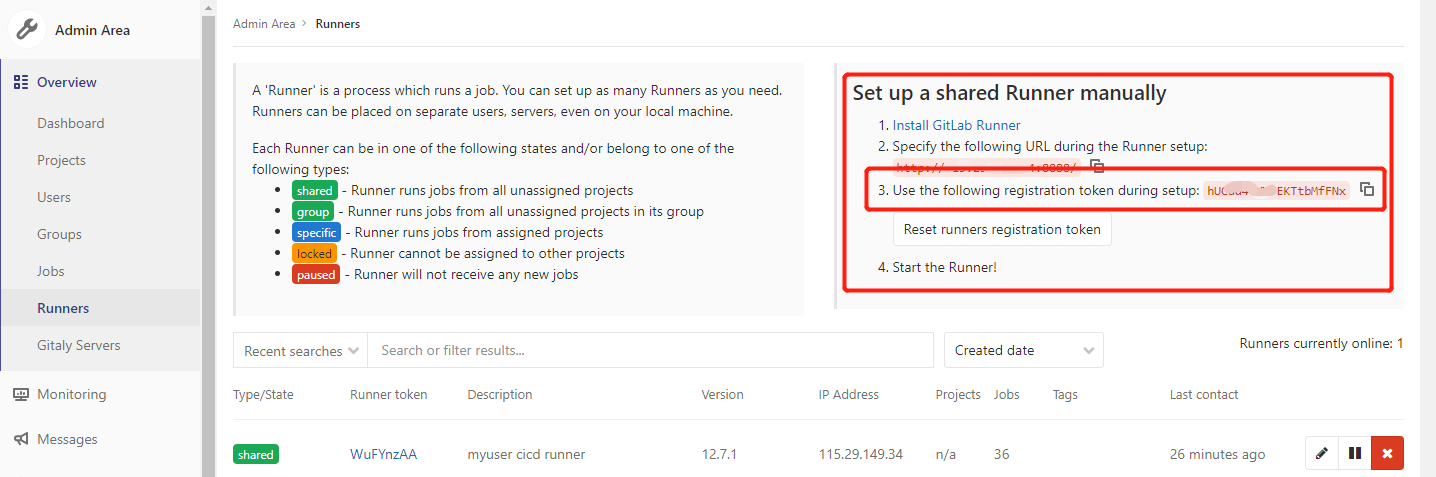
红色框里面即为token。
Ⅳ、Enter a description for the Runner, you can change this later in GitLab’s UI(添加Runner描述):
Please enter the gitlab-ci description for this runner
my-runner
Ⅴ、Add a Tag
Please enter the gitlab-ci tags for this runner (comma separated):
Ⅵ、Enter the Runner executor:
Please enter the executor: ssh, docker+machine, docker-ssh+machine, kubernetes, docker, parallels, virtualbox, docker-ssh, shell:
shell
④刷新GitLab页面
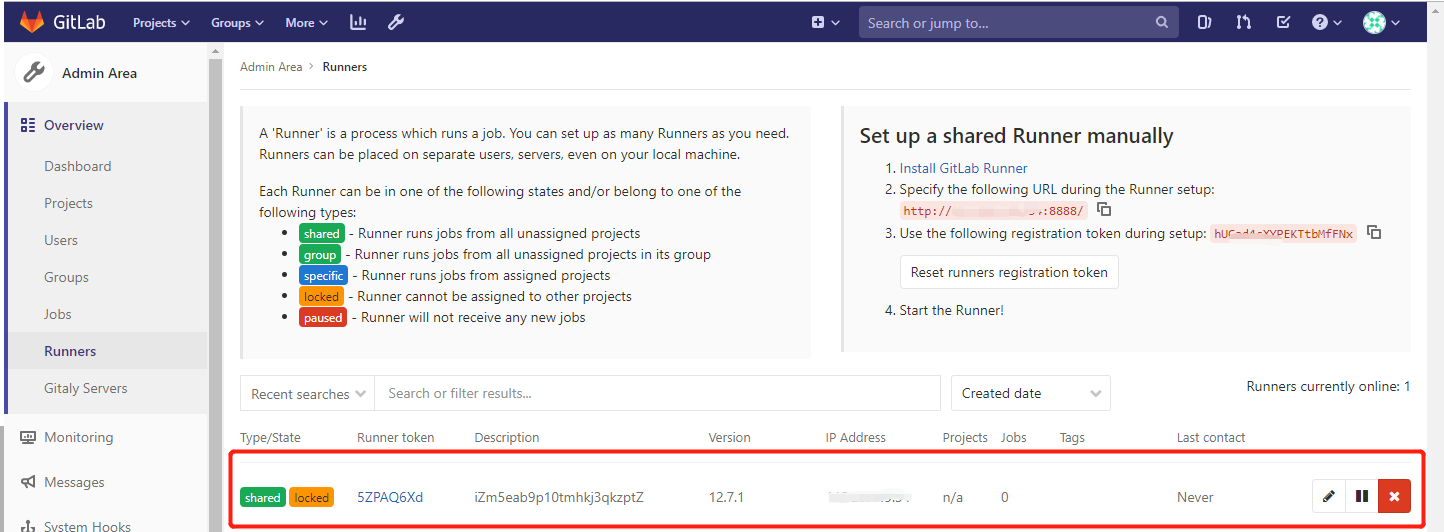
可看到注册的Runner。
3、提交项目到gitlab
1、创建一个项目
2、按照提示将我们的项目提交到gitlab上(Push an existing folder)
git remote add origin http://115.30.149.35:8888/root/miniserver-userapi.git

关闭VS
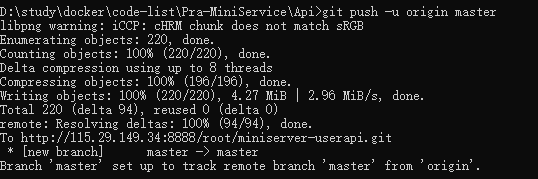
git push 的提示要输入gitlab的用户名和密码
编写以下.gitlab-ci.yml文件(需要放在整个项目的根目录)
提交 在具体的project 的CICD下即可看到项目在跑
4、问题集合
问题一、

docker gitlab 的用户组没有加入docker
usermod -aG docker gitlab-runner
sudo service docker restart
问题二、某次CI失败后再启动
fatal: git fetch-pack: expected shallow list
fatal: The remote end hung up unexpectedly
原因是git版本太老不持之新API,需要升级一下git:
#安装源
yum install http://opensource.wandisco.com/centos/7/git/x86_64/wandisco-git-release-7-2.noarch.rpm
#安装git
yum install git
#更新git
yum update git
参考资料:
Gitlab:https://docs.gitlab.com/omnibus/docker/
GitLab Runner:https://docs.gitlab.com/runner/install/linux-manually.html