在研究SLAM时常常需要对其输出的位姿进行复现以检测算法效果,在ubuntu系统中使用Python可以很好的完成相关的工作。
一. Ubuntu下Python的使用
在Ubuntu下使用Python有两种方法,一种是直接在控制台中运行Python文件,一种是下载IDE编辑并运行Python文件。
在控制台中使用Python方法如下:
首先确认有Python文件(filename.py),然后打开控制台进入文件当前目录,并输入以下内容就可以运行了。
python file_name.py
虽然控制台可以运行Python,不过由于不能调试等问题仍然比较推荐使用IDE。
目前使用的Python IDE为PyCharm,官方下载地址为https://www.jetbrains.com/pycharm/download/#section=linux
官网中提供professional和community两种版本,因为community版本免费大家可以直接下载使用。下载好后直接放到安装目录中解压,然后跟着解压后的说明文件执行安装命令即可安装成功(部分电脑由于配置原因可能会报错,网上有很多讲解配置环境安装博客,大家可以参考)。安装成功后,PyCharm界面如下图。
二. matplotlib绘制三维轨迹
Matplotlib是Python的一个绘图库,想面将讲解如何使用这个库来绘制三维线段,以此检测SLAM算法的输出结果(电脑配置Python 2.7)。
2.1. 绘制基本三维曲线
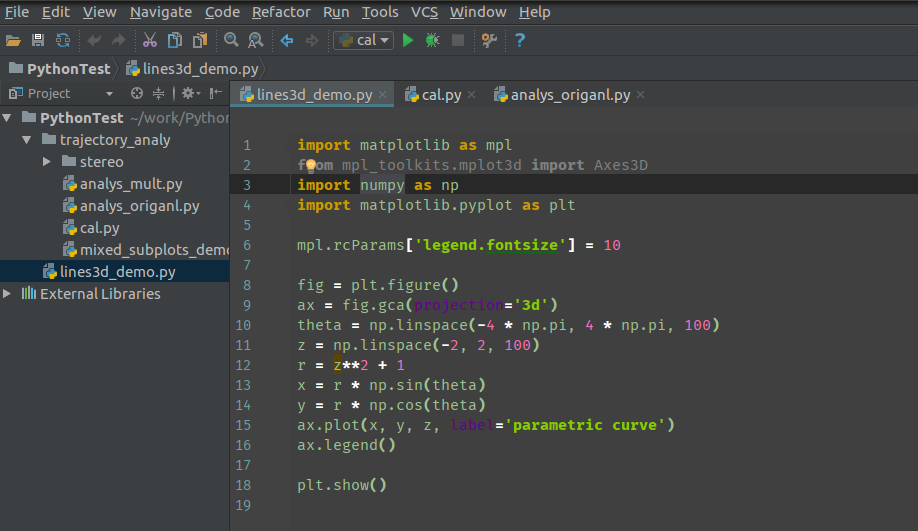
首先给出完整代码,以及输出结果。
# import necessary module
from mpl_toolkits.mplot3d import axes3d
import matplotlib.pyplot as plt
import numpy as np

# load data from file
# you can replace this using with open
data1 = np.loadtxt("./stereo/CameraTrajectoryNew2000.txt")
first_2000 = data1[:, 3]
second_2000 = data1[:, 7]
third_2000 = data1[:, 11]

# print to check data
print first_2000
print second_2000
print third_2000

# new a figure and set it into 3d
fig = plt.figure()
ax = fig.gca(projection='3d')

# set figure information
ax.set_title("3D_Curve")
ax.set_xlabel("x")
ax.set_ylabel("y")
ax.set_zlabel("z")

# draw the figure, the color is r = read
figure = ax.plot(first_2000, second_2000, third_2000, c='r')

plt.show()
这段代码非常简单,而且相关的注释也很完善,因此只简要说明几个需要注意的地方。第一个需要注意的是读取文件中数据比较推荐用with open 然后逐行读取;第二点是在新建图像时一定别忘了添加这段代码,这是输出图像设定为3D的关键。
ax = fig.gca(projection='3d')
2.2. 同一张图中绘制多个三维曲线
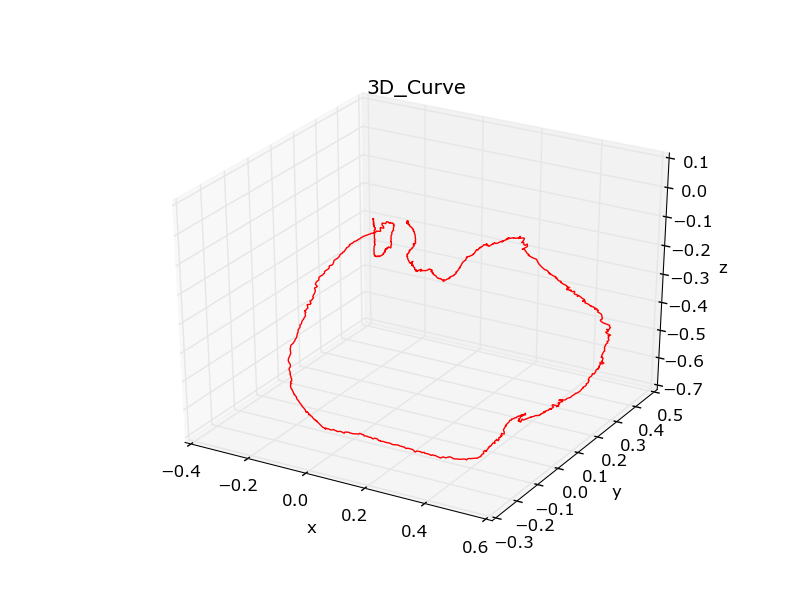
代码和输出结果如下:
# import necessary module
from mpl_toolkits.mplot3d import axes3d
import matplotlib.pyplot as plt
import numpy as np

# load data from file
# you replace this using with open
data1 = np.loadtxt("./stereo/CameraTrajectoryNew2000.txt")
first_2000 = data1[:, 3]
second_2000 = data1[:, 7]
third_2000 = data1[:, 11]

data2 = np.loadtxt("./stereo/CameraTrajectoryNew1500.txt")
first_1000 = data2[:, 3]
second_1000 = data2[:, 7]
third_1000 = data2[:, 11]

# new a figure and set it into 3d
fig = plt.figure()
ax = fig.gca(projection='3d')

# set figure information
ax.set_title("3D_Curve")
ax.set_xlabel("x")
ax.set_ylabel("y")
ax.set_zlabel("z")

# draw the figure, the color is r = read
figure1 = ax.plot(first_2000, second_2000, third_2000, c='r')
figure2 = ax.plot(first_1000, second_1000, third_1000, c='b')
plt.show()
实现这个功能只需要在之前代码中加入读取新数据的相关代码,以及在画图时多生成一个图即可,也是非常的简单。
2.3. 将区域划分后绘制三维图像
代码和输出结果如下:
# import necessary module
from mpl_toolkits.mplot3d import axes3d
import matplotlib.pyplot as plt
import numpy as np

# load data from file
# you replace this using with open
data1 = np.loadtxt("./stereo/CameraTrajectoryNew2000.txt")
first_2000 = data1[:, 3]
second_2000 = data1[:, 7]
third_2000 = data1[:, 11]

data2 = np.loadtxt("./stereo/CameraTrajectoryNew1500.txt")
first_1500 = data2[:, 3]
second_1500 = data2[:, 7]
third_1500 = data2[:, 11]

# new a figure and set it into 3d
fig = plt.figure()

# ############ first subplot ############
ax = fig.add_subplot(2, 2, 1, projection='3d')

ax.set_title("3D_Curve1")
ax.set_xlabel("x")
ax.set_ylabel("y")
ax.set_zlabel("z")

# draw the figure, the color is r = read
figure1 = ax.plot(first_2000, second_2000, third_2000, c='r')
figure2 = ax.plot(first_1500, second_1500, third_1500, c='b')

# ############ second subplot ############
ax = fig.add_subplot(2, 2, 2, projection='3d')

# set figure information
ax.set_title("3D_Curve2")
ax.set_xlabel("x")
ax.set_ylabel("y")
ax.set_zlabel("z")

# draw the figure, the color is r = read
figure1 = ax.plot(first_2000, second_2000, third_2000, c='r')
figure2 = ax.plot(first_1500, second_1500, third_1500, c='b')

# ############ third subplot ############
ax = fig.add_subplot(2, 2, 3, projection='3d')

# set figure information
ax.set_title("3D_Curve3")
ax.set_xlabel("x")
ax.set_ylabel("y")
ax.set_zlabel("z")

# draw the figure, the color is r = read
figure1 = ax.plot(first_2000, second_2000, third_2000, c='r')
figure2 = ax.plot(first_1500, second_1500, third_1500, c='b')

# ############ fourth subplot ############
ax = fig.add_subplot(2, 2, 4, projection='3d')

# set figure information
ax.set_title("3D_Curve4")
ax.set_xlabel("x")
ax.set_ylabel("y")
ax.set_zlabel("z")

# draw the figure, the color is r = read
figure1 = ax.plot(first_2000, second_2000, third_2000, c='r')
figure2 = ax.plot(first_1500, second_1500, third_1500, c='b')

plt.show()
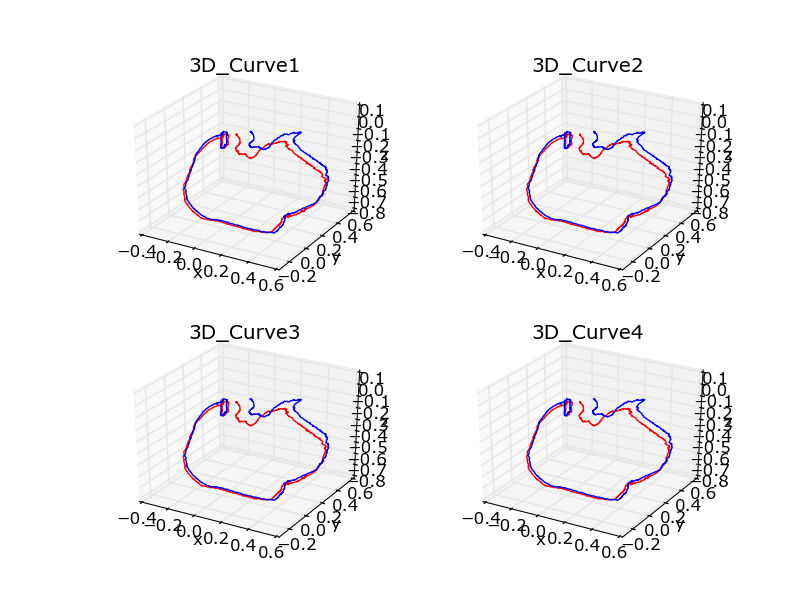
主要需要解释下面这行代码:
ax = fig.add_subplot(2, 2, 1, projection='3d')这行代码主要是说,将当前空间拆分建立新的子图,子图个数为四,按照2x2矩阵排列方式进行,当前子图为四个子图中的第一个,且为3D模式。
以上就是就是如何使用matplotlib绘制三位曲线。总的来说比较简单,没有什么难度,Python的确是一个非常好用的编程语言。更多关于matplotlib的使用方法大家可以参考他们的官方网站,里面有相关的tutorial以及examples。
Matplotlib Introduction:http://matplotlib.org/index.html
Matplotlib Samples:http://matplotlib.org/examples/index.html